- Sinthia Cousineau
- Ceramic Art
- Drawings
- Paintings
-
Photography
-
Art Education
-
Art & Adolescence
>
- Mural Project >
- Lesson: Eco Art
- Lesson: Decorating Fabric
- Lesson: Zentangles & Patterns
- Lesson: Social Media, consumerism & war
- Lesson: Bag Sculptures & Positive Body Image
- Lesson: Caricatures & political activism
- Lesson: Canadian Landscapes & Group of Seven
- Tattoo Art & Meaningful Images
- Lesson: Stenciling Street Art
- Lesson: Plaster Figures (grade 7-9)
- Photoshop Lesson
- Lesson: Value Scales
- Lesson Plan: Video Art
- Lesson Plan: Sound Art
- Lesson: GIF Project
- Lesson: Mashup Videos
- Art Education & Older Adults >
-
Art & Children
>
- Collage & other art Activities >
-
Drawing Activities with Kids
>
-
Pencil, Markers and Coloring
>
- Introductory Lesson
- Introduction Lesson: Egyptian Name Cartouche
- Reptile Zentangle Drawing >
- Illustrated Names
- Symmetrical Name Creatures
- Drawing from Autumn Still-lives
- Grid Drawing Technique
- Lesson: Alliteration Drawing
- Drawing: 3D Hands
- Leaf Drawing Collage
- Ancient Egypt Art
- Collaborative Doodle
- Drawing: Hidden Emotions Behind the Mask
- Scribble Drawing
- Drawing : Word Art
- Lesson Plan: Renaissance Invention Scroll
- Lesson: La Bande Dessinée
- Lesson: Optical Illusions
- Oil Pastels >
- Chalk & Soft Pastel >
- Charcoal >
-
Pencil, Markers and Coloring
>
-
Painting Activities with Kids
>
-
Acrylic Painting Lessons
>
- Acrylic Pouring
- Australian Dot Painting
- Blow Paint Technique
- Bubble Wrap Painting: Bee
- Pointillism Painting
- Funky Easter Rabbit
- Lesson: The Color Wheel
- Monochromatic Painting
- Painting: Birch Tree
- Leaf Painting
- Pumpkin Painting
- Painting: Rock Painting
- Squeegee Painting Technique
- Origami Inspired Painting
- Coffee Art
- Watercolor Activities >
-
Acrylic Painting Lessons
>
- Mixed Media Activities with Kids >
- Types of Art >
- History Lessons
-
Art & Adolescence
>
-
Art Therapy
- 3D Art & other mediums
- Videos
- Contact Me
Rock Painting
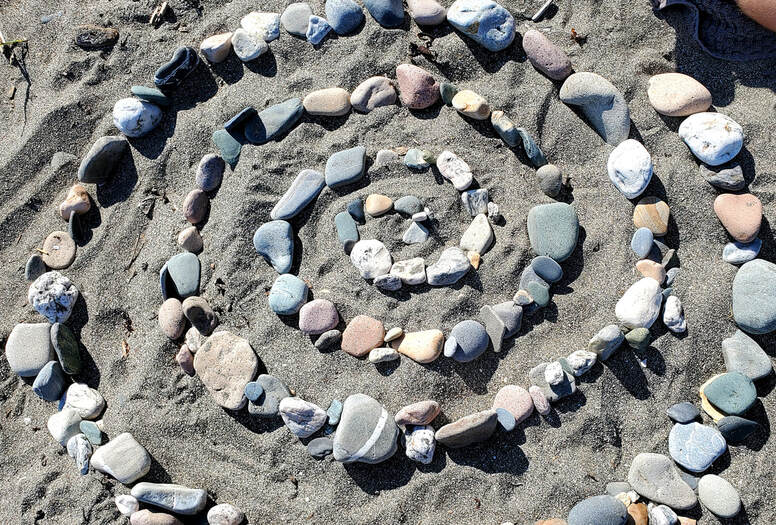
Rock Spiral with rocks found in Gaspésie by Sinthia Cousineau
Materials Needed:
-Acrylic Paint (best if suitable for outdoors)
-Jar of water to rinse brush
-Paper Towel
-Small paint brushes
-Pencils
-Black Sharpie Marker
-Many Rocks! Ideally smooth surface round rocks...ideally 2-3 per student
-Varnish (manipulated by adults only) or mod podge for kids to manipulate
Classroom Set-up
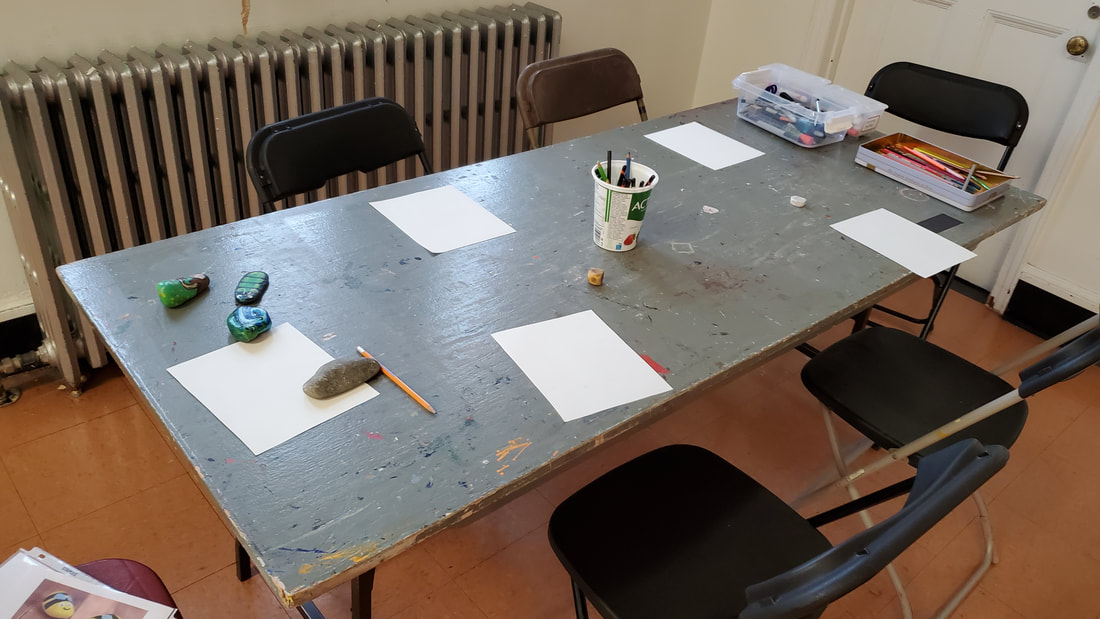
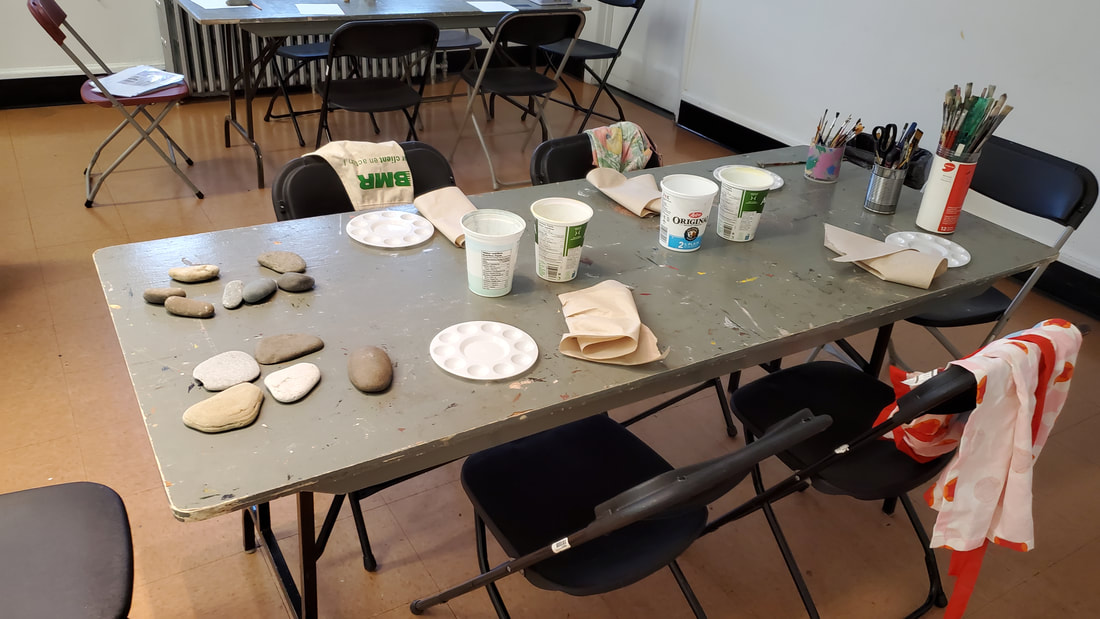
The ideal set-up would be to have one table for drawing and the other for painting. The drawing table would have paper, pencils, and coloring pencils so that students can trace their rocks on the paper and draw a dessin for them. The table can also contain reference books with images of painted rocks to inspire the students. The painting table would have all the painting supplies such as aprons, jars of water, brushes and acrylic paints. I had a 3rd table so I also created a material table for the paints, so there would be more room on my painting table.
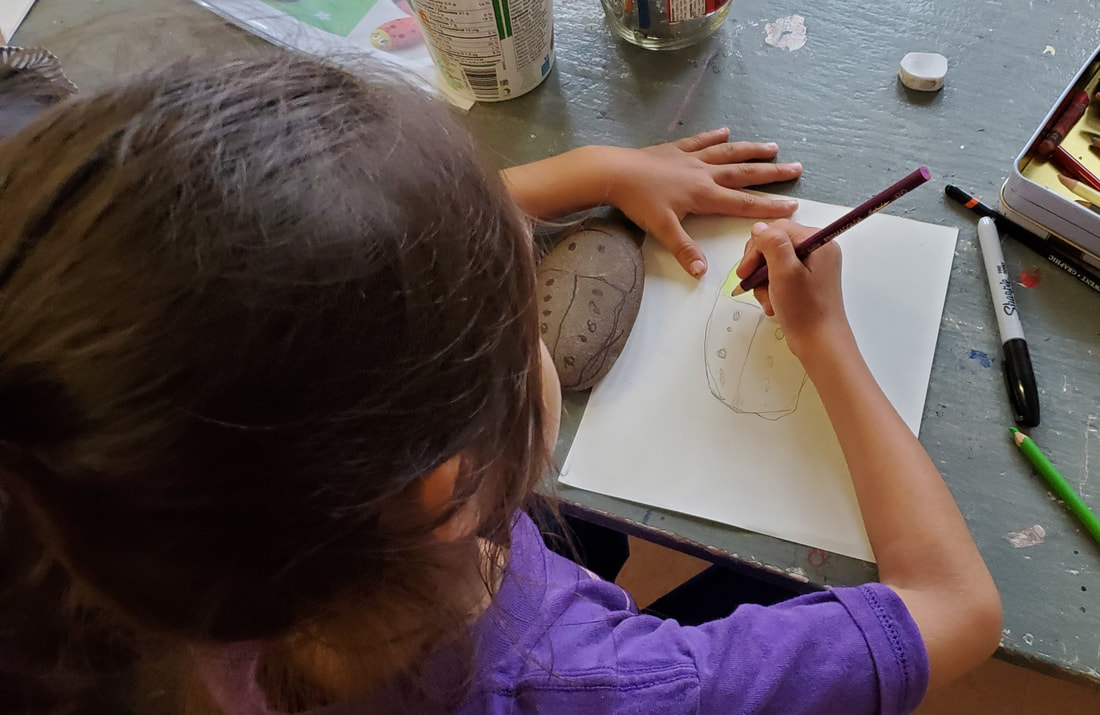
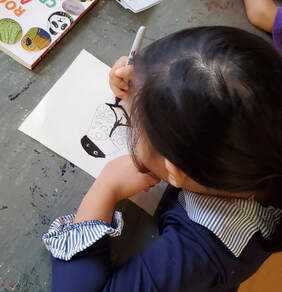
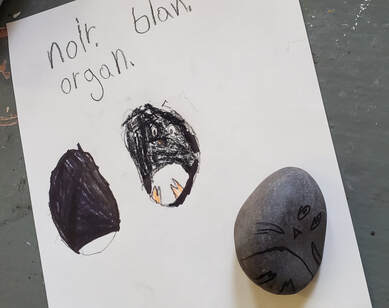
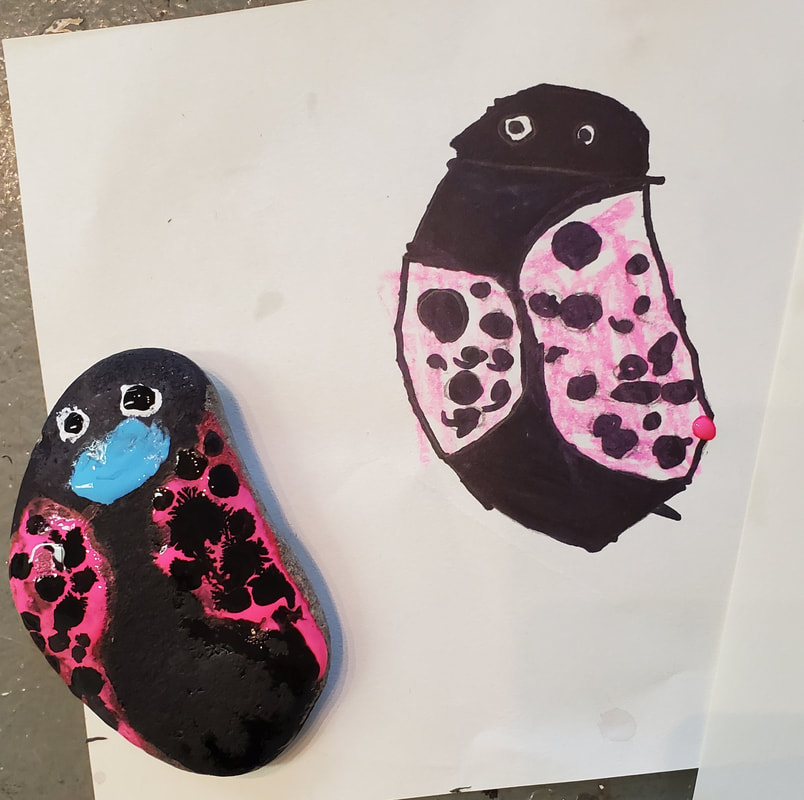
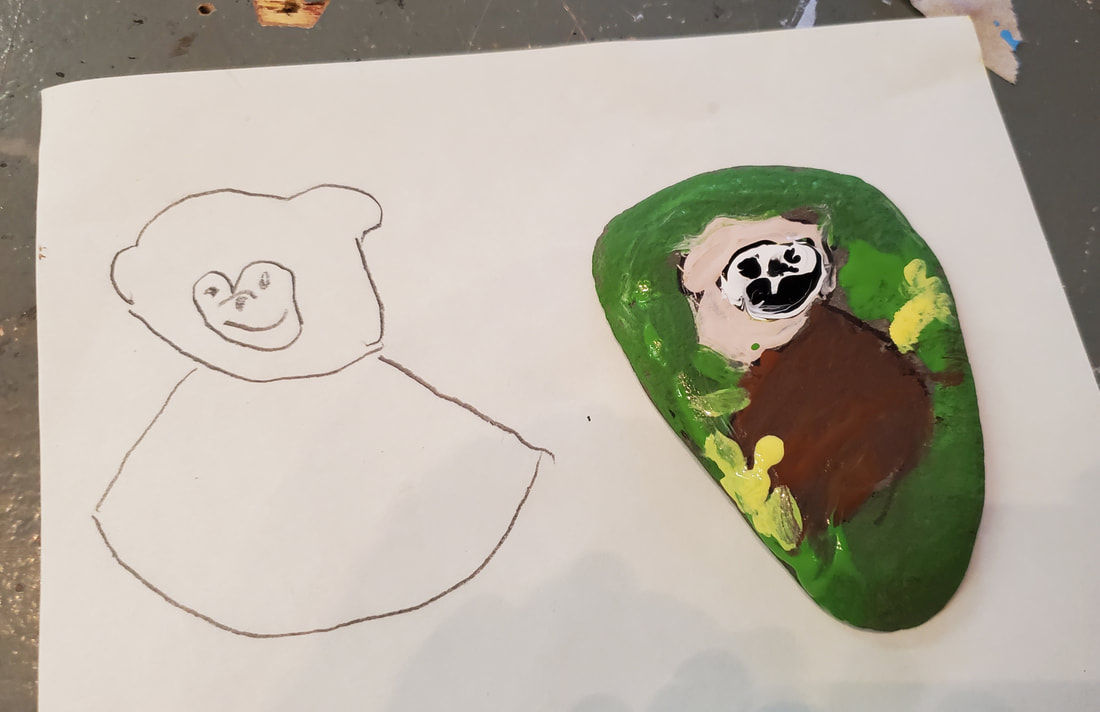
Step 1: Draw on the paper an outline of your rock (tracing rock)
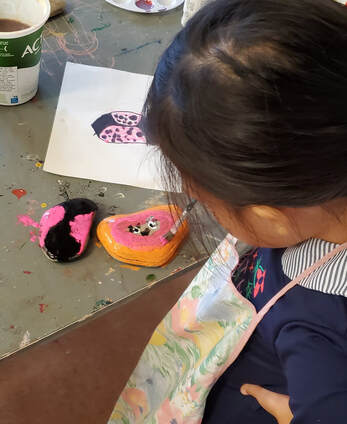
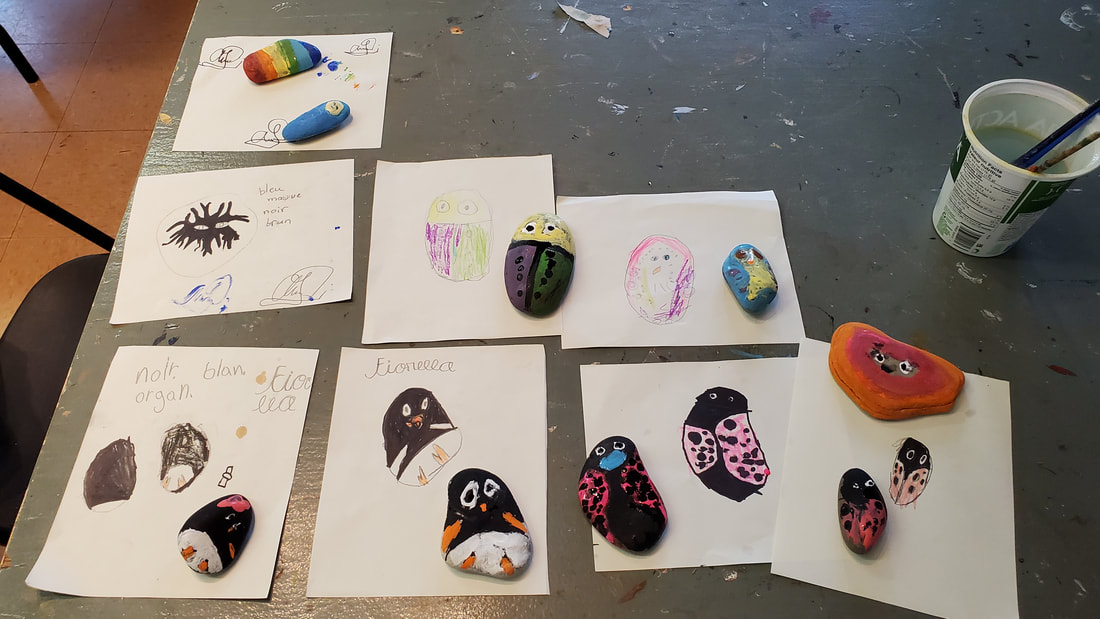
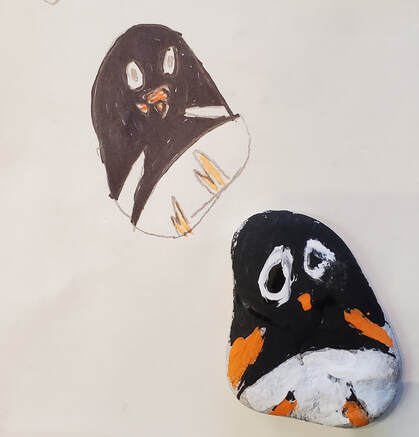
- After you have chosen your rock, place your rock directly on the white paper. Using a pencil trace 1 or 2 outlines of the rock. Then using colored pencils and and pencil, draw the image you wish for your rock. In this case we were inspired to draw bugs, which is easier for young children. Older children could attempt more complex images.
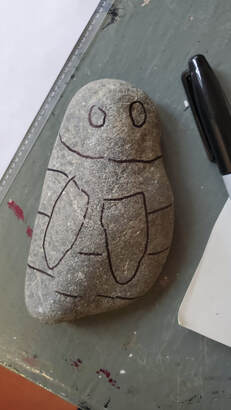
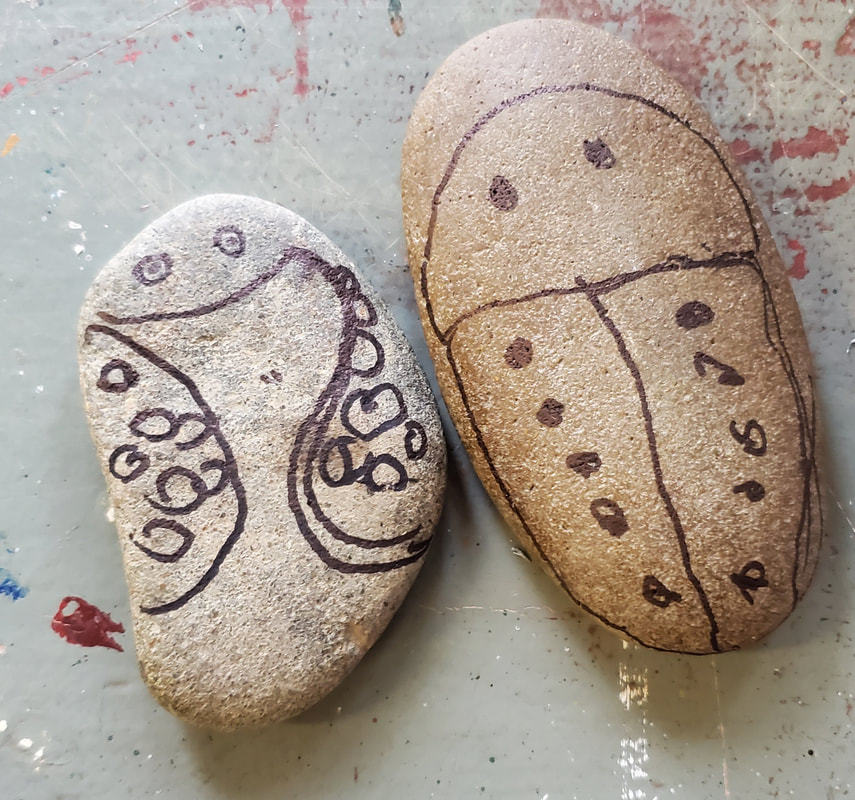
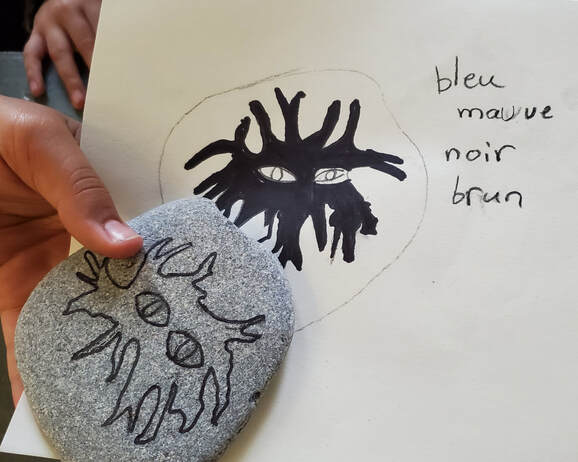
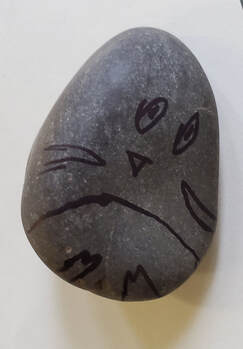
Step 2: Using a black Sharpie, draw the image you want on your rock
- Using the drawing you have made, recreate the image on the rock. It helps to also write down the colors you will be needing.
|
Student Age 11
|
Student Age 7
|
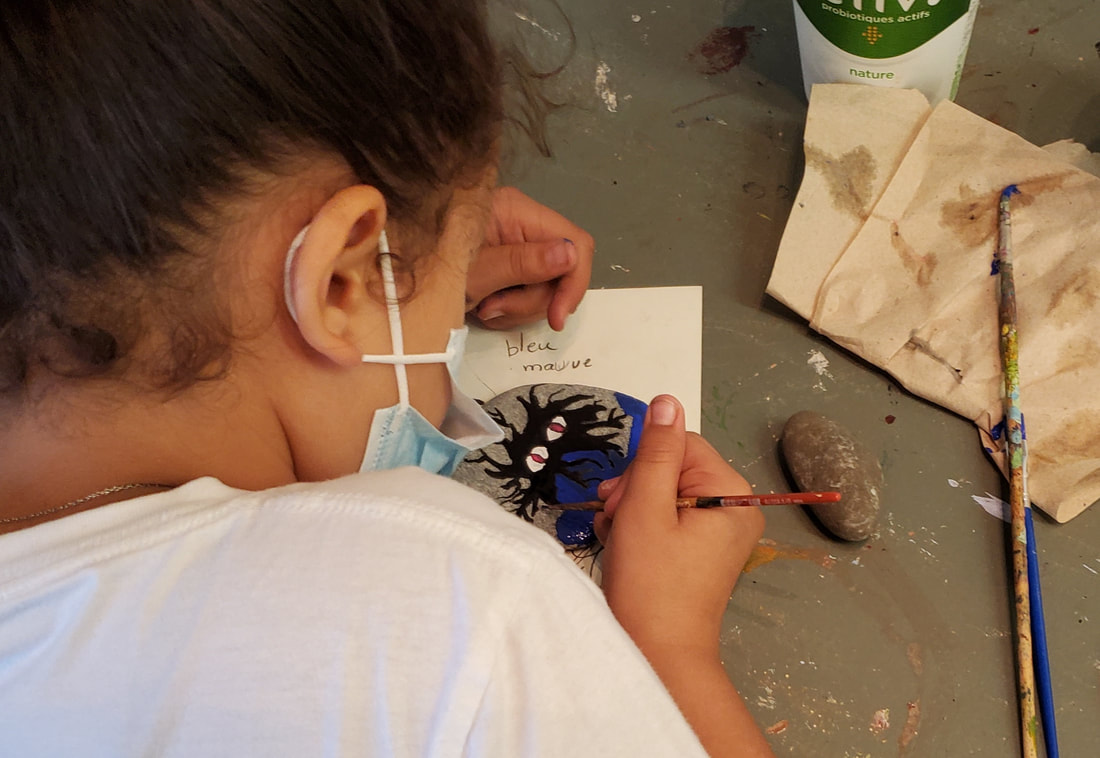
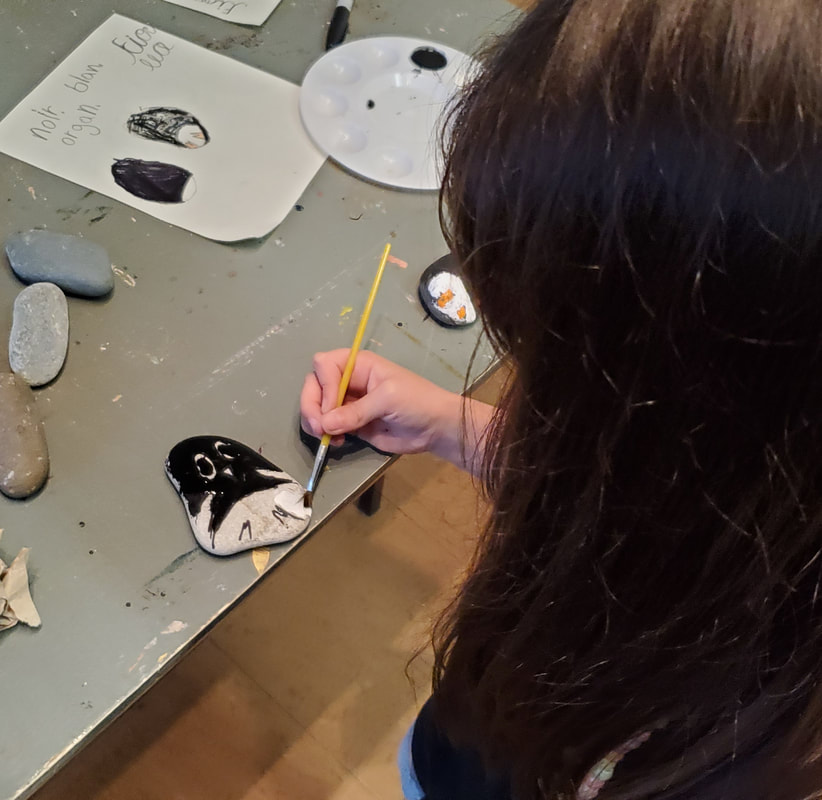
Step 3: Paint your Rock
Step 4: Let Rocks Dry
Step 5: Apply Outdoor Varnish (applied by adult) or Mod Podge (safer for kids), and let dry
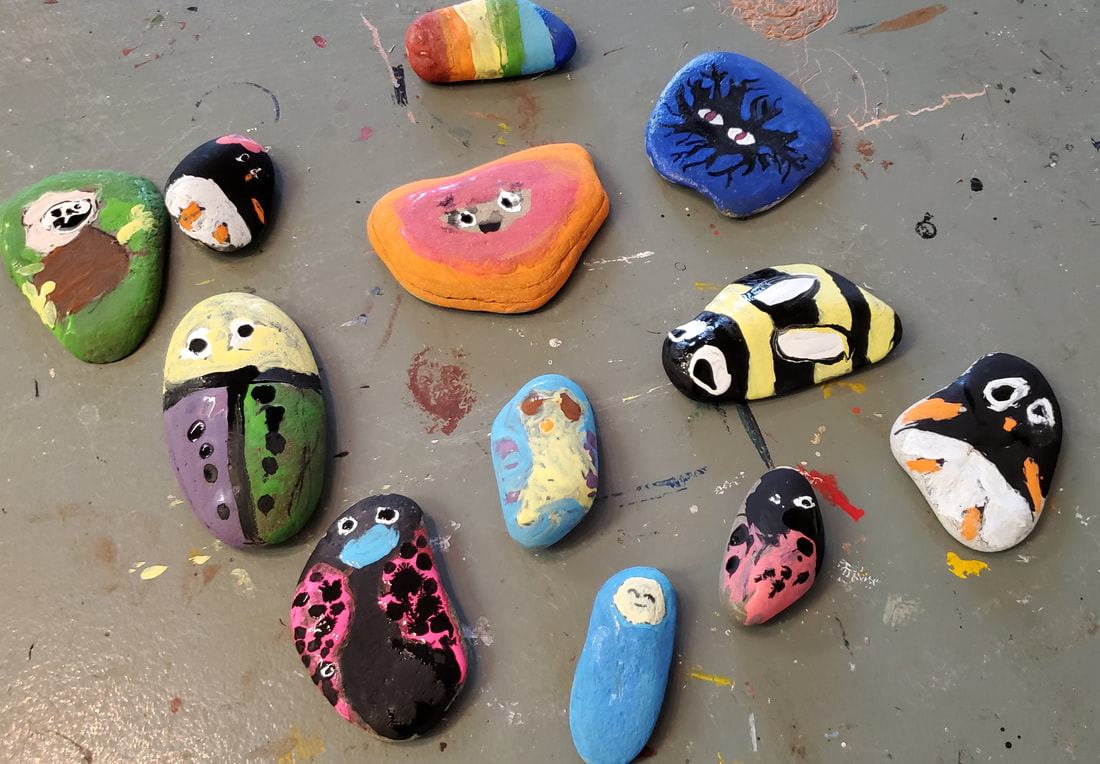
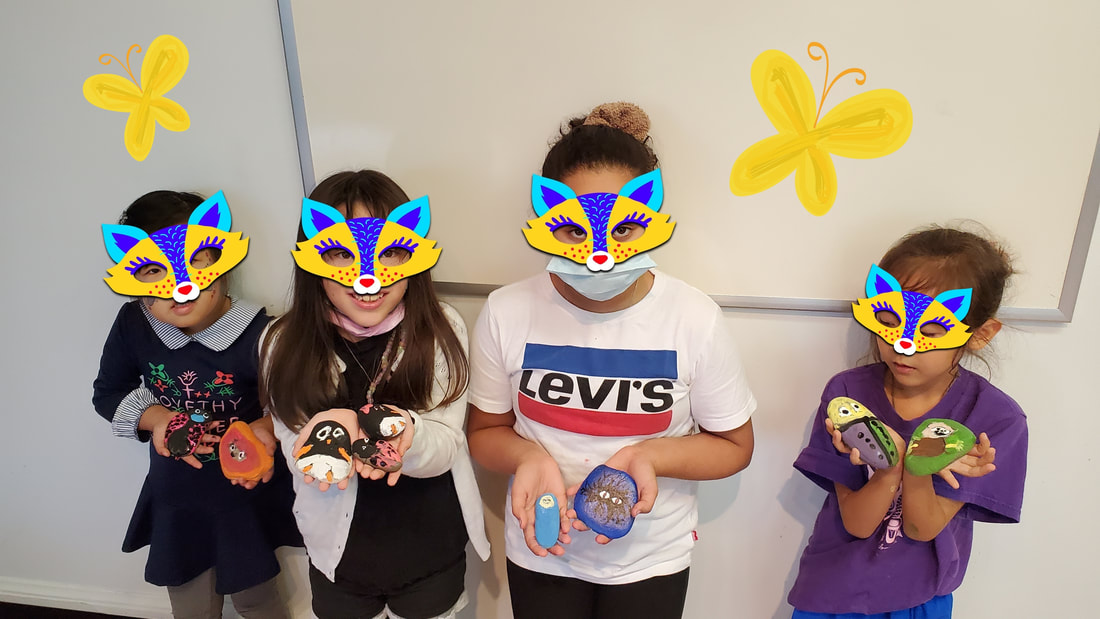
Student Artworks
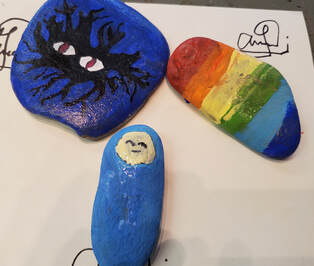
Finished Student Rocks
The Students and their Rocks
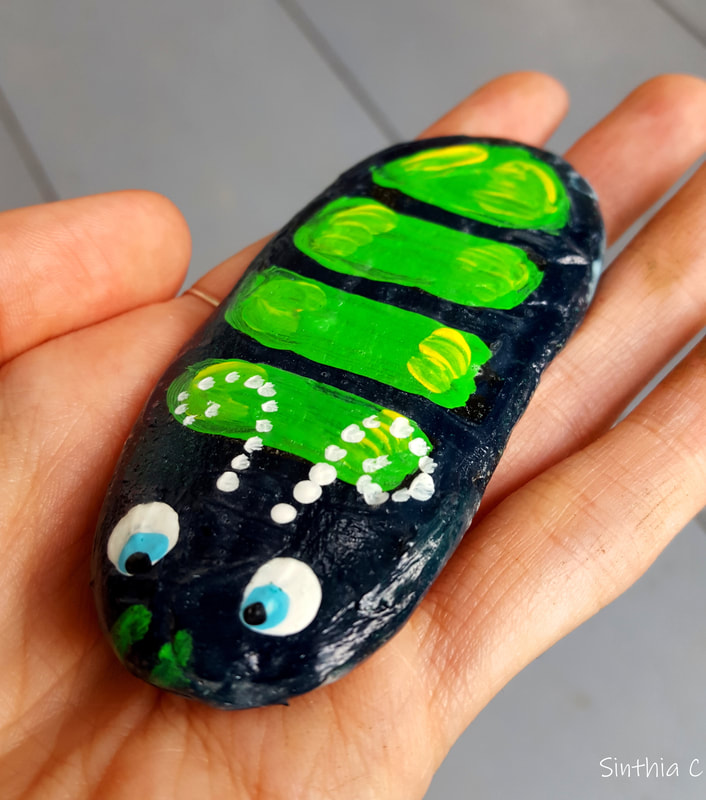
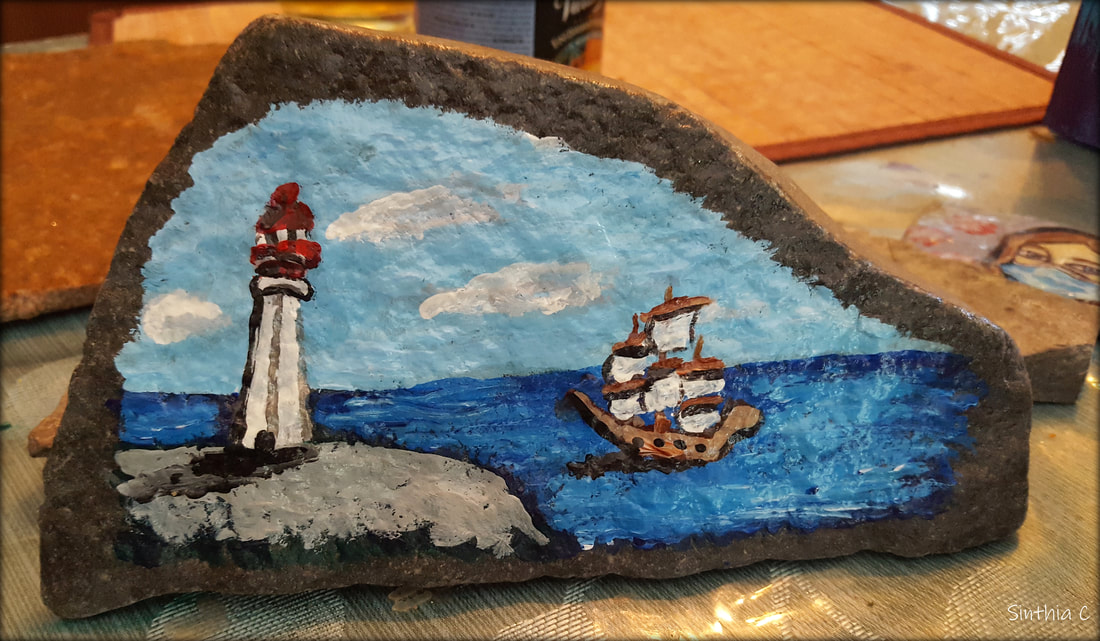
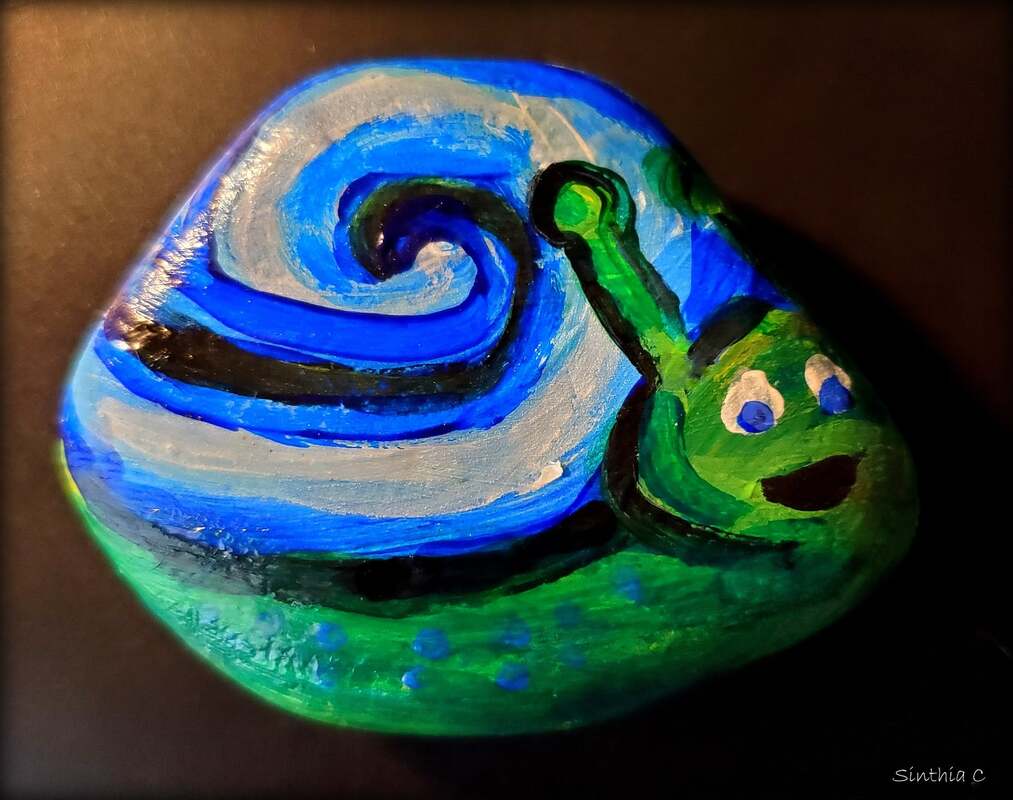
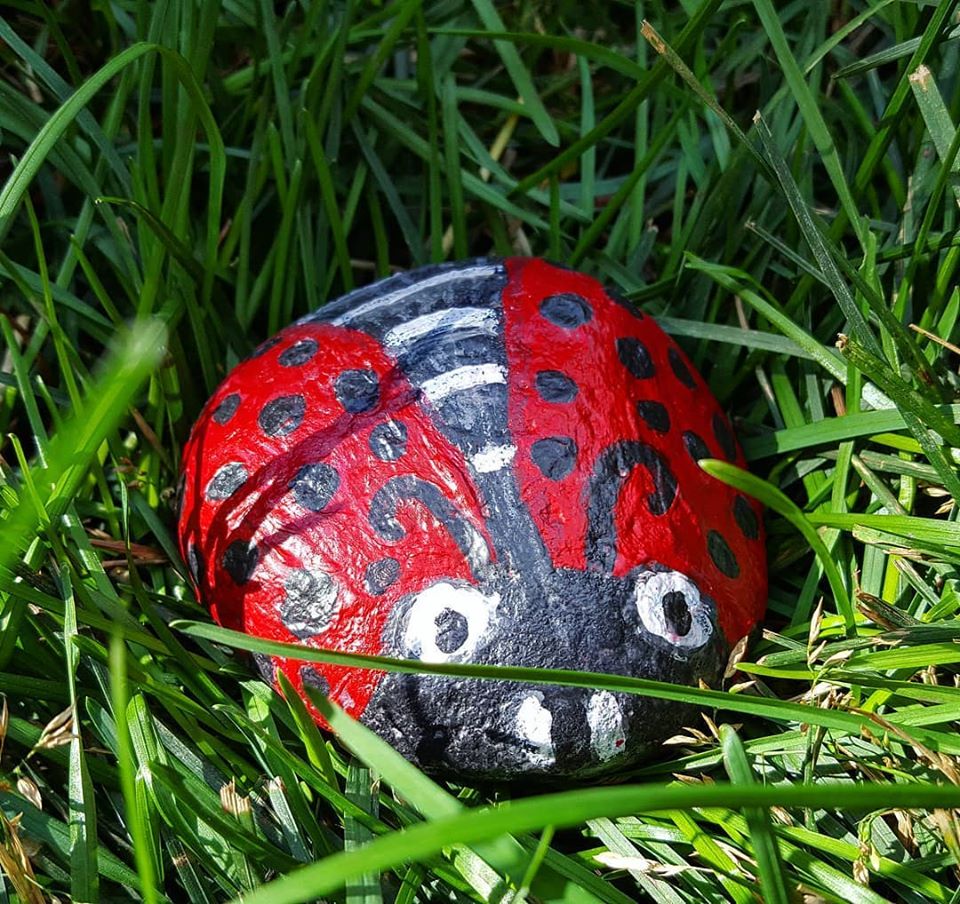
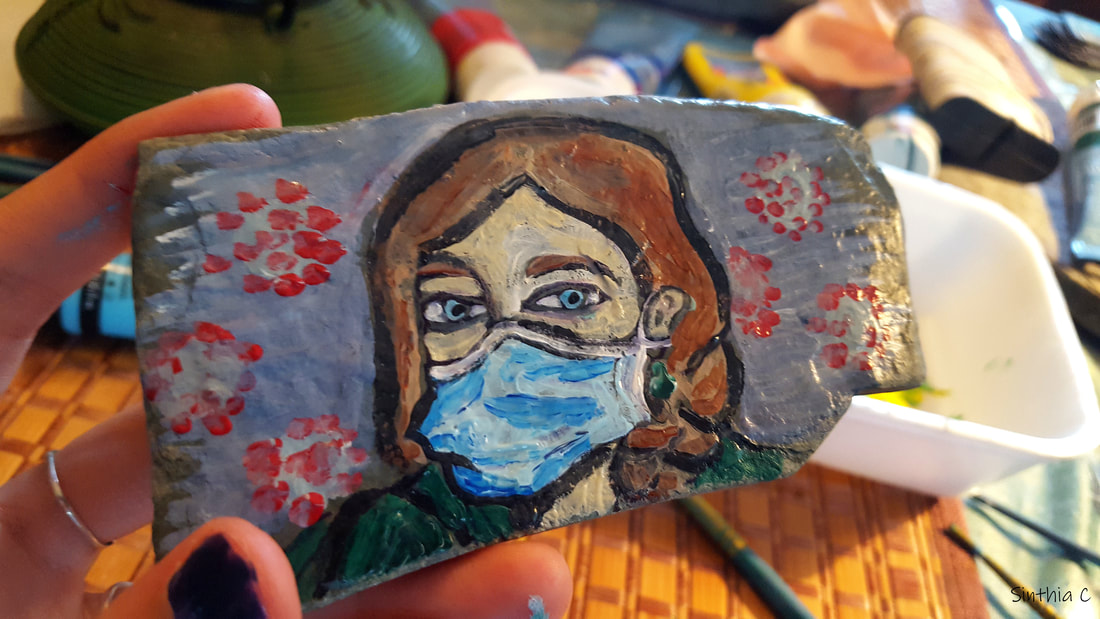
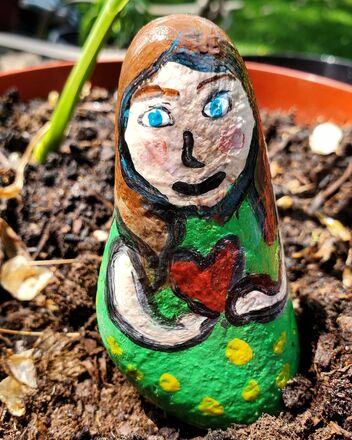
My Prototype Examples of Painted Rocks
By Sinthia Cousineau
Proudly powered by Weebly
- Sinthia Cousineau
- Ceramic Art
- Drawings
- Paintings
-
Photography
-
Art Education
-
Art & Adolescence
>
- Mural Project >
- Lesson: Eco Art
- Lesson: Decorating Fabric
- Lesson: Zentangles & Patterns
- Lesson: Social Media, consumerism & war
- Lesson: Bag Sculptures & Positive Body Image
- Lesson: Caricatures & political activism
- Lesson: Canadian Landscapes & Group of Seven
- Tattoo Art & Meaningful Images
- Lesson: Stenciling Street Art
- Lesson: Plaster Figures (grade 7-9)
- Photoshop Lesson
- Lesson: Value Scales
- Lesson Plan: Video Art
- Lesson Plan: Sound Art
- Lesson: GIF Project
- Lesson: Mashup Videos
- Art Education & Older Adults >
-
Art & Children
>
- Collage & other art Activities >
-
Drawing Activities with Kids
>
-
Pencil, Markers and Coloring
>
- Introductory Lesson
- Introduction Lesson: Egyptian Name Cartouche
- Reptile Zentangle Drawing >
- Illustrated Names
- Symmetrical Name Creatures
- Drawing from Autumn Still-lives
- Grid Drawing Technique
- Lesson: Alliteration Drawing
- Drawing: 3D Hands
- Leaf Drawing Collage
- Ancient Egypt Art
- Collaborative Doodle
- Drawing: Hidden Emotions Behind the Mask
- Scribble Drawing
- Drawing : Word Art
- Lesson Plan: Renaissance Invention Scroll
- Lesson: La Bande Dessinée
- Lesson: Optical Illusions
- Oil Pastels >
- Chalk & Soft Pastel >
- Charcoal >
-
Pencil, Markers and Coloring
>
-
Painting Activities with Kids
>
-
Acrylic Painting Lessons
>
- Acrylic Pouring
- Australian Dot Painting
- Blow Paint Technique
- Bubble Wrap Painting: Bee
- Pointillism Painting
- Funky Easter Rabbit
- Lesson: The Color Wheel
- Monochromatic Painting
- Painting: Birch Tree
- Leaf Painting
- Pumpkin Painting
- Painting: Rock Painting
- Squeegee Painting Technique
- Origami Inspired Painting
- Coffee Art
- Watercolor Activities >
-
Acrylic Painting Lessons
>
- Mixed Media Activities with Kids >
- Types of Art >
- History Lessons
-
Art & Adolescence
>
-
Art Therapy
- 3D Art & other mediums
- Videos
- Contact Me
