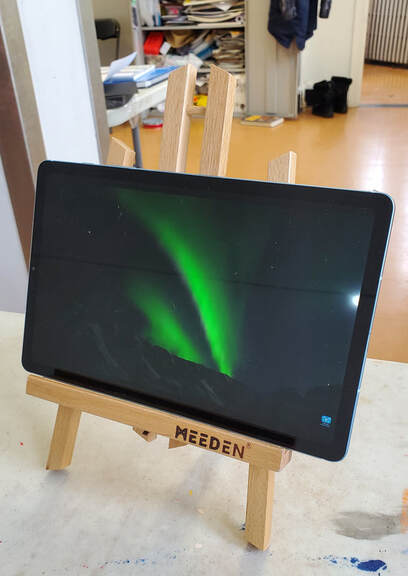
Aurora Borealis
Technique/Medium: Acrylic, splatter painting, soft pastels
Time: 1-1.5 hours
Theme: Night sky, landscape, stars, lights, Aurora Borealis, winter
Age: 5-8 year old (smaller paper)
9-12 years (larger paper)
Prototype Examples
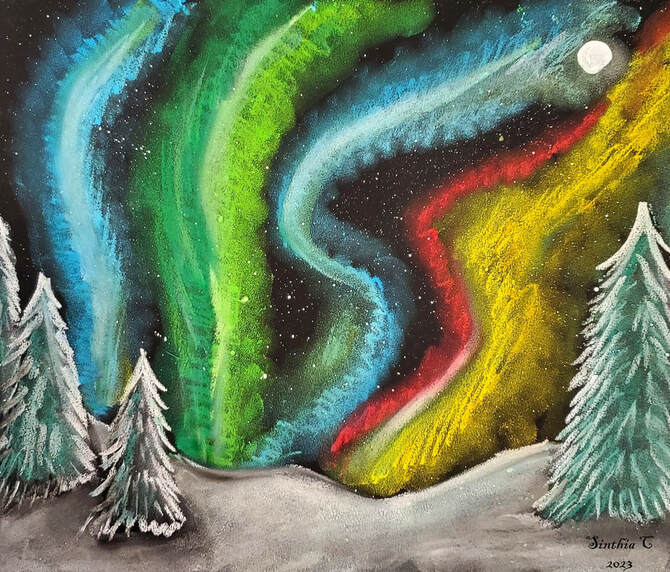
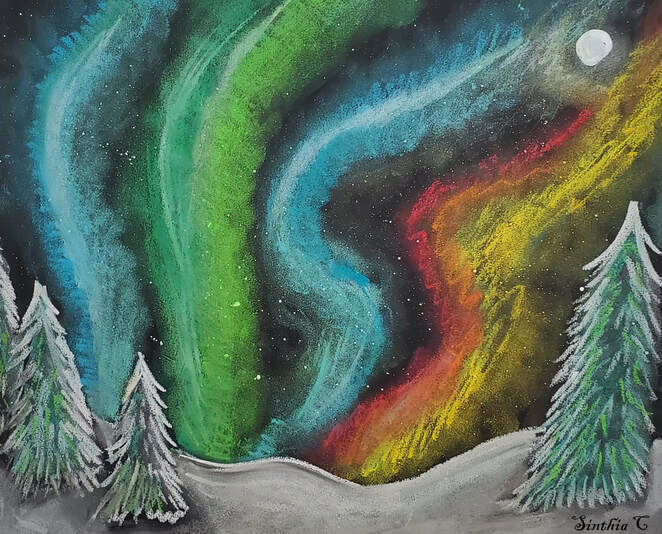
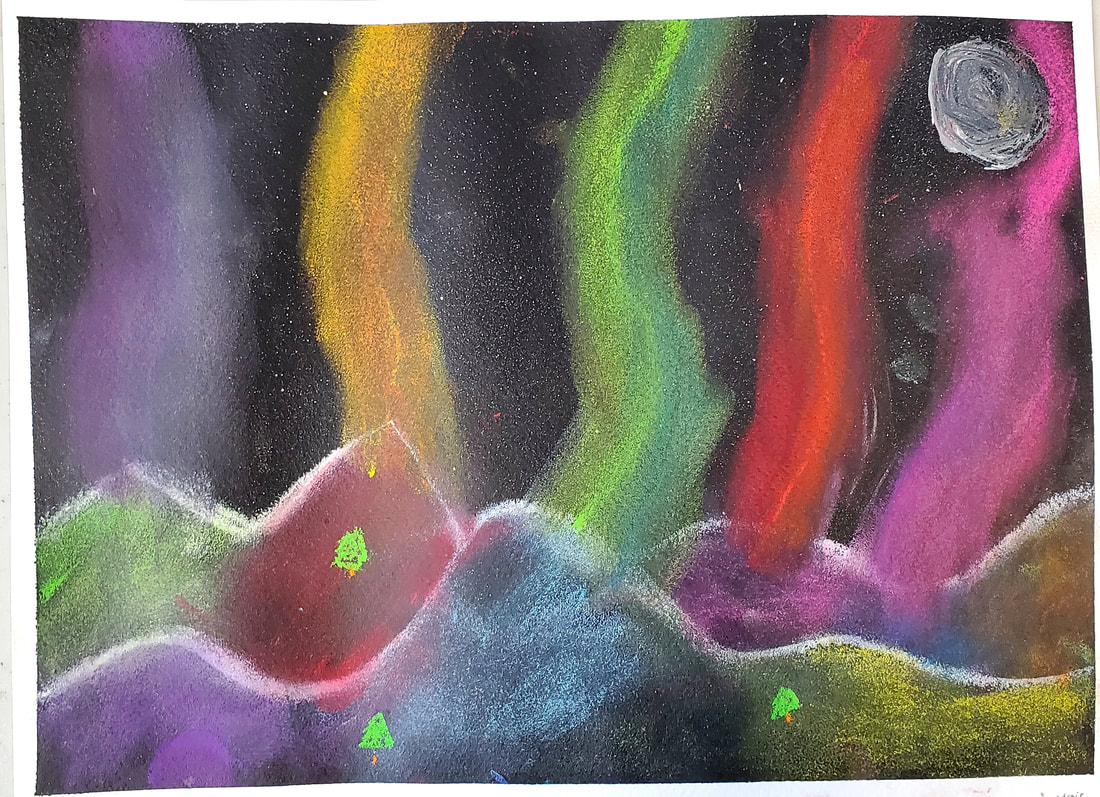
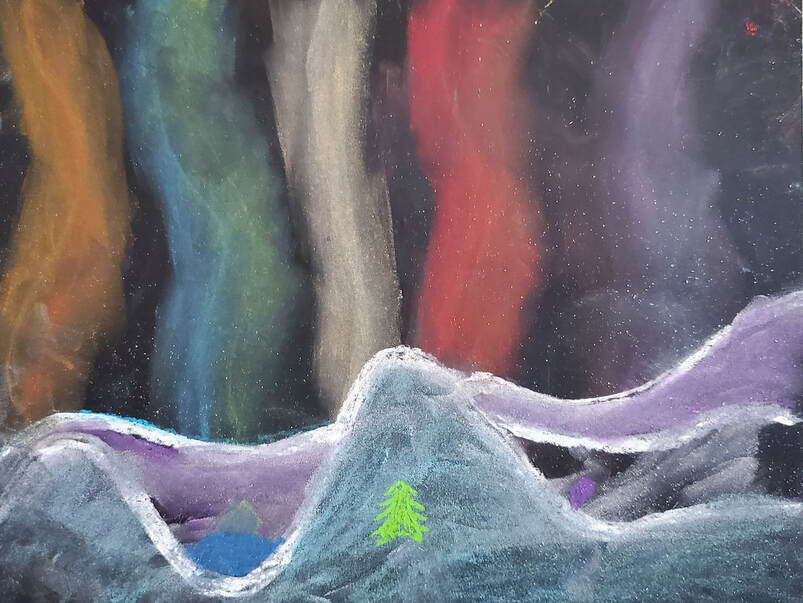
"Aurora Borealis" by Sinthia Cousineau
|
|
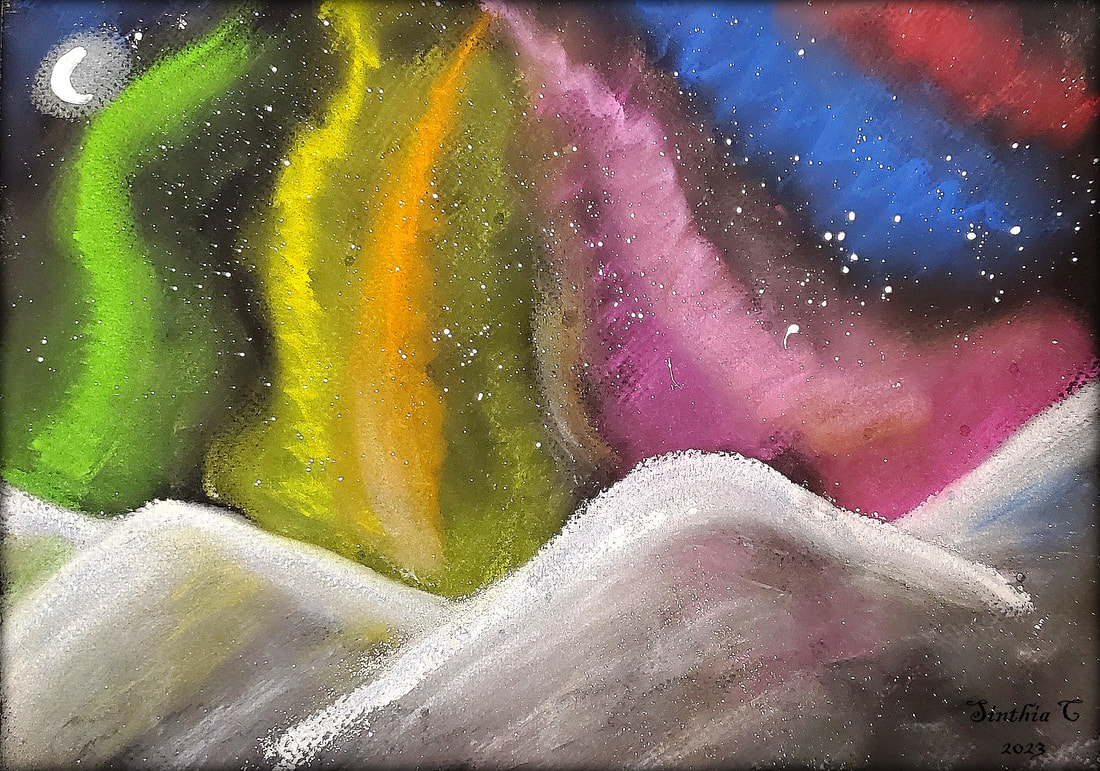
"Aurora Borealis" by Sinthia Cousineau
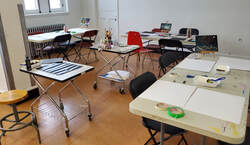
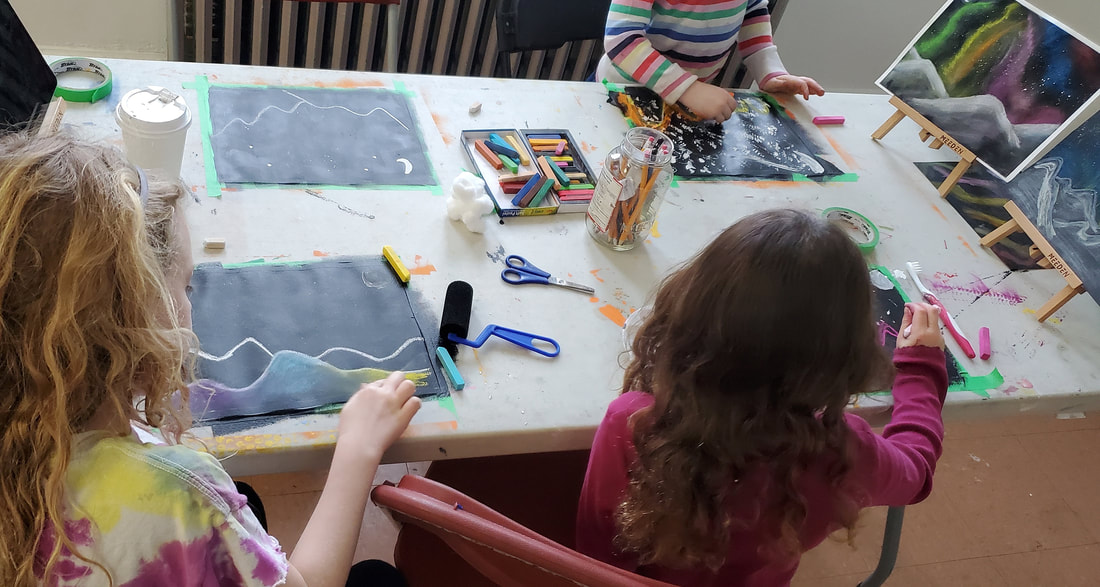
Classroom Set-up

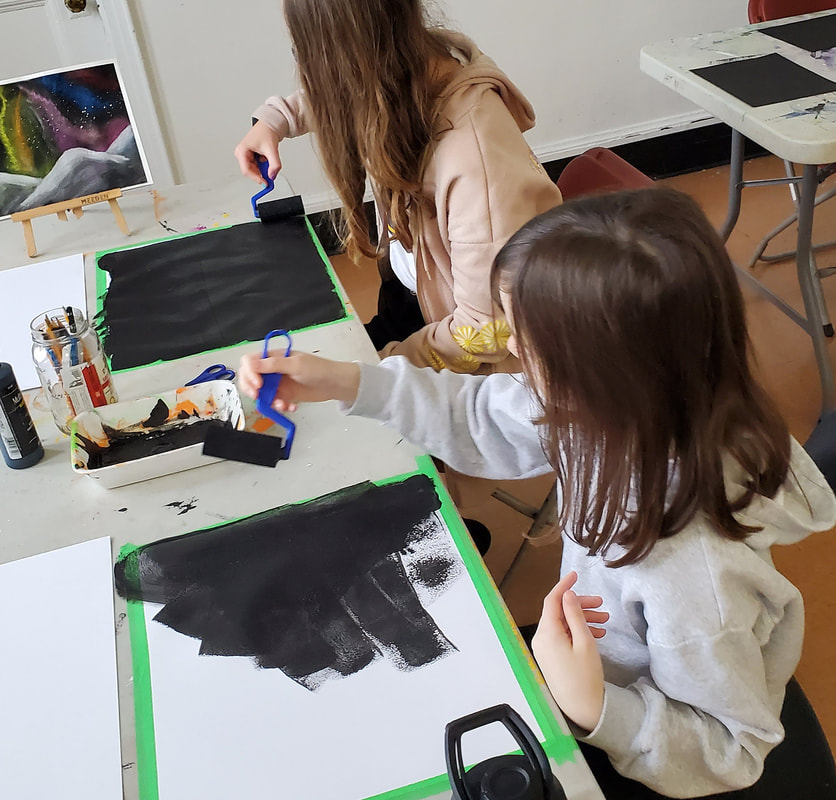
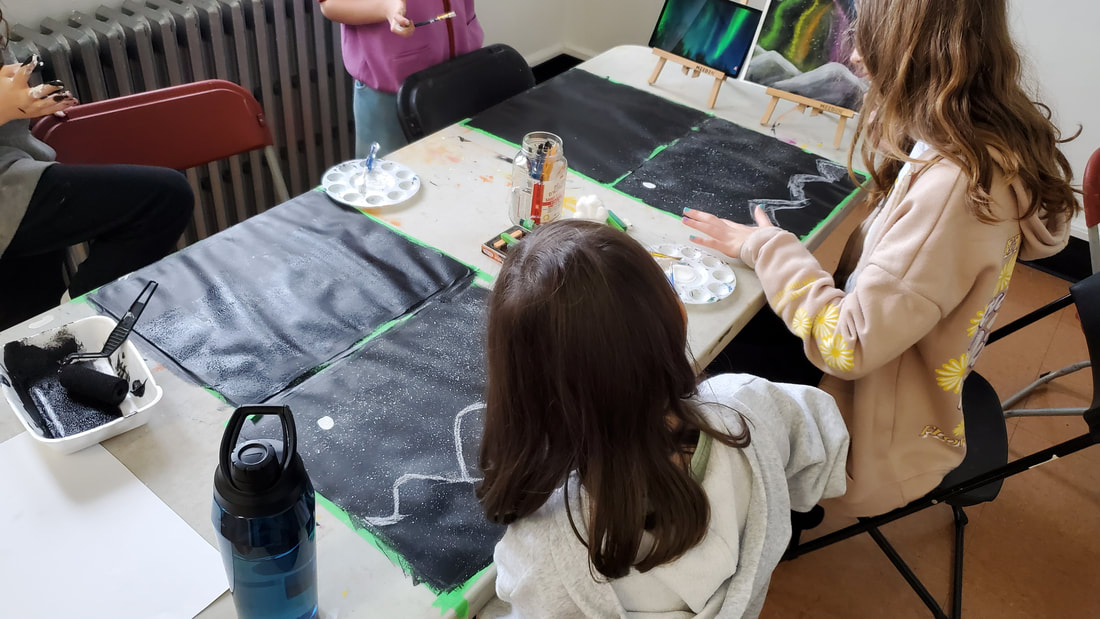
- In my classroom set-up for 8 students, I had twotables for 4 students in which I placed a large sheet of mixed media paper and my prototype examples. On those tables I poured black acrylic paint in a styrofoam containing with sponge rollers.
- I had prepared the 3rd table with black cardstock paper and pastels and a video of real Aurora Borealis to inspire the kids. This 3rd table was the exploration/pratice table for kids to pratice with oil pastels as they waited for the paint of their main artwork to dry.
- I also place a materials table for paint supplies between all tables (palettes, paintbrushes, toothbrushes, water jars, rag, paints, and cotton balls).
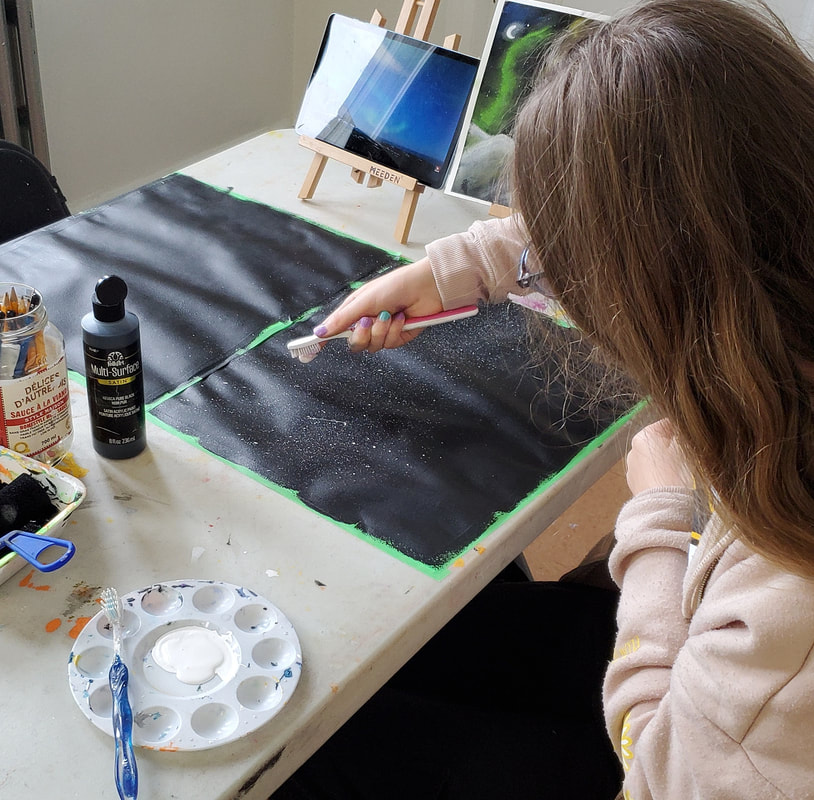
- There was also a demonstration table which I used to demonstrate the various steps and allow kids to pratice the splatter paint technique with a toothbrush .
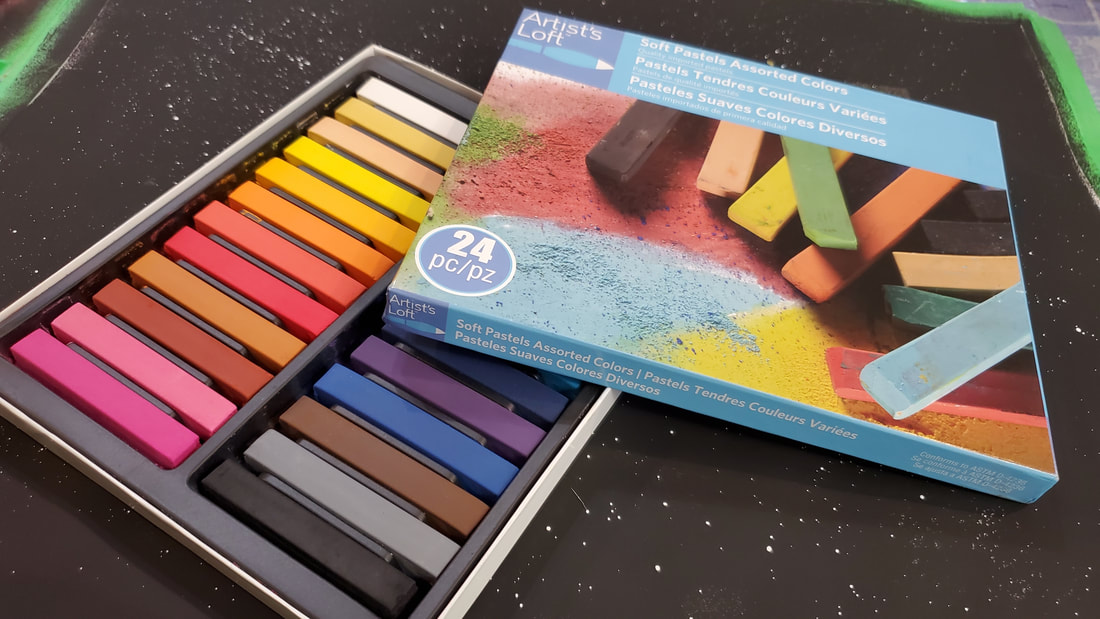
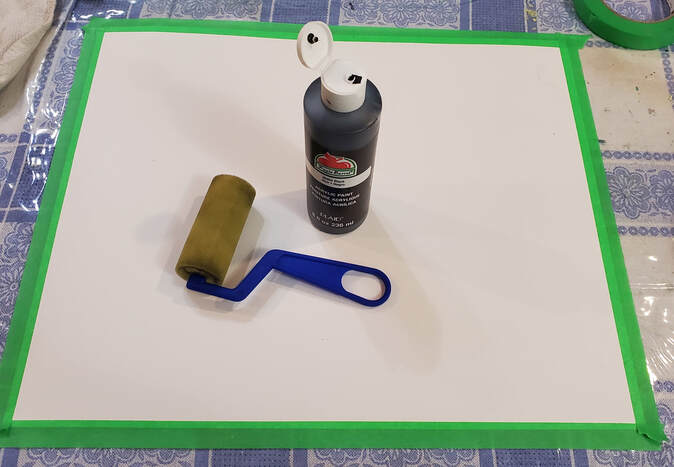
Materials
|
|
Project Steps
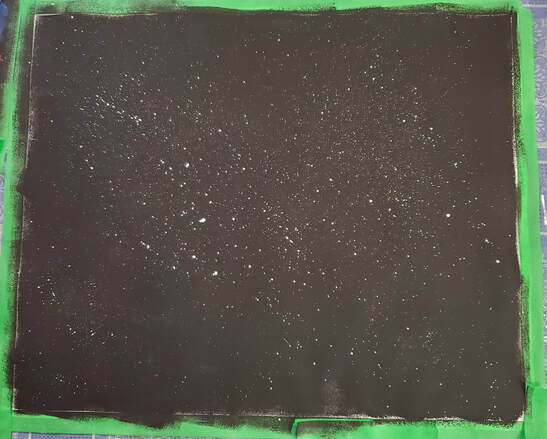
Step 1: Tape the mixed media paper to the table with masking tape.
Step 2: Apply black paint to the paper and spread with throughout the paper with a sponge roller.
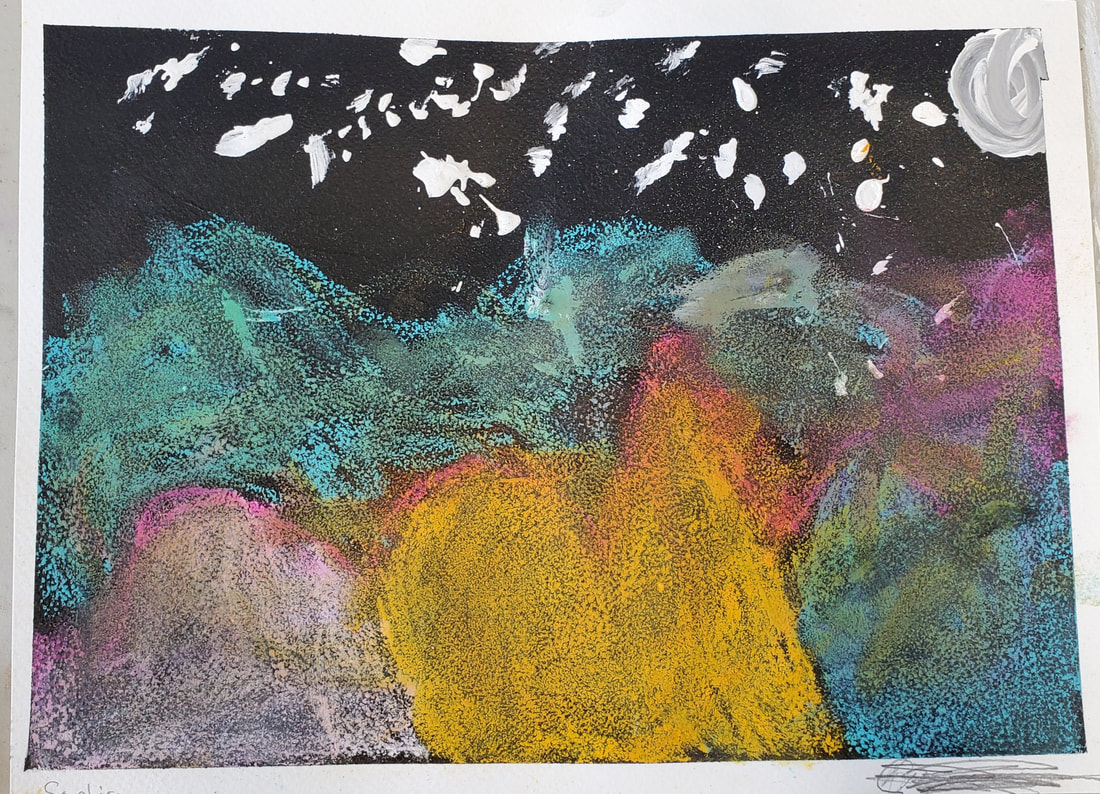
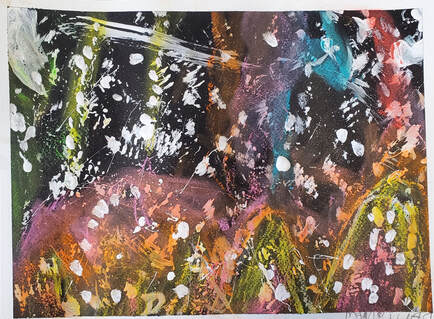
Step 3: Spatter white paint on the paper with a toothbrush. With a small paintbrush, paint a moon.
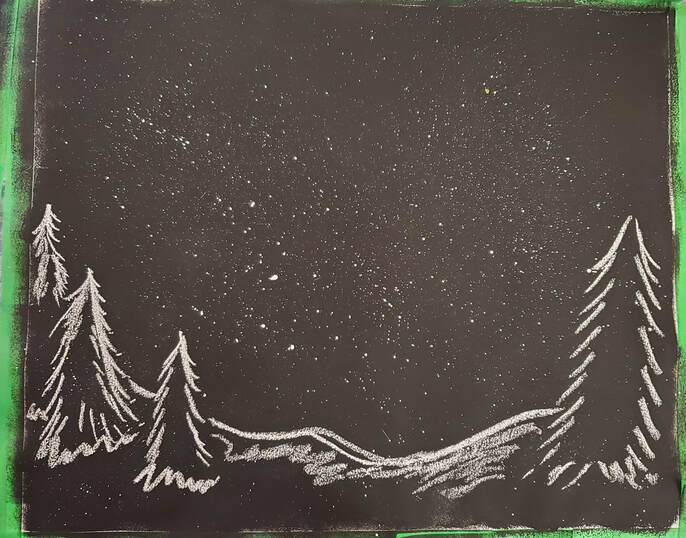
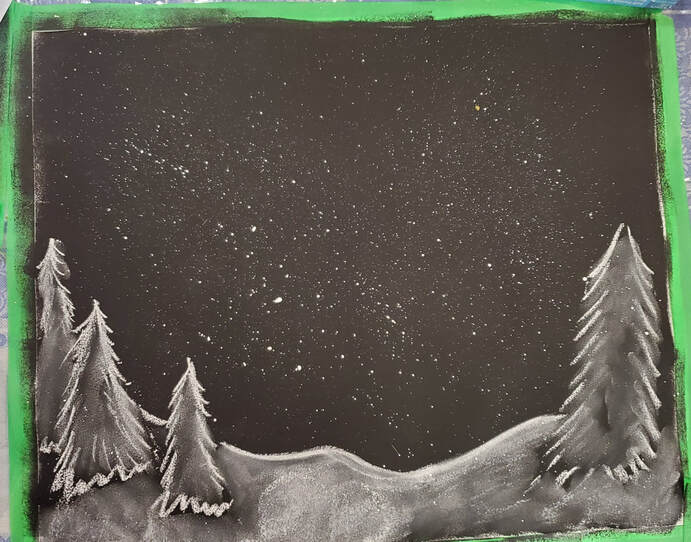
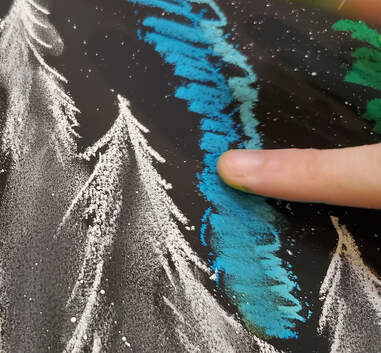
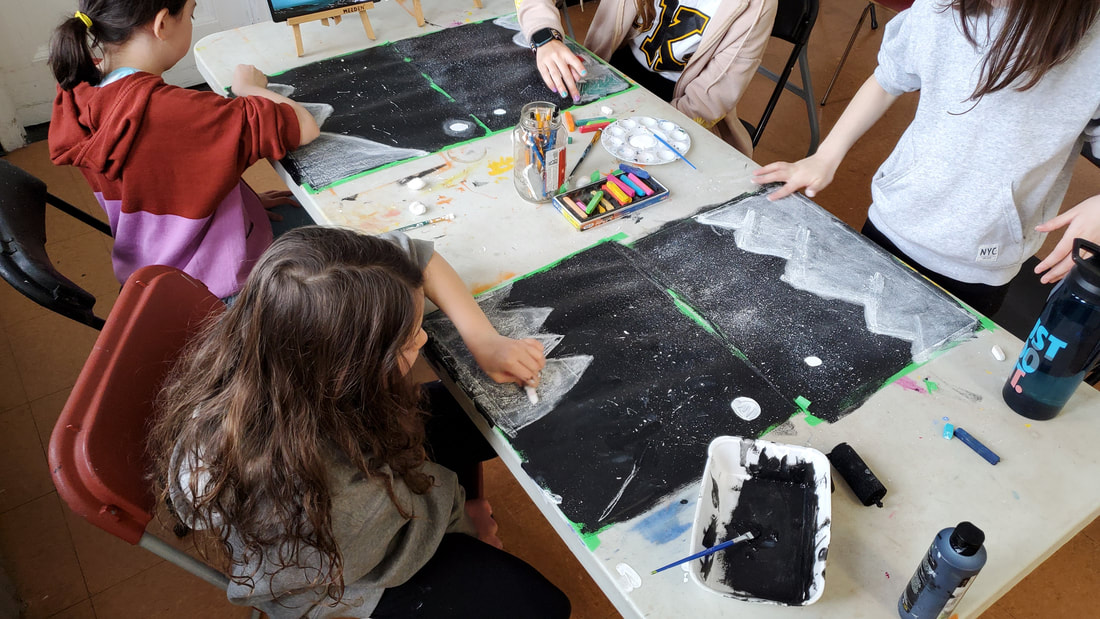
Step 4: Once the paint is dry, use a white pastel to draw in the winter landscape at the base of the drawing. Blend pastel with finger and add more colours if desired
|
|
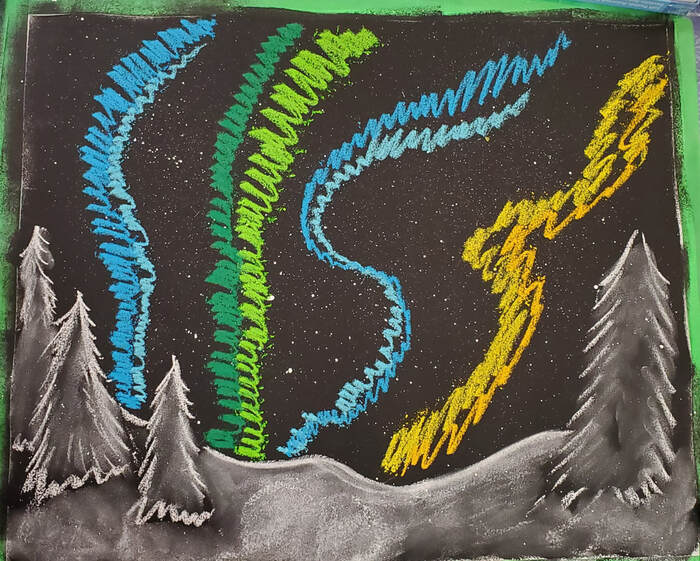
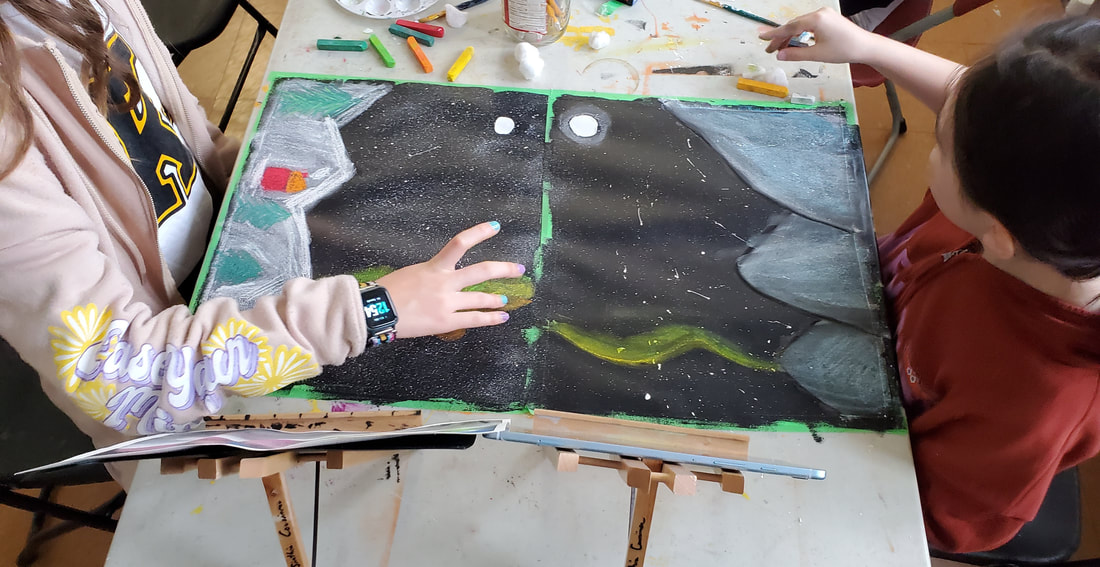
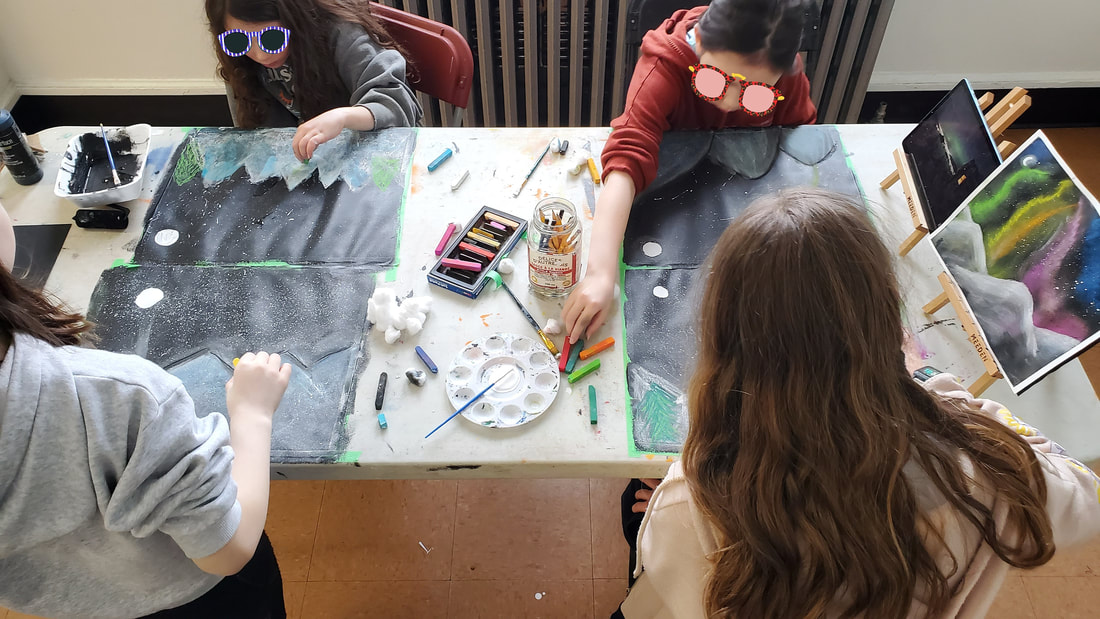
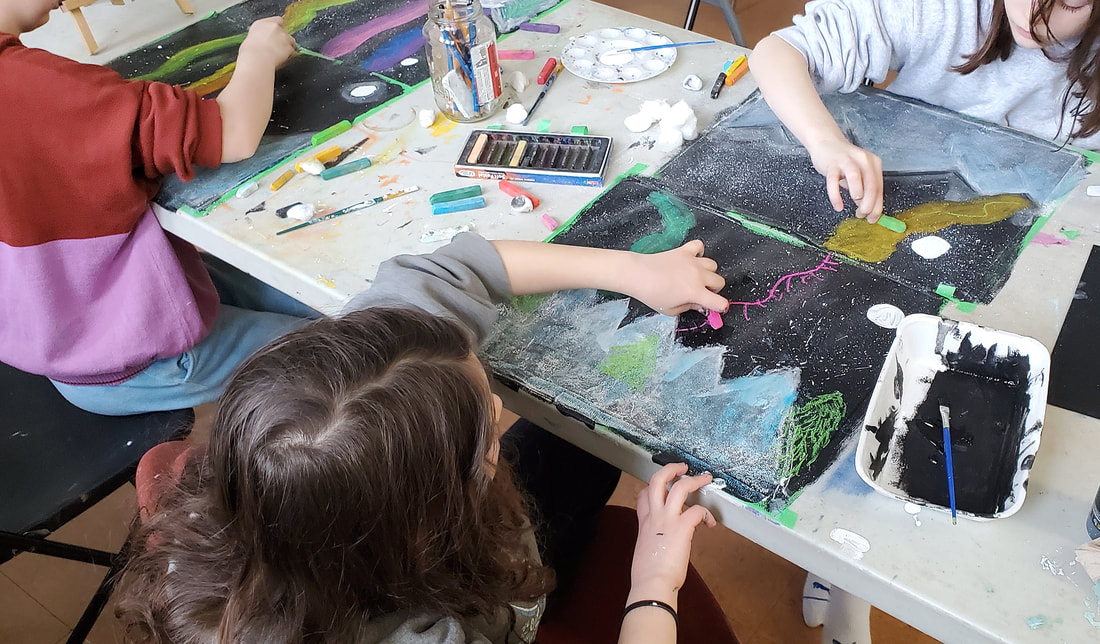
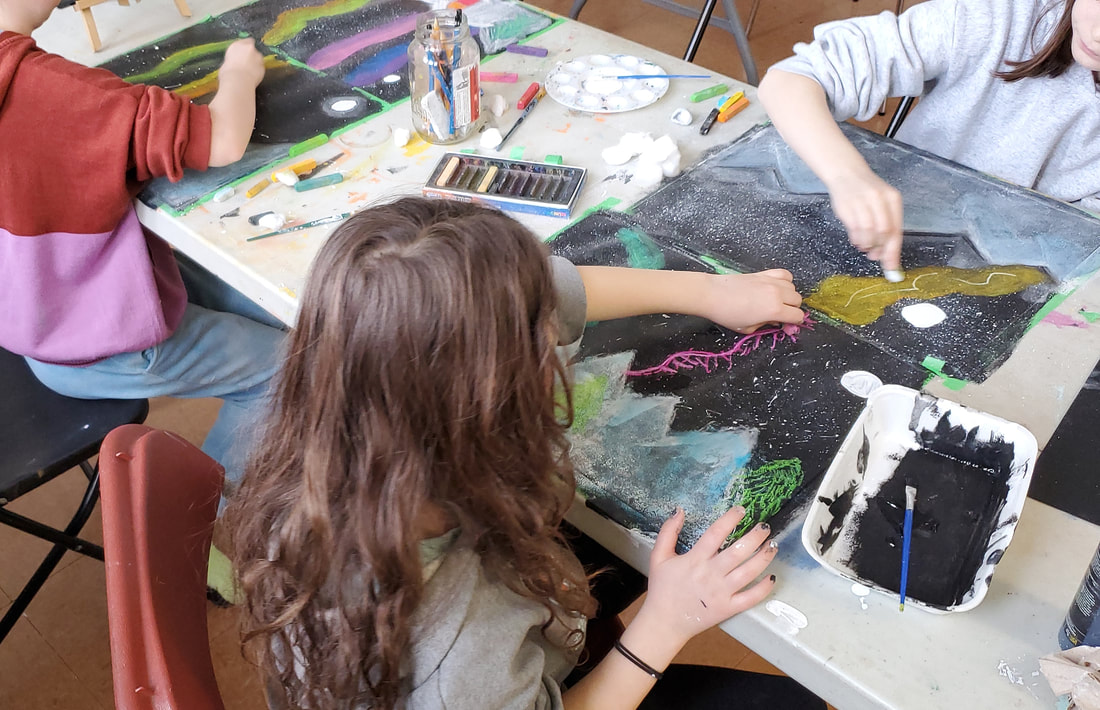
Step 5: With coloured pastels apply different Aurora Borealis lights to the sky, while blending two colours near each other with your finger.
|
|
Step 6: Apply more colours on top of pre-existing colours, continue blending and use cotton balls to erase the undesired parts and create a cloud like effect in the sky.
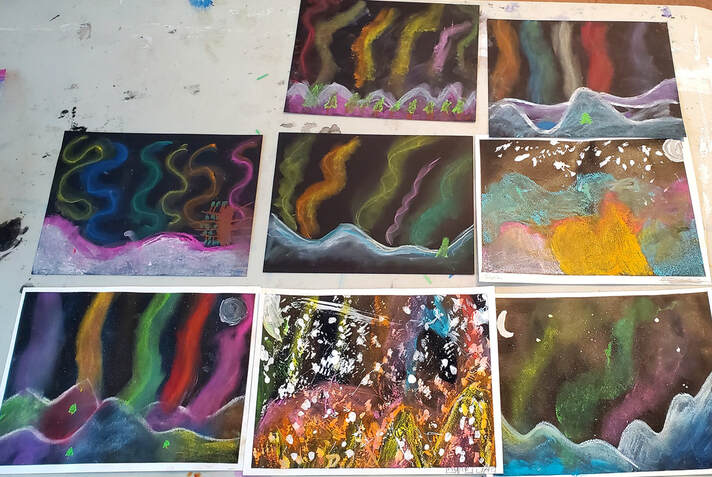
Student's Creating their Artworks


Student Artworks
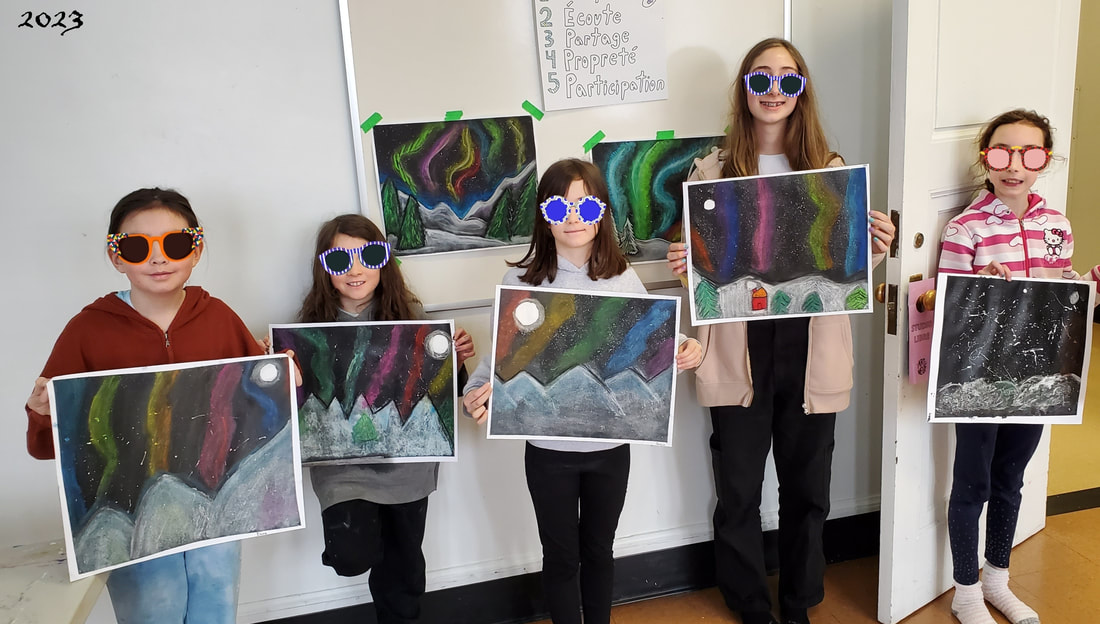
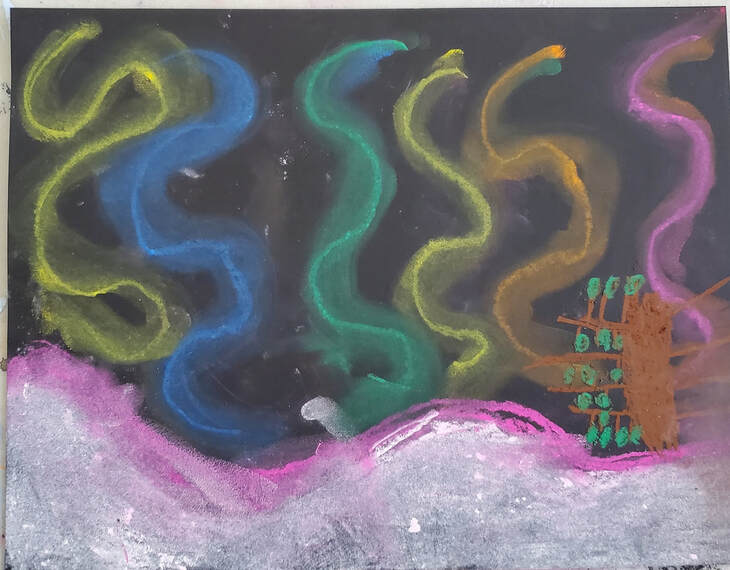
My class of 9-12 year olds at Art Neuf
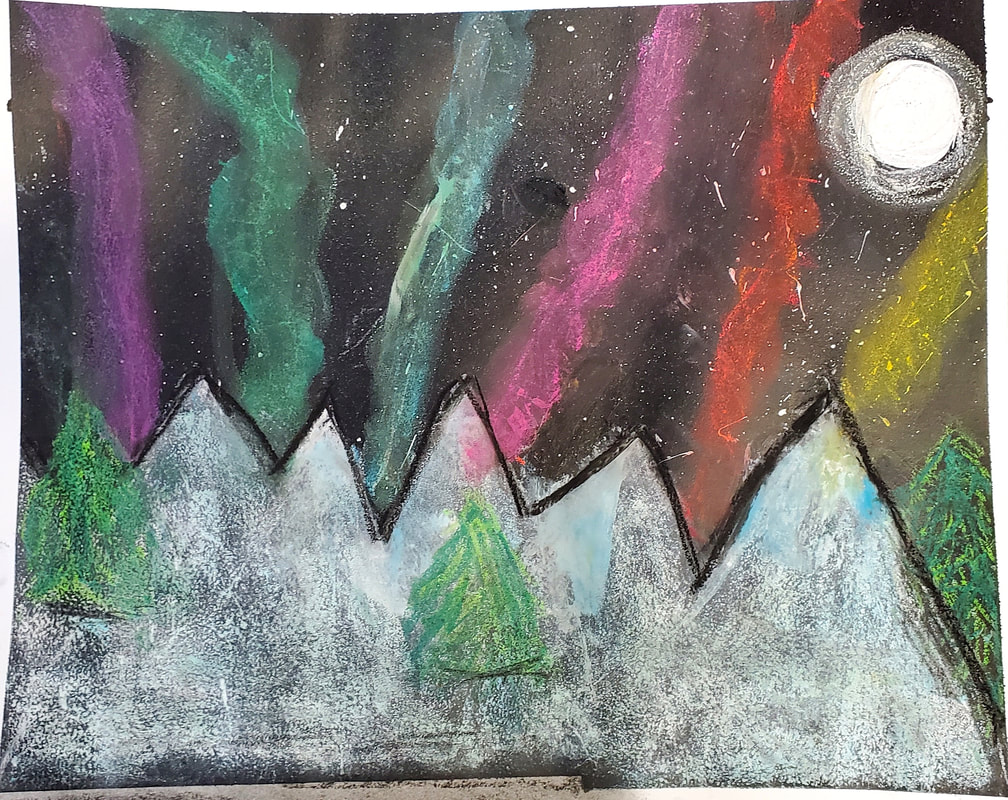
Student Age 9
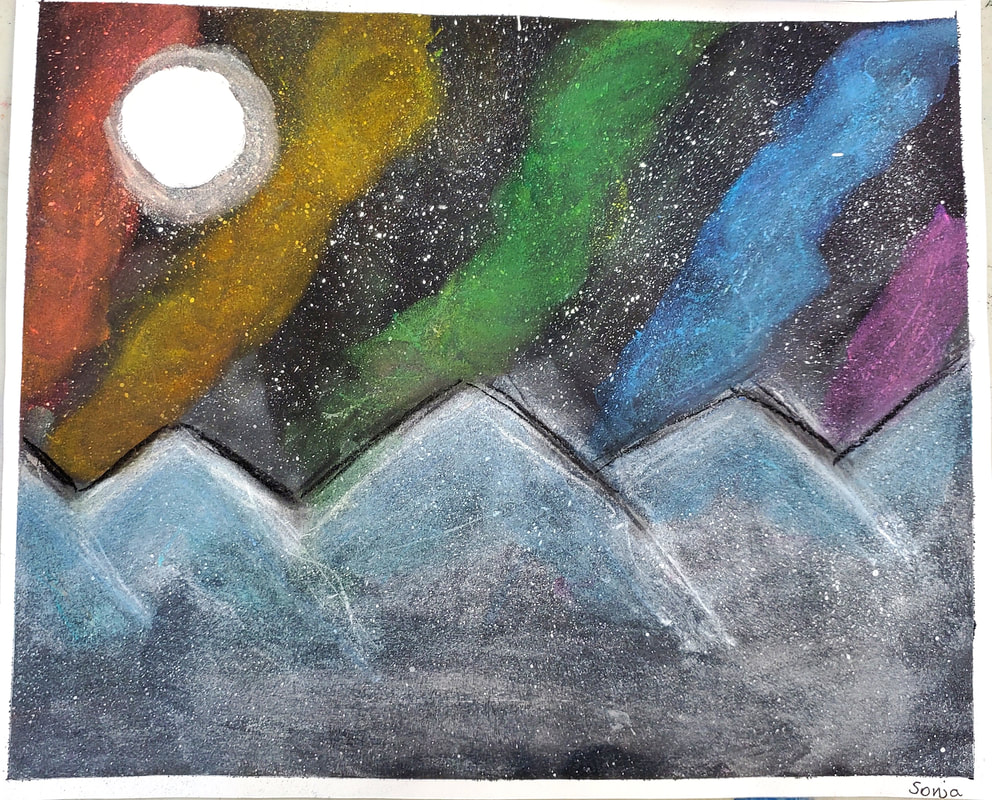
Student Age 9
Student Age 11
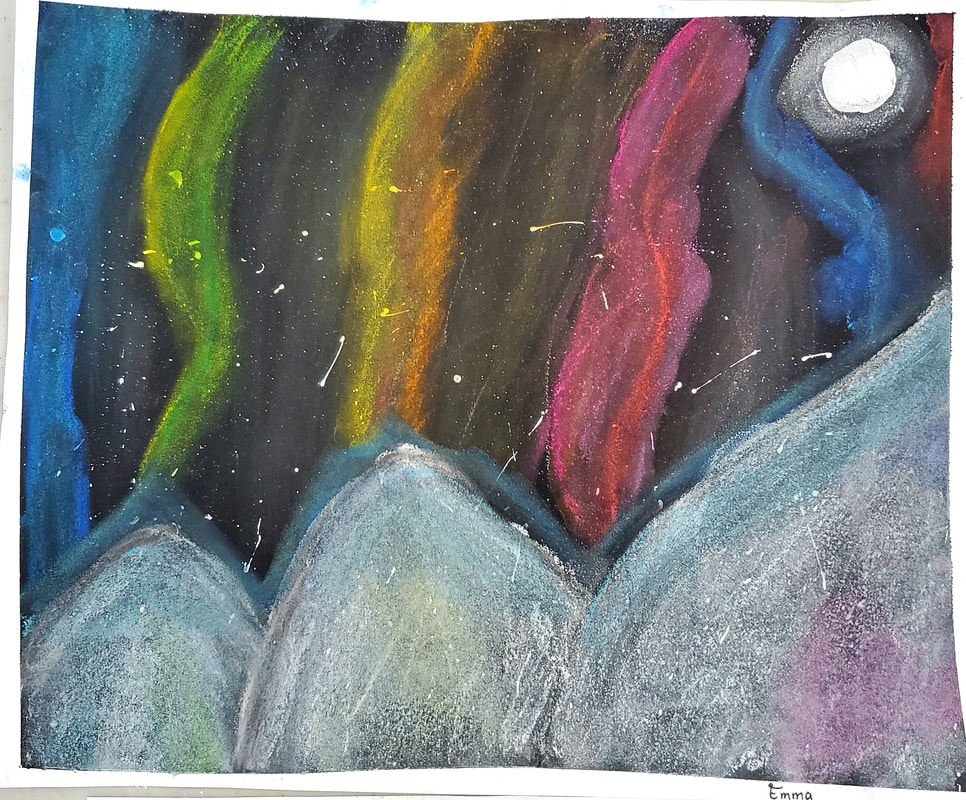
Student Age 9
Student Age 8
|
|
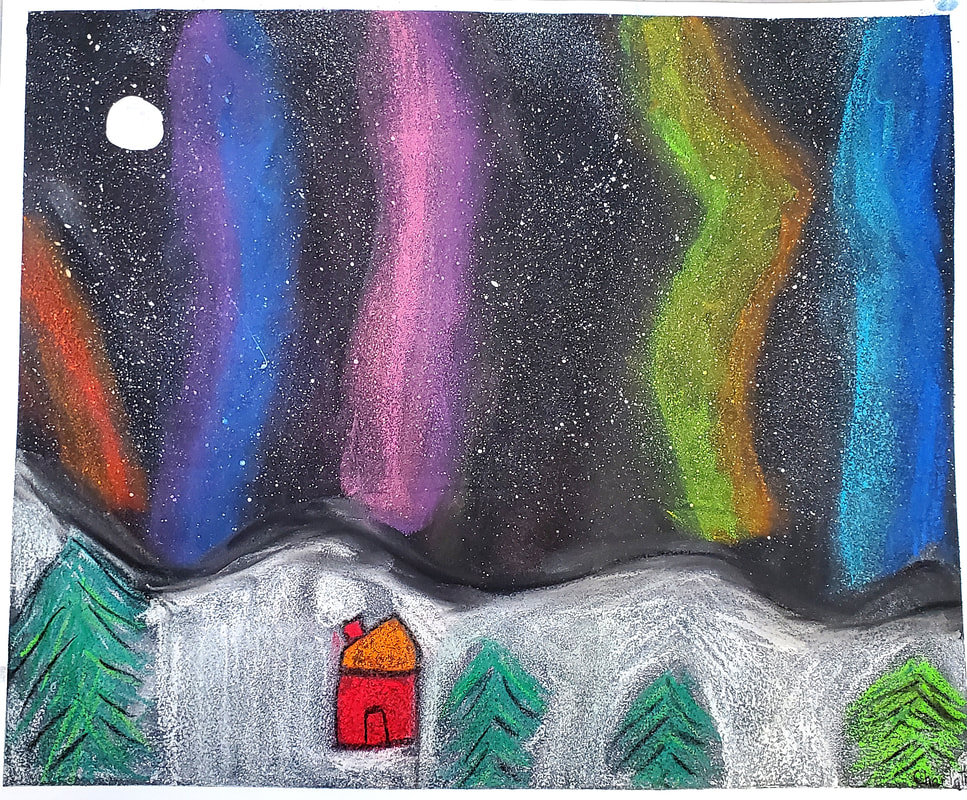
Students Age 5
Student Artwork age 5-8
Student Age 8
Student Age 5