- Sinthia Cousineau
- Ceramic Art
- Drawings
- Paintings
-
Photography
-
Art Education
-
Art & Adolescence
>
- Mural Project >
- Lesson: Eco Art
- Lesson: Decorating Fabric
- Lesson: Zentangles & Patterns
- Lesson: Social Media, consumerism & war
- Lesson: Bag Sculptures & Positive Body Image
- Lesson: Caricatures & political activism
- Lesson: Canadian Landscapes & Group of Seven
- Tattoo Art & Meaningful Images
- Lesson: Stenciling Street Art
- Lesson: Plaster Figures (grade 7-9)
- Photoshop Lesson
- Lesson: Value Scales
- Lesson Plan: Video Art
- Lesson Plan: Sound Art
- Lesson: GIF Project
- Lesson: Mashup Videos
- Art Education & Older Adults >
-
Art & Children
>
- Collage & other art Activities >
-
Drawing Activities with Kids
>
-
Pencil, Markers and Coloring
>
- Introductory Lesson
- Introduction Lesson: Egyptian Name Cartouche
- Reptile Zentangle Drawing >
- Illustrated Names
- Symmetrical Name Creatures
- Drawing from Autumn Still-lives
- Grid Drawing Technique
- Lesson: Alliteration Drawing
- Drawing: 3D Hands
- Leaf Drawing Collage
- Ancient Egypt Art
- Collaborative Doodle
- Drawing: Hidden Emotions Behind the Mask
- Scribble Drawing
- Drawing : Word Art
- Lesson Plan: Renaissance Invention Scroll
- Lesson: La Bande Dessinée
- Lesson: Optical Illusions
- Oil Pastels >
- Chalk & Soft Pastel >
- Charcoal >
-
Pencil, Markers and Coloring
>
-
Painting Activities with Kids
>
-
Acrylic Painting Lessons
>
- Acrylic Pouring
- Australian Dot Painting
- Blow Paint Technique
- Bubble Wrap Painting: Bee
- Pointillism Painting
- Funky Easter Rabbit
- Lesson: The Color Wheel
- Monochromatic Painting
- Painting: Birch Tree
- Leaf Painting
- Pumpkin Painting
- Painting: Rock Painting
- Squeegee Painting Technique
- Origami Inspired Painting
- Coffee Art
- Watercolor Activities >
-
Acrylic Painting Lessons
>
- Mixed Media Activities with Kids >
- Types of Art >
- History Lessons
-
Art & Adolescence
>
-
Art Therapy
- 3D Art & other mediums
- Videos
- Contact Me
Bubble Wrap Bee Hive
Theme: Bees, printing, spring
Age: 8+
Technique: Acrylic, printing, tracing and drawing
Duration: 1 hour and 15 minutes
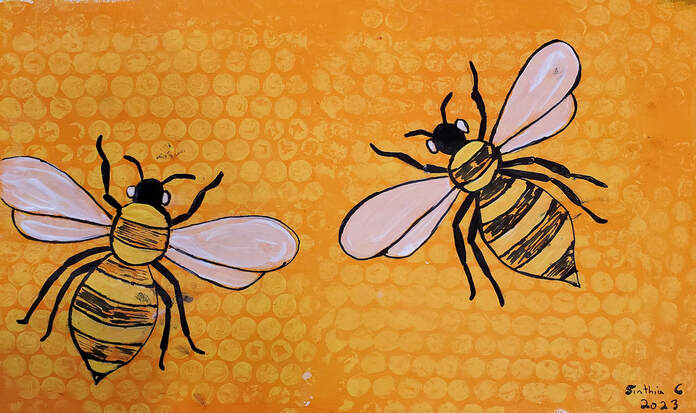
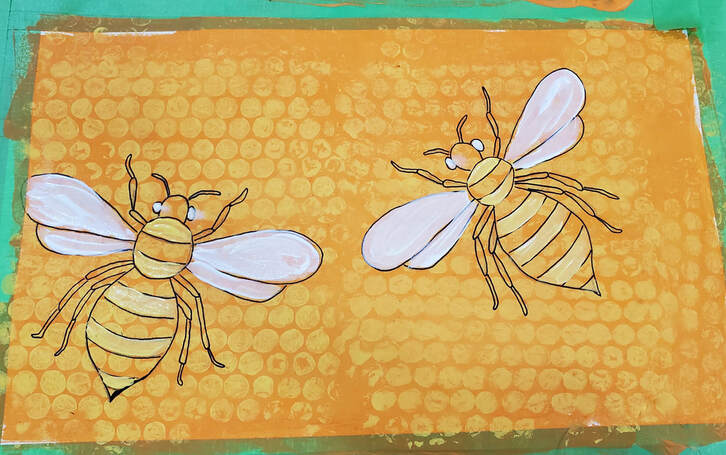
"Bees in a Hive" by Sinthia Cousineau
Materials
Project Steps
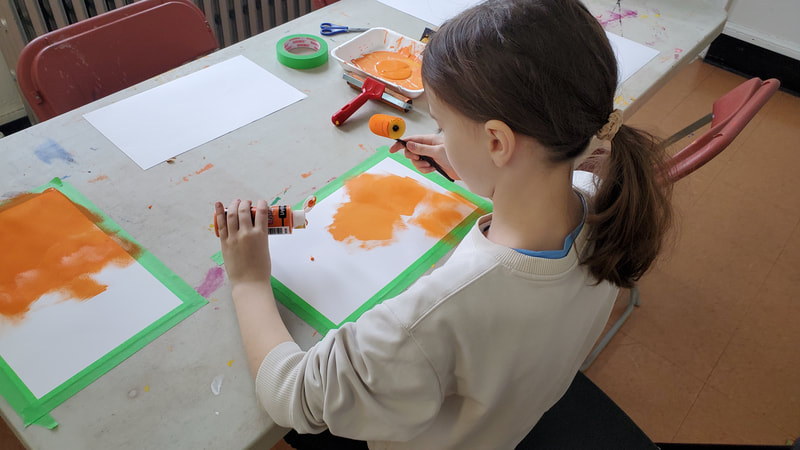
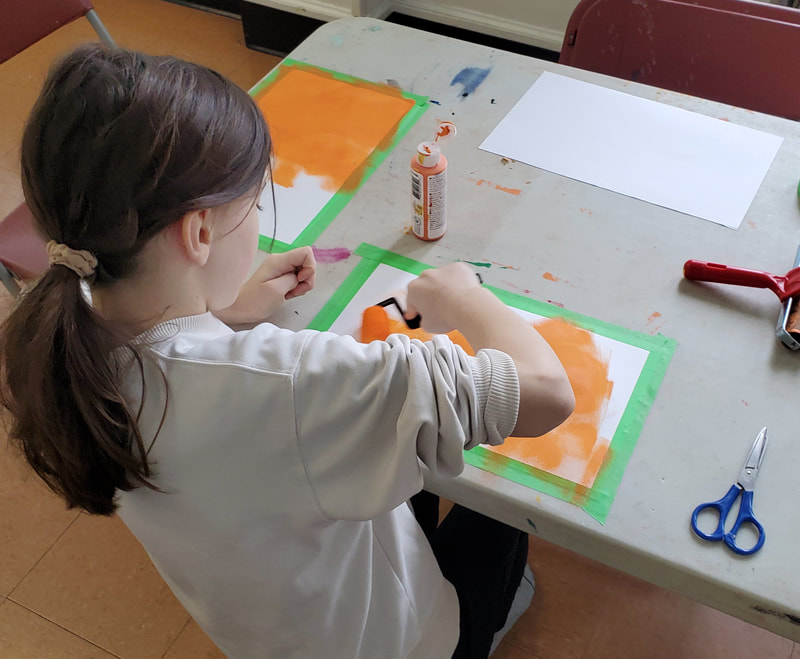
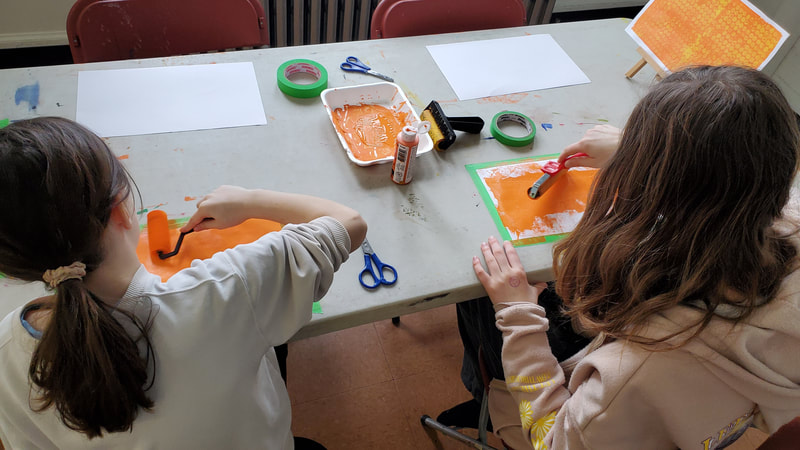
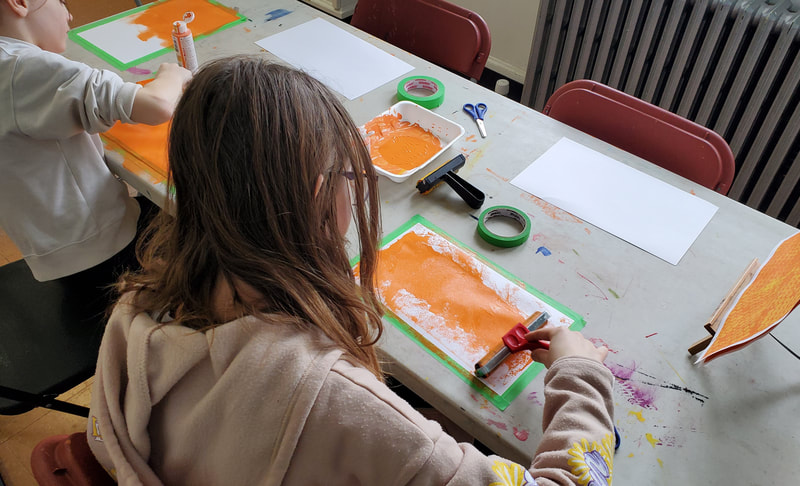
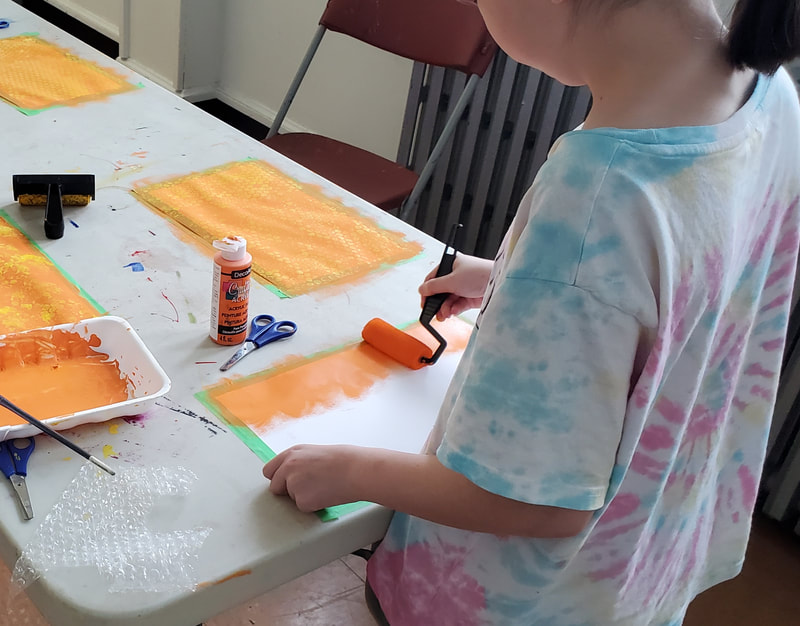
Step 1: Add first layer of Paint
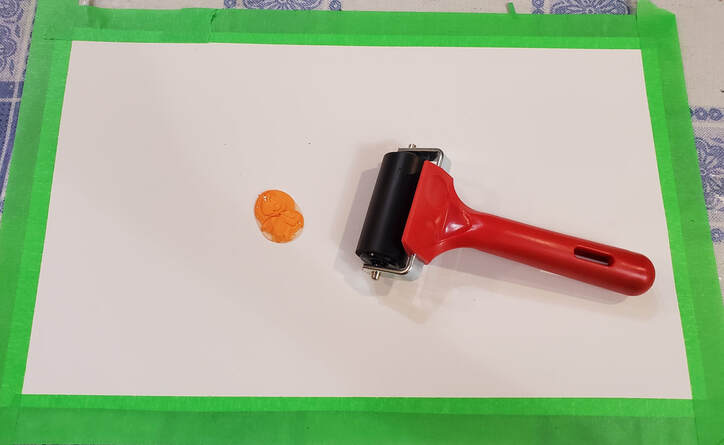
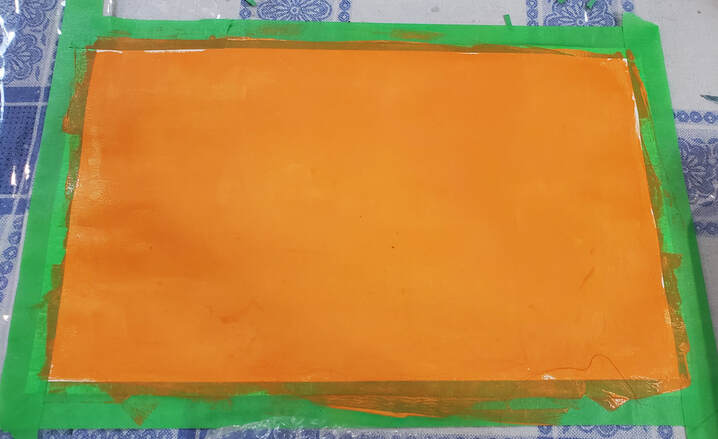
- Tape the edges of the paper to the table using masking tape.
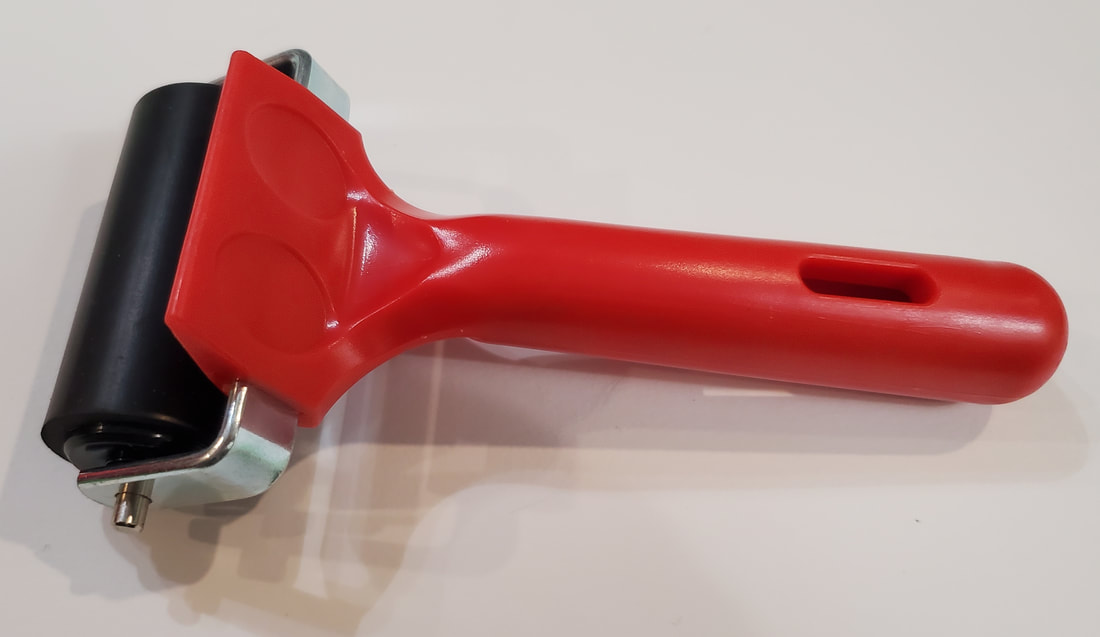
- With a roller, spread orange paint all over the paper and wait for it to dry. Do not put too much paint as it takes longer to dry.
- Note: Sponge Rollers work best with kids as they dry faster.
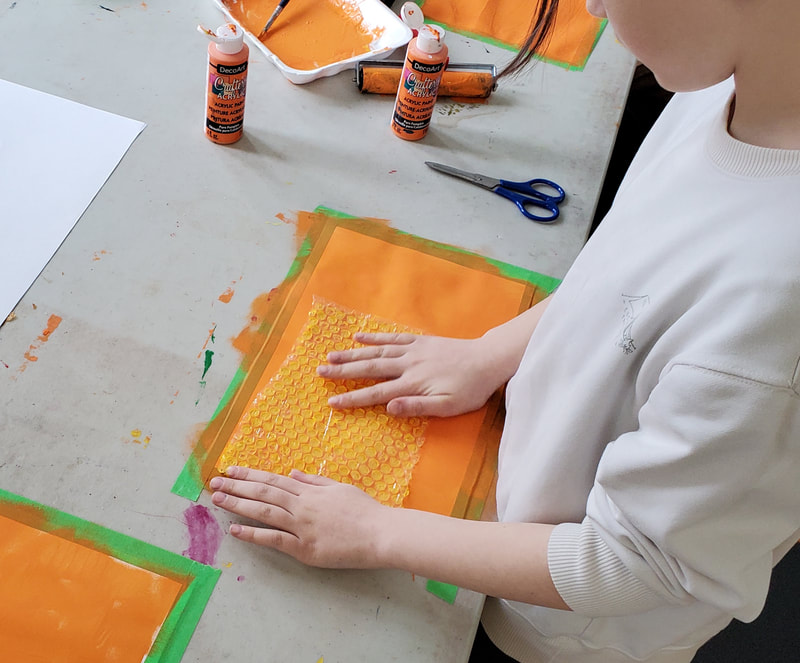
Step 2: Add Yellow Paint to Bubble Wrap
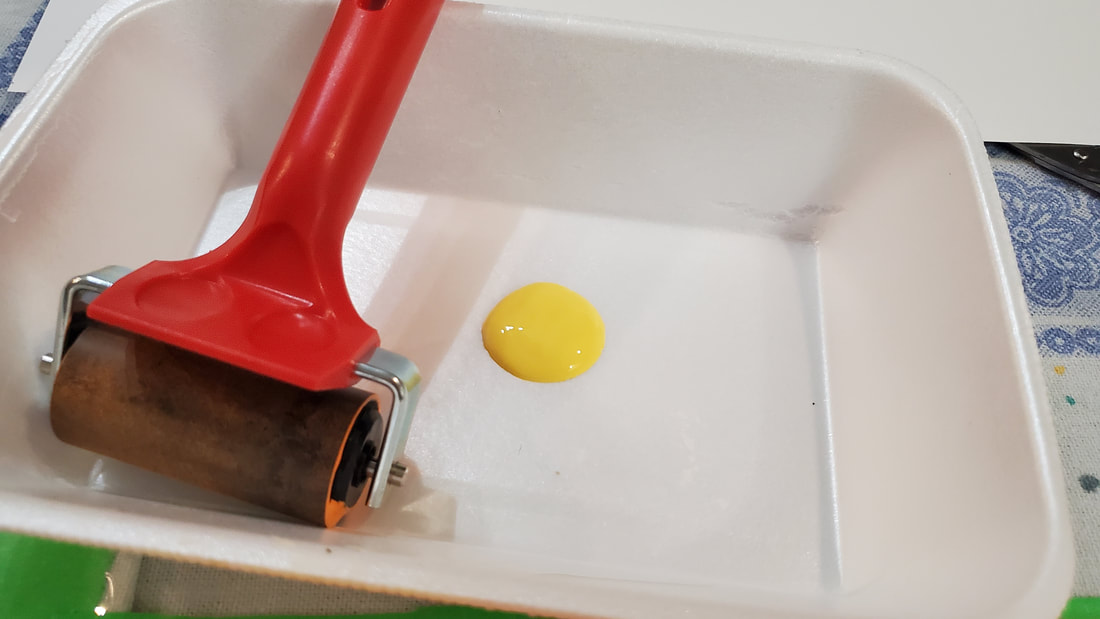
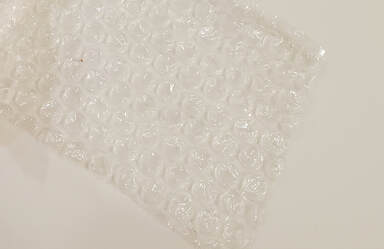
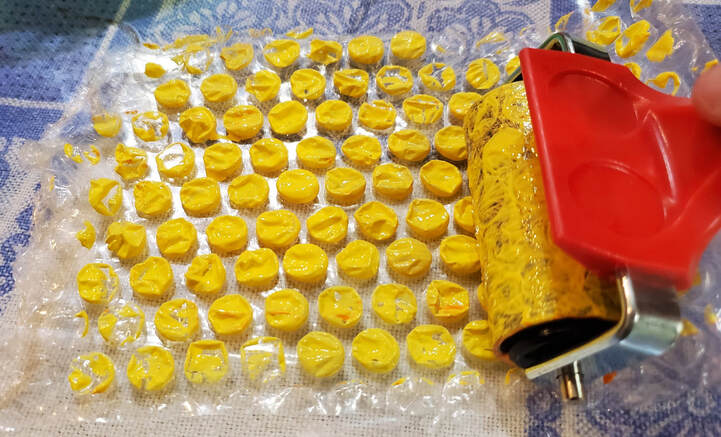
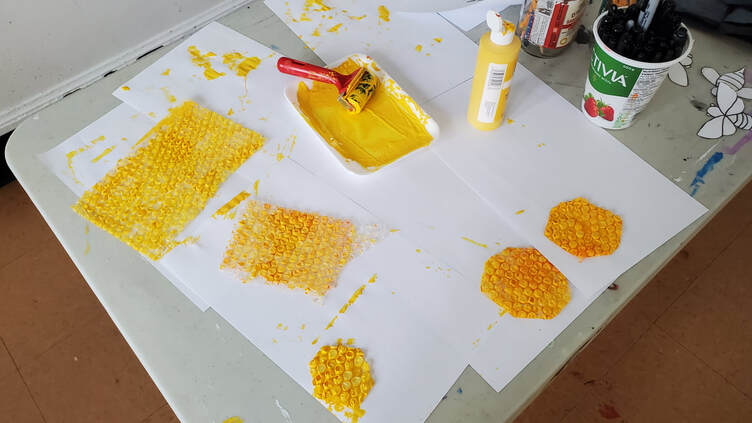
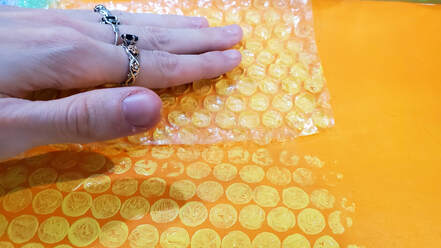
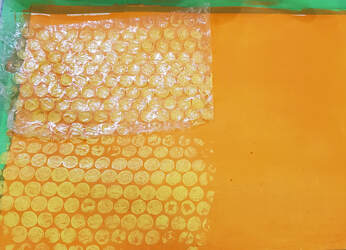
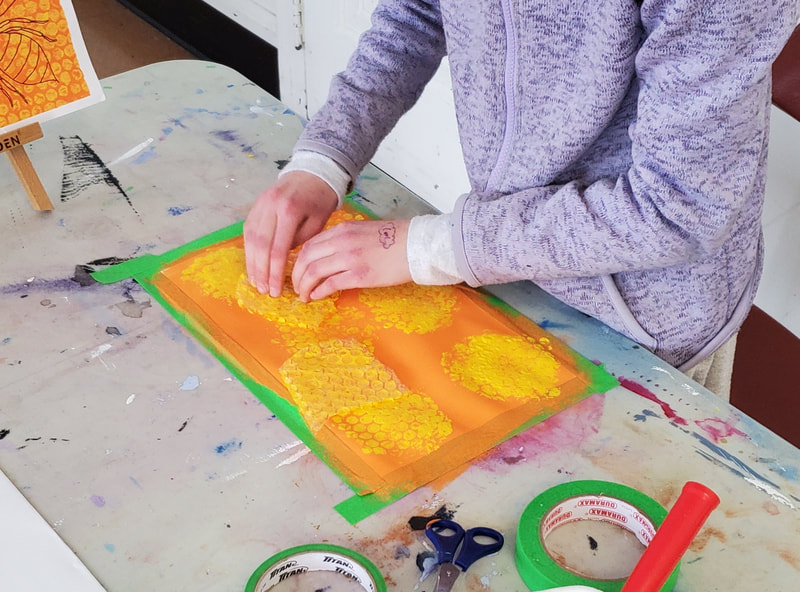
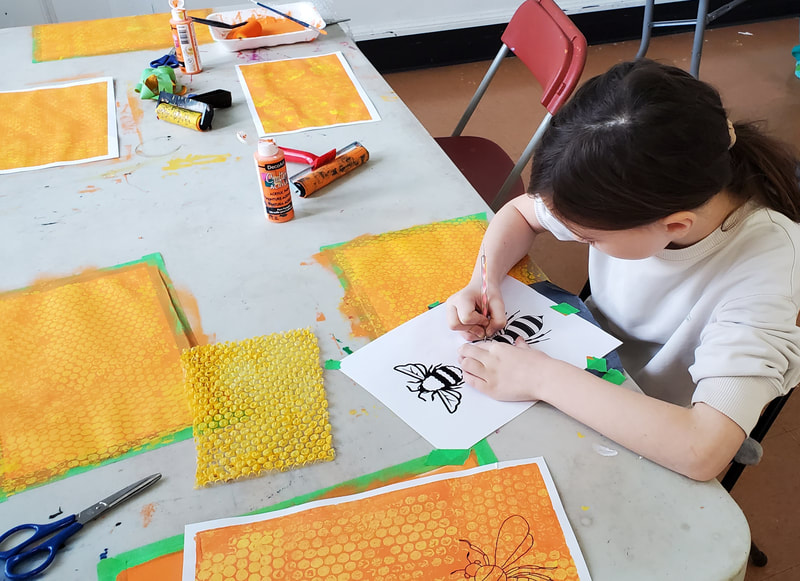
- As your waiting for the first layer of paint to dry, take a piece of bubble wrap (hexagon shaped for extra challenge) and with a roller add yellow paint to the surface with the bubbles.
- Apply the bubble wrap to the paper and Presse gently on the surface to print the paint on the paper.
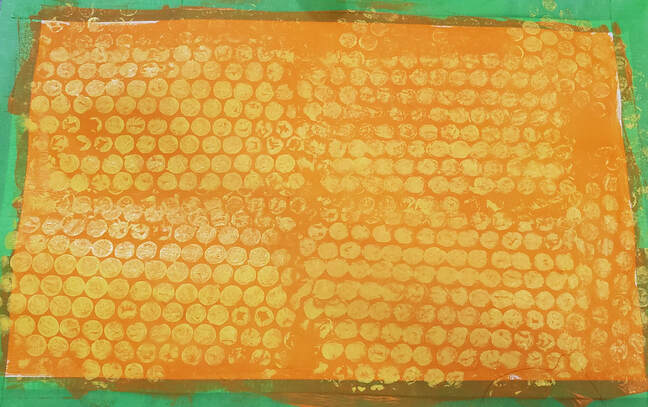
- Print the bubble wrap all over the paper and wait to dry.
- Once dry, you can remove the masking tape (gently to not rip paper).
Step 3: Trace or Draw several Bees
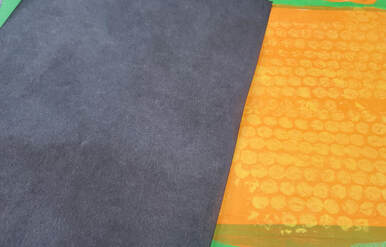
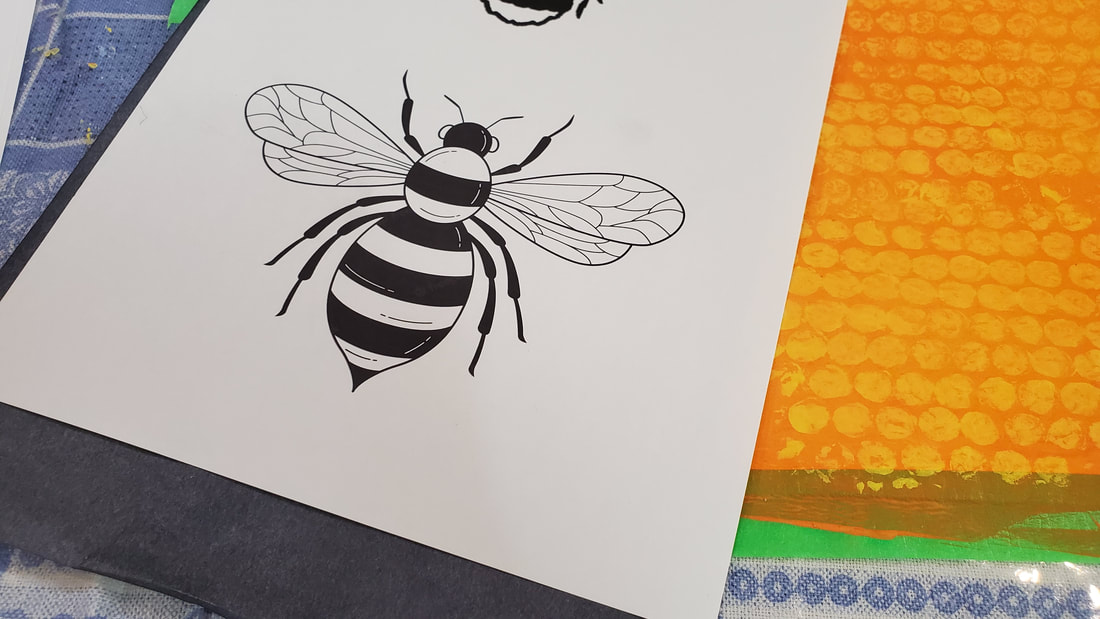
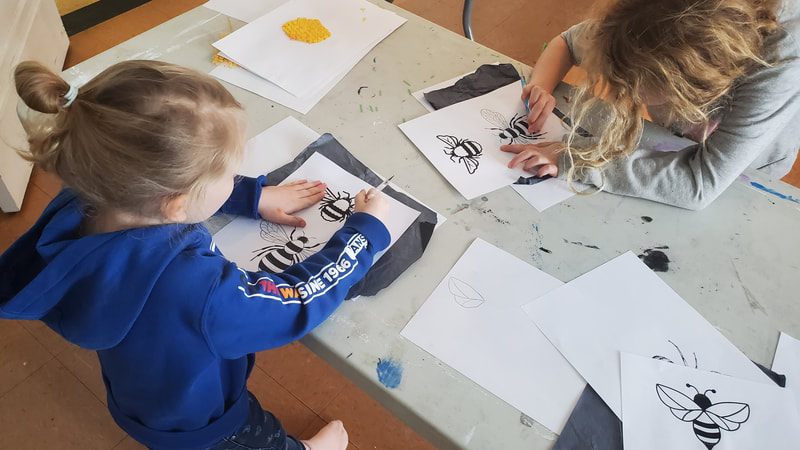
- As your waiting for the paint to dry, practice tracing bees with carbon paper.
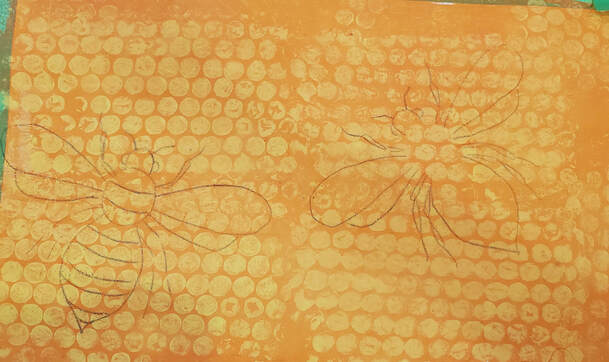
- Once the paint is 100% dry, trace or draw the bees on the paper.
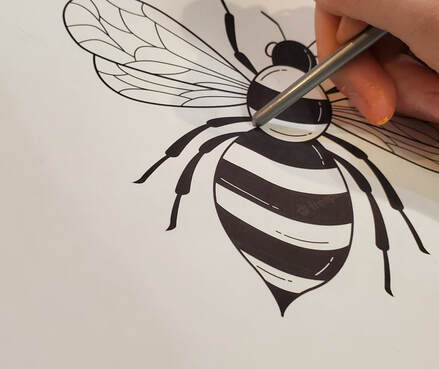
- For the carbon paper, the dark side must touch the paper first, then place the image you wish to trace on top of it and trace with a tracing tool.
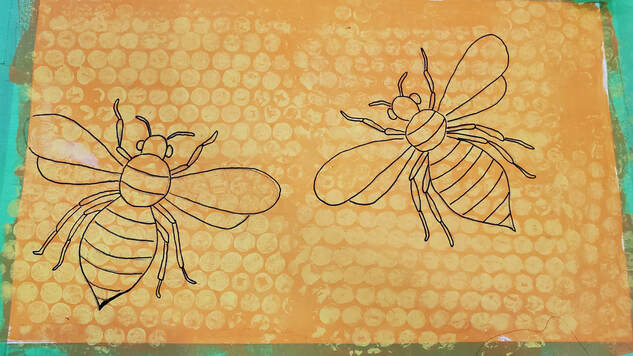
Step 4: Retrace the Lines with a Black Sharpie
Step 5 (optional): Paint in body and wings
- Using white paint of the wings and yellow paint for the body strips, paint in the bees and wait for it to dry.
Step 6: Trace over the lines with a black sharpie
- Use the black sharpie for the body of the bee and the smaller details.
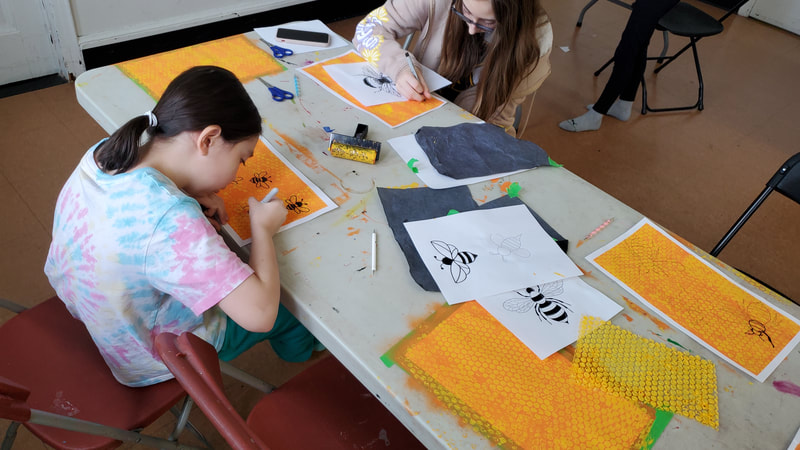
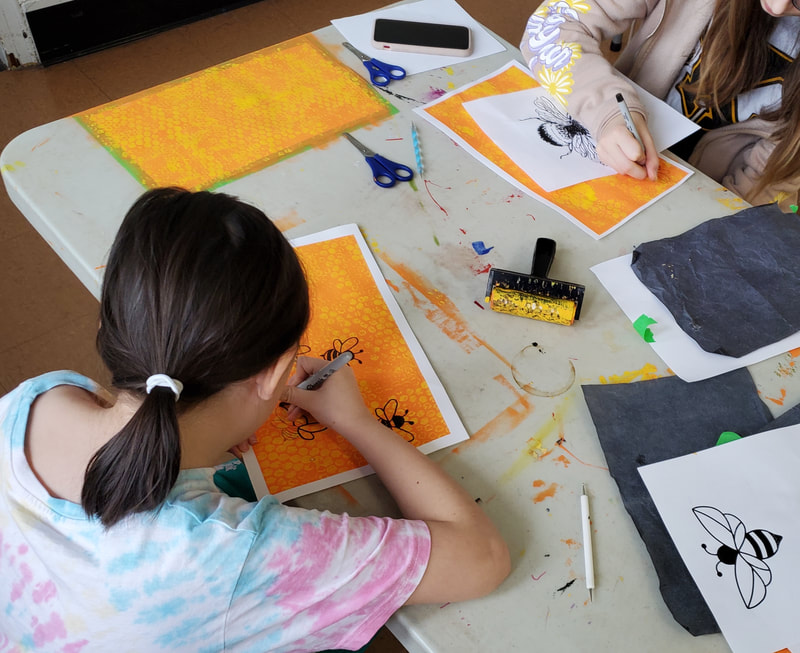
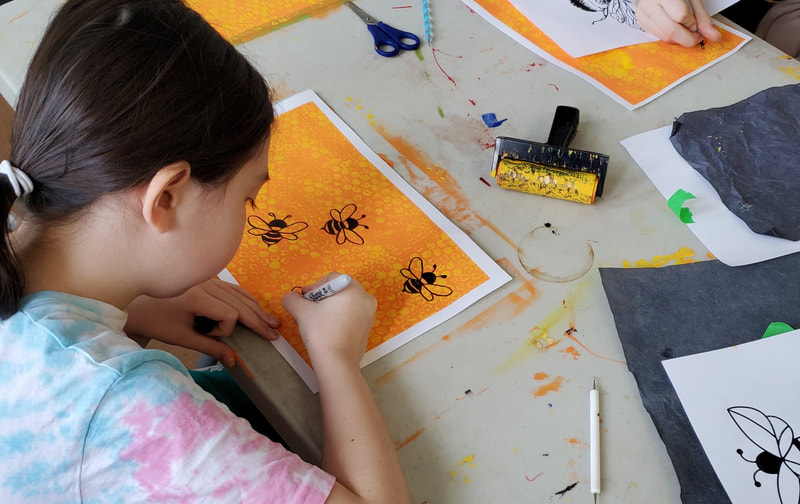
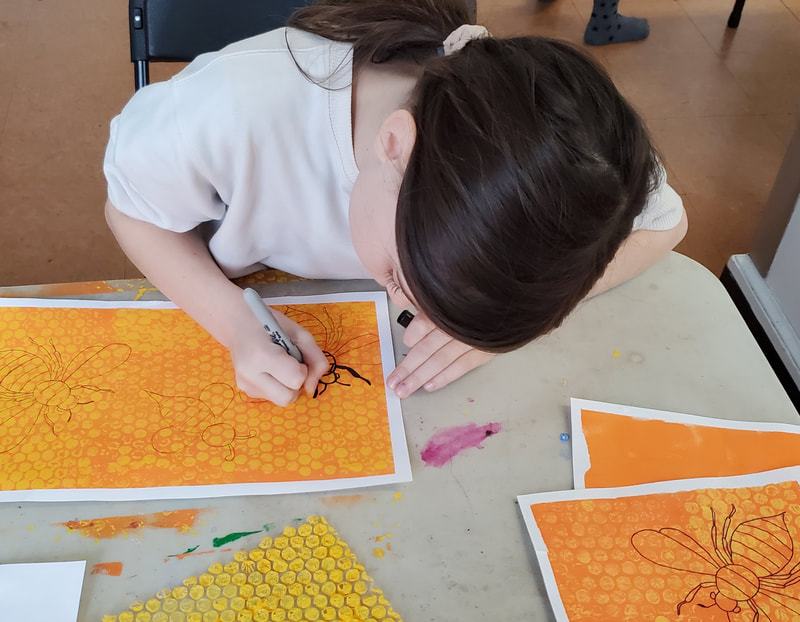
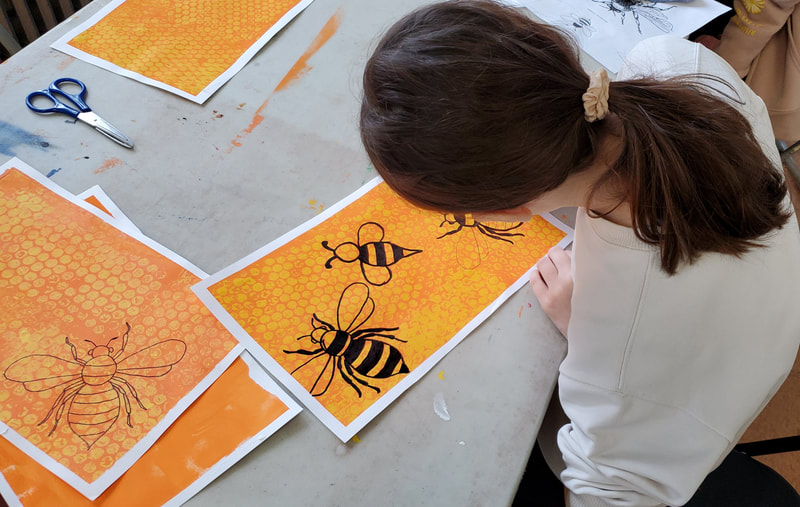
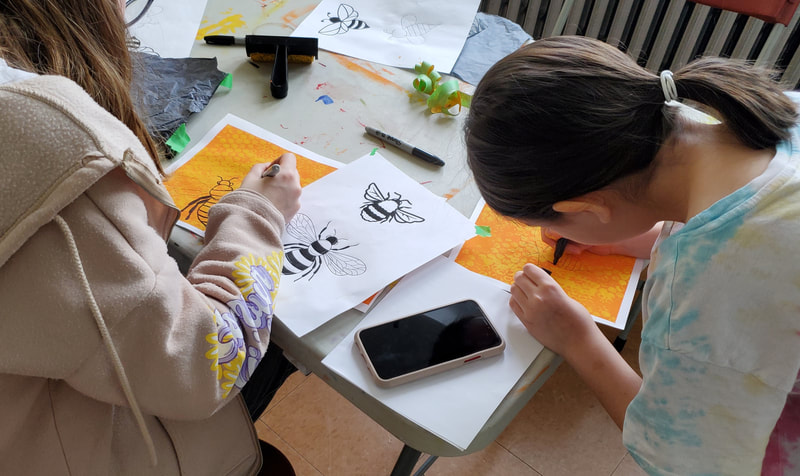
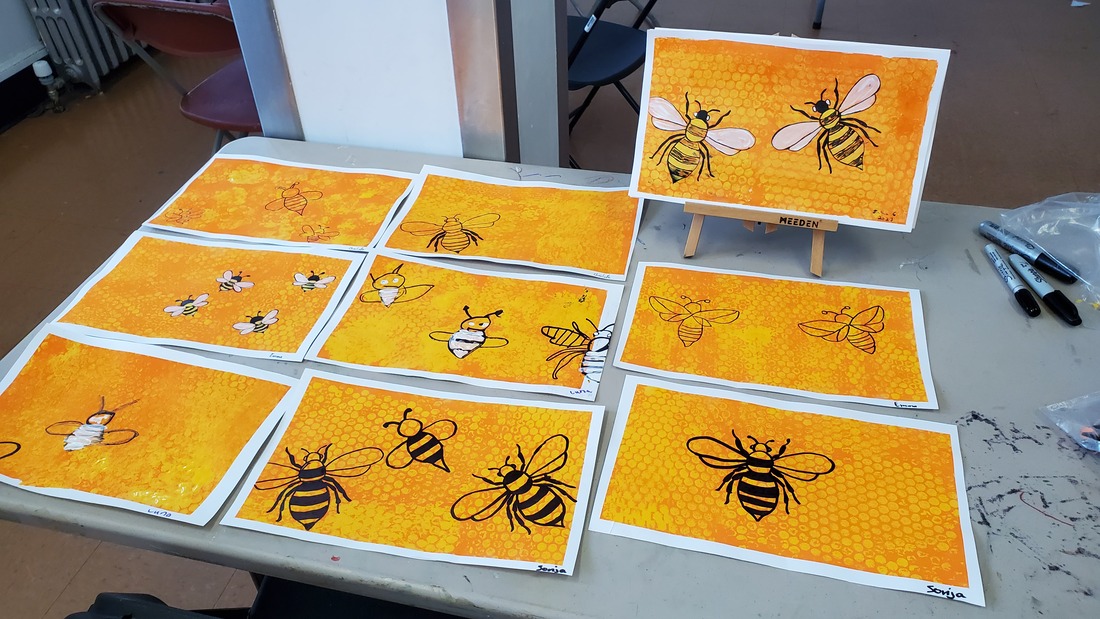
Students working on Bee Paintings
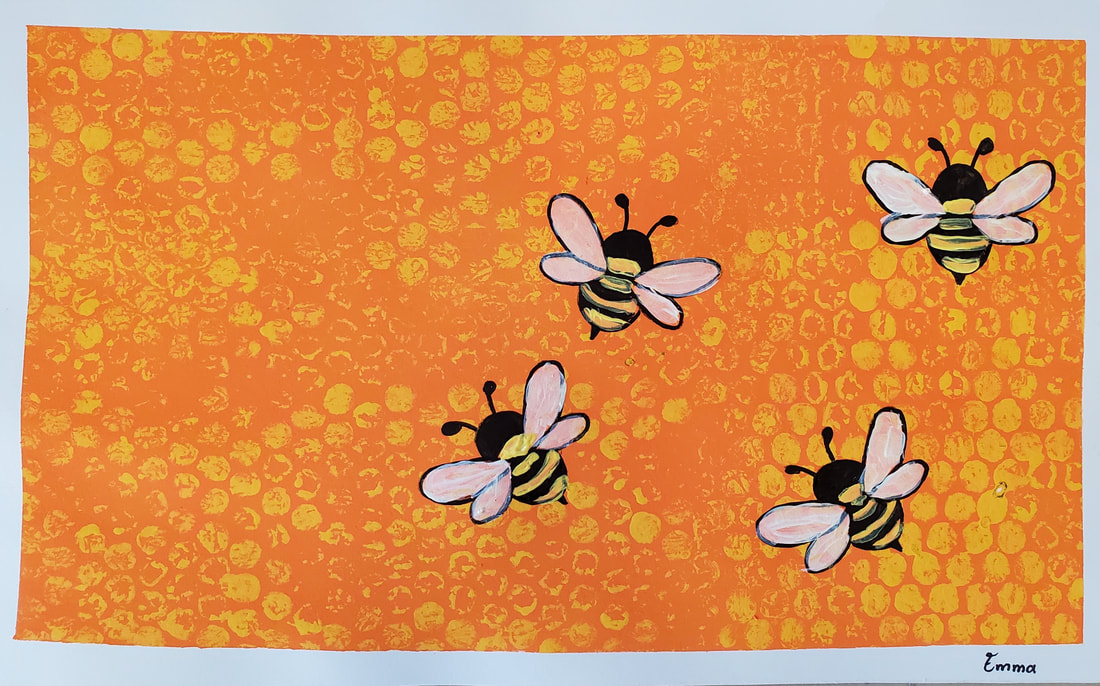
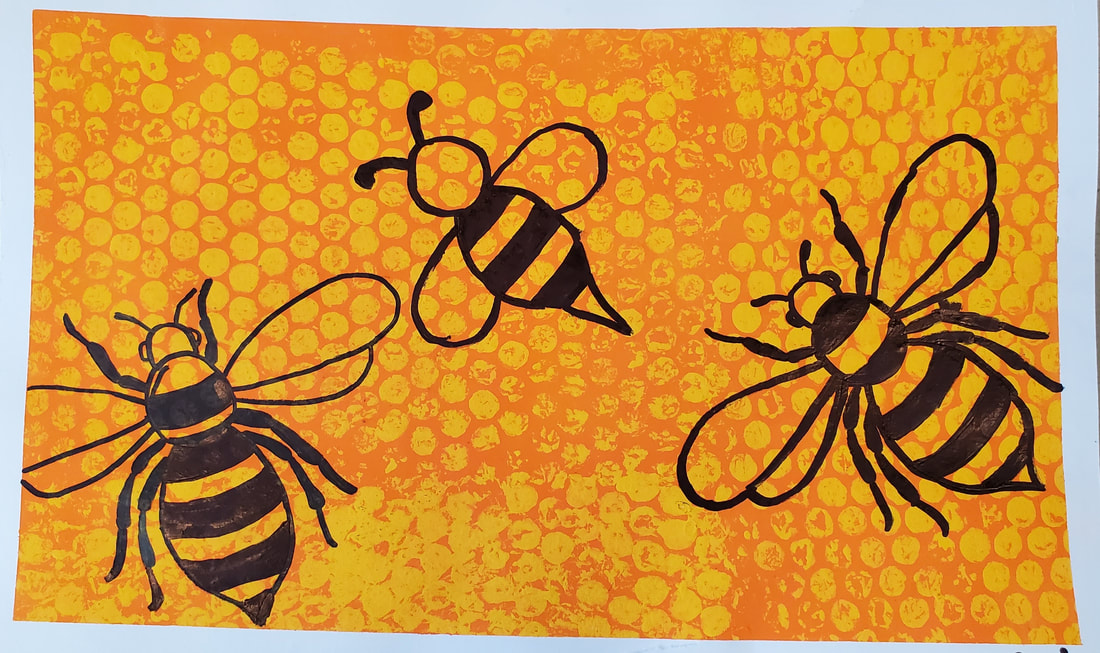
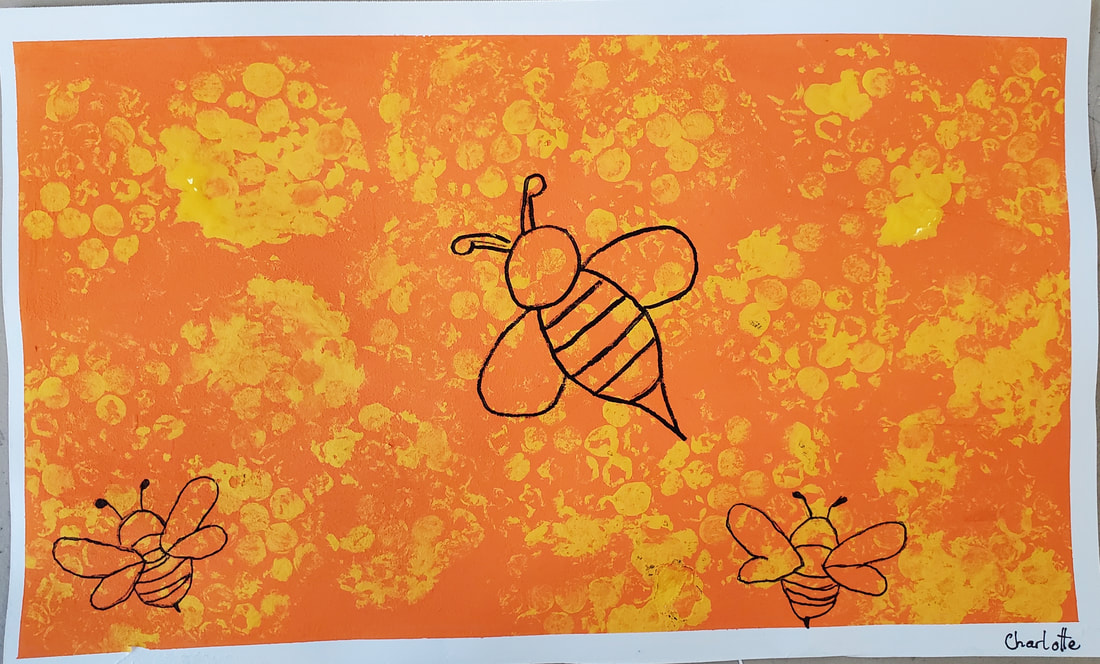
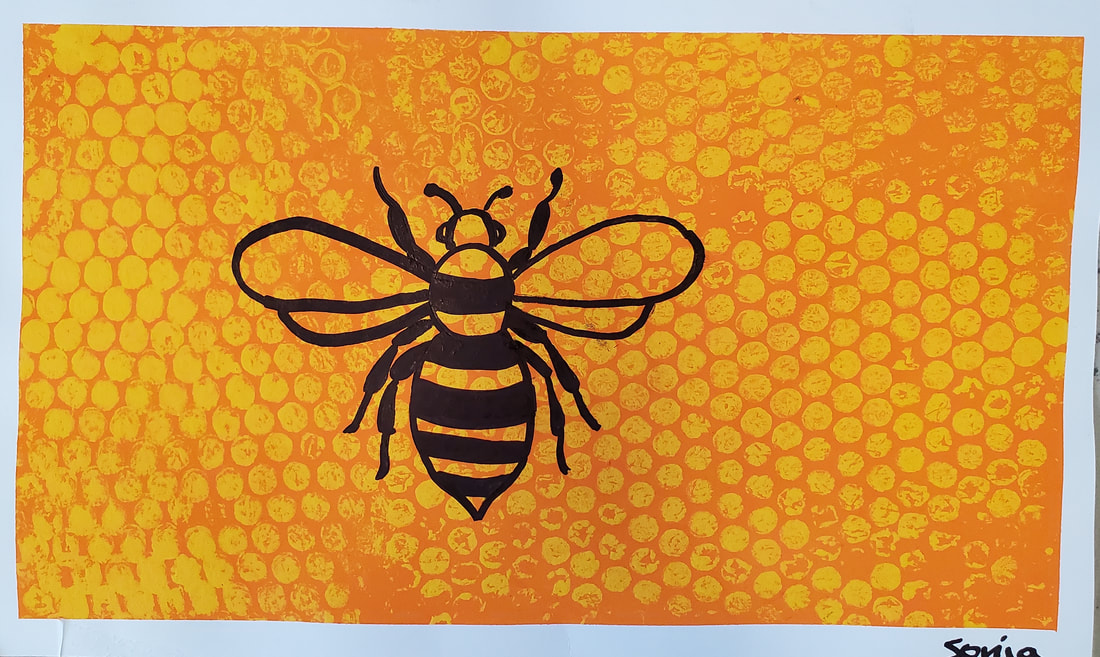
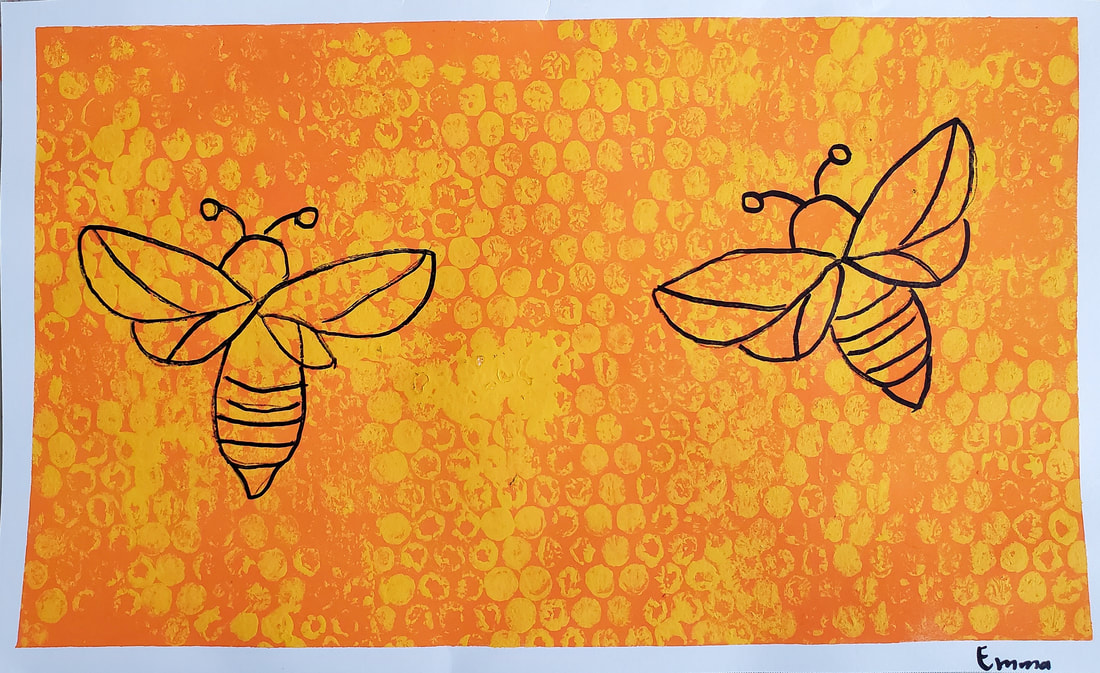
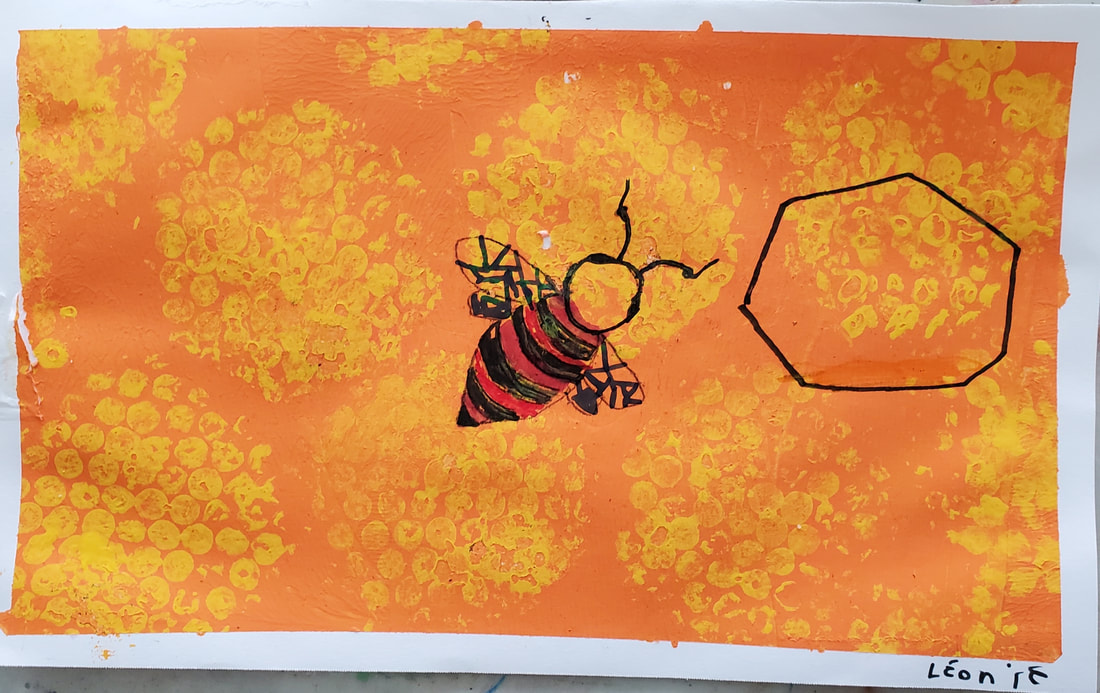
Student Artworks
Age 9
Age 9
Age 11
Age 9
Age 9
Age 8
References
| bee_template.docx | |
| File Size: | 1681 kb |
| File Type: | docx |
Proudly powered by Weebly
- Sinthia Cousineau
- Ceramic Art
- Drawings
- Paintings
-
Photography
-
Art Education
-
Art & Adolescence
>
- Mural Project >
- Lesson: Eco Art
- Lesson: Decorating Fabric
- Lesson: Zentangles & Patterns
- Lesson: Social Media, consumerism & war
- Lesson: Bag Sculptures & Positive Body Image
- Lesson: Caricatures & political activism
- Lesson: Canadian Landscapes & Group of Seven
- Tattoo Art & Meaningful Images
- Lesson: Stenciling Street Art
- Lesson: Plaster Figures (grade 7-9)
- Photoshop Lesson
- Lesson: Value Scales
- Lesson Plan: Video Art
- Lesson Plan: Sound Art
- Lesson: GIF Project
- Lesson: Mashup Videos
- Art Education & Older Adults >
-
Art & Children
>
- Collage & other art Activities >
-
Drawing Activities with Kids
>
-
Pencil, Markers and Coloring
>
- Introductory Lesson
- Introduction Lesson: Egyptian Name Cartouche
- Reptile Zentangle Drawing >
- Illustrated Names
- Symmetrical Name Creatures
- Drawing from Autumn Still-lives
- Grid Drawing Technique
- Lesson: Alliteration Drawing
- Drawing: 3D Hands
- Leaf Drawing Collage
- Ancient Egypt Art
- Collaborative Doodle
- Drawing: Hidden Emotions Behind the Mask
- Scribble Drawing
- Drawing : Word Art
- Lesson Plan: Renaissance Invention Scroll
- Lesson: La Bande Dessinée
- Lesson: Optical Illusions
- Oil Pastels >
- Chalk & Soft Pastel >
- Charcoal >
-
Pencil, Markers and Coloring
>
-
Painting Activities with Kids
>
-
Acrylic Painting Lessons
>
- Acrylic Pouring
- Australian Dot Painting
- Blow Paint Technique
- Bubble Wrap Painting: Bee
- Pointillism Painting
- Funky Easter Rabbit
- Lesson: The Color Wheel
- Monochromatic Painting
- Painting: Birch Tree
- Leaf Painting
- Pumpkin Painting
- Painting: Rock Painting
- Squeegee Painting Technique
- Origami Inspired Painting
- Coffee Art
- Watercolor Activities >
-
Acrylic Painting Lessons
>
- Mixed Media Activities with Kids >
- Types of Art >
- History Lessons
-
Art & Adolescence
>
-
Art Therapy
- 3D Art & other mediums
- Videos
- Contact Me
