- Sinthia Cousineau
- Ceramic Art
- Drawings
- Paintings
-
Photography
-
Art Education
-
Art & Adolescence
>
- Mural Project >
- Lesson: Eco Art
- Lesson: Decorating Fabric
- Lesson: Zentangles & Patterns
- Lesson: Social Media, consumerism & war
- Lesson: Bag Sculptures & Positive Body Image
- Lesson: Caricatures & political activism
- Lesson: Canadian Landscapes & Group of Seven
- Tattoo Art & Meaningful Images
- Lesson: Stenciling Street Art
- Lesson: Plaster Figures (grade 7-9)
- Photoshop Lesson
- Lesson: Value Scales
- Lesson Plan: Video Art
- Lesson Plan: Sound Art
- Lesson: GIF Project
- Lesson: Mashup Videos
- Art Education & Older Adults >
-
Art & Children
>
- Collage & other art Activities >
-
Drawing Activities with Kids
>
-
Pencil, Markers and Coloring
>
- Introductory Lesson
- Introduction Lesson: Egyptian Name Cartouche
- Reptile Zentangle Drawing >
- Illustrated Names
- Symmetrical Name Creatures
- Drawing from Autumn Still-lives
- Grid Drawing Technique
- Lesson: Alliteration Drawing
- Drawing: 3D Hands
- Leaf Drawing Collage
- Ancient Egypt Art
- Collaborative Doodle
- Drawing: Hidden Emotions Behind the Mask
- Scribble Drawing
- Drawing : Word Art
- Lesson Plan: Renaissance Invention Scroll
- Lesson: La Bande Dessinée
- Lesson: Optical Illusions
- Oil Pastels >
- Chalk & Soft Pastel >
- Charcoal >
-
Pencil, Markers and Coloring
>
-
Painting Activities with Kids
>
-
Acrylic Painting Lessons
>
- Acrylic Pouring
- Australian Dot Painting
- Blow Paint Technique
- Bubble Wrap Painting: Bee
- Pointillism Painting
- Funky Easter Rabbit
- Lesson: The Color Wheel
- Monochromatic Painting
- Painting: Birch Tree
- Leaf Painting
- Pumpkin Painting
- Painting: Rock Painting
- Squeegee Painting Technique
- Origami Inspired Painting
- Coffee Art
- Watercolor Activities >
-
Acrylic Painting Lessons
>
- Mixed Media Activities with Kids >
- Types of Art >
- History Lessons
-
Art & Adolescence
>
-
Art Therapy
- 3D Art & other mediums
- Videos
- Contact Me
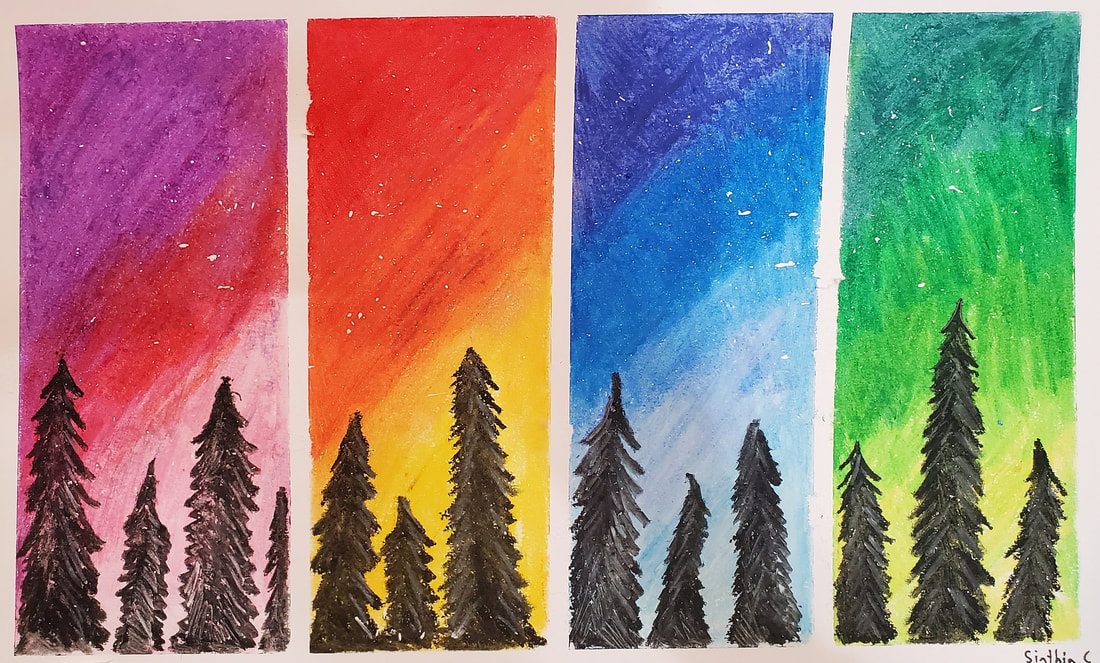
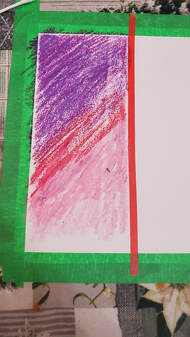
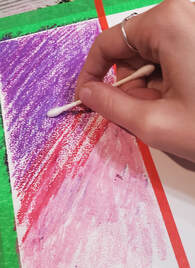
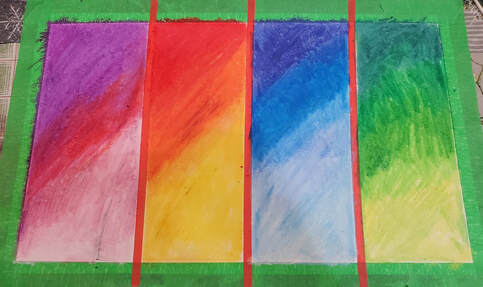
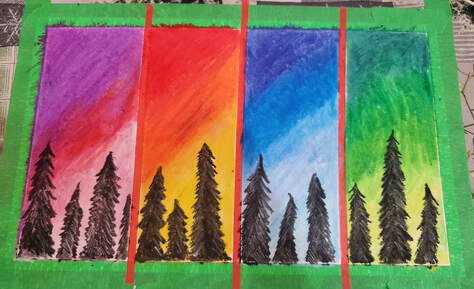
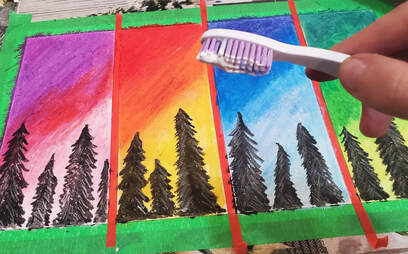
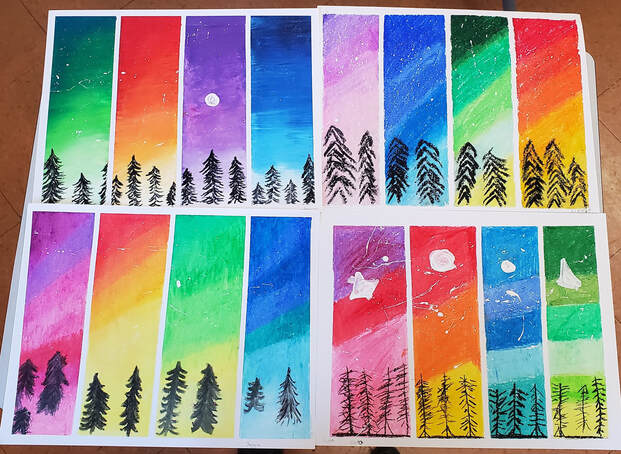
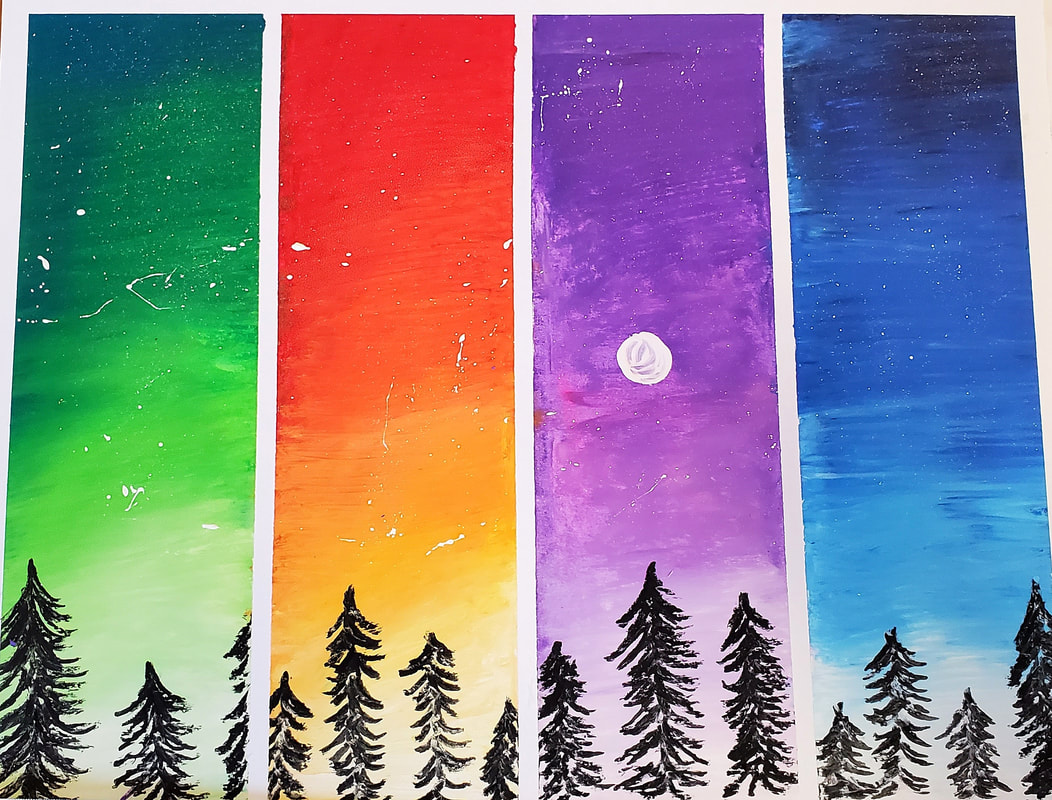
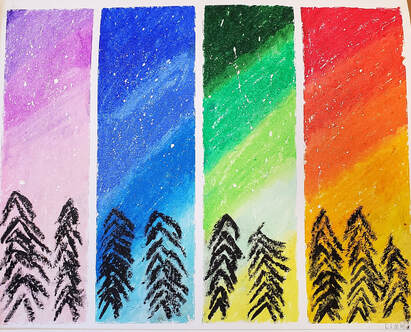
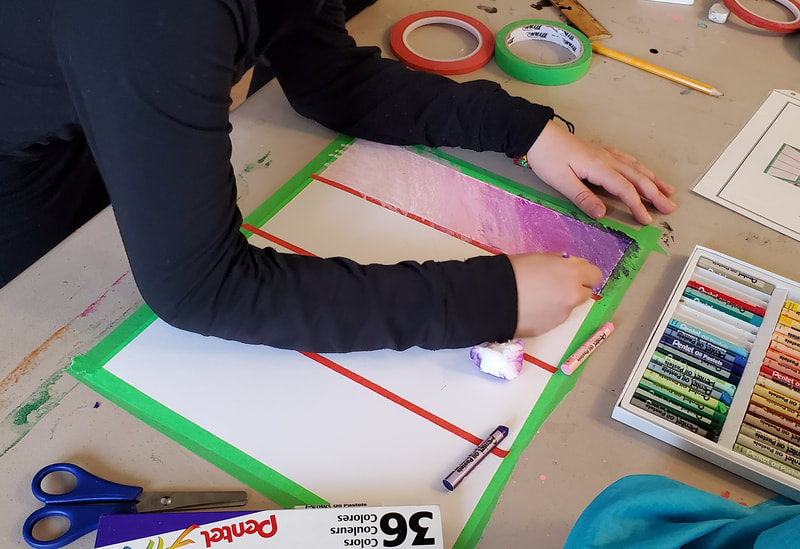
Aurora Borealis with Oil Pastel
Duration: 1 hour 30 mins
Age Group: 8 -12-year-old
Age Group: 8 -12-year-old
Prototype by Sinthia Cousineau
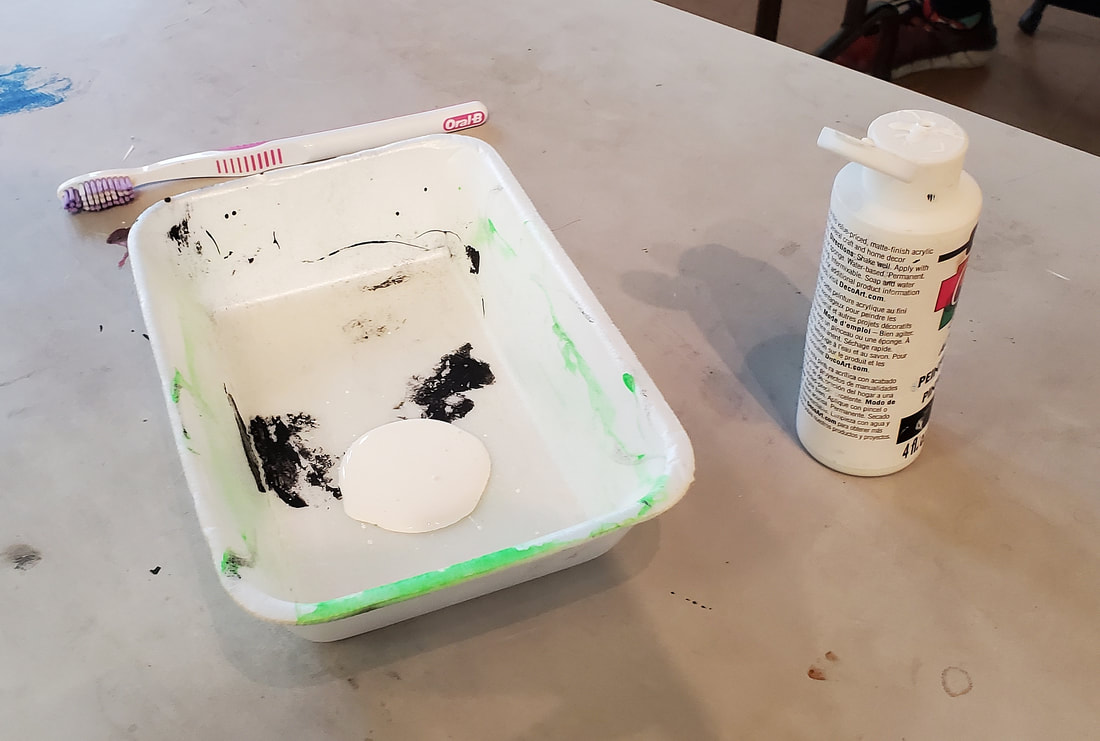
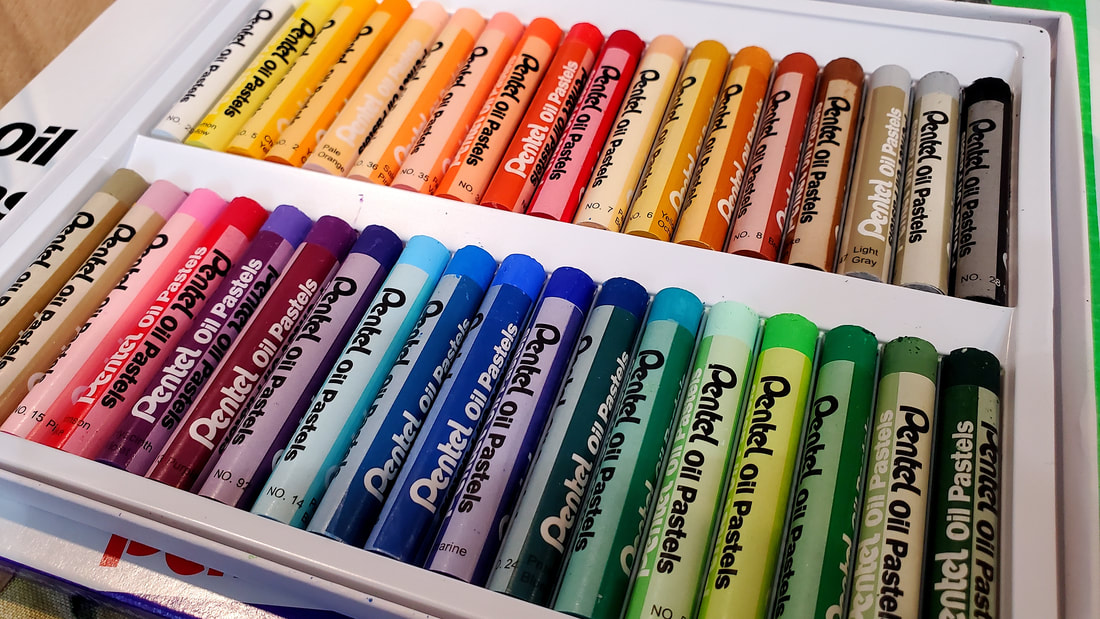
Required Materials
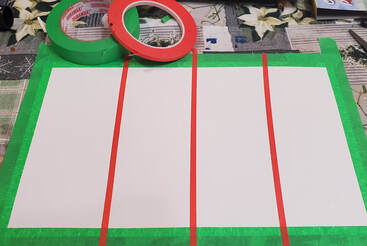
Project Steps
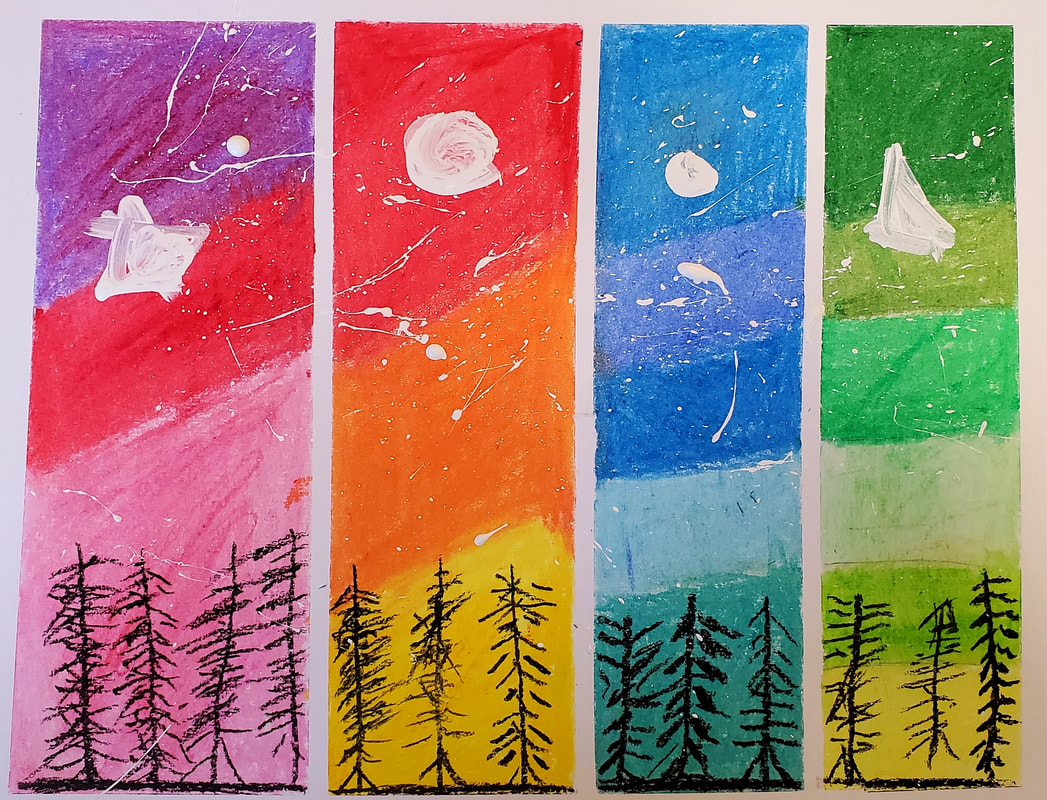
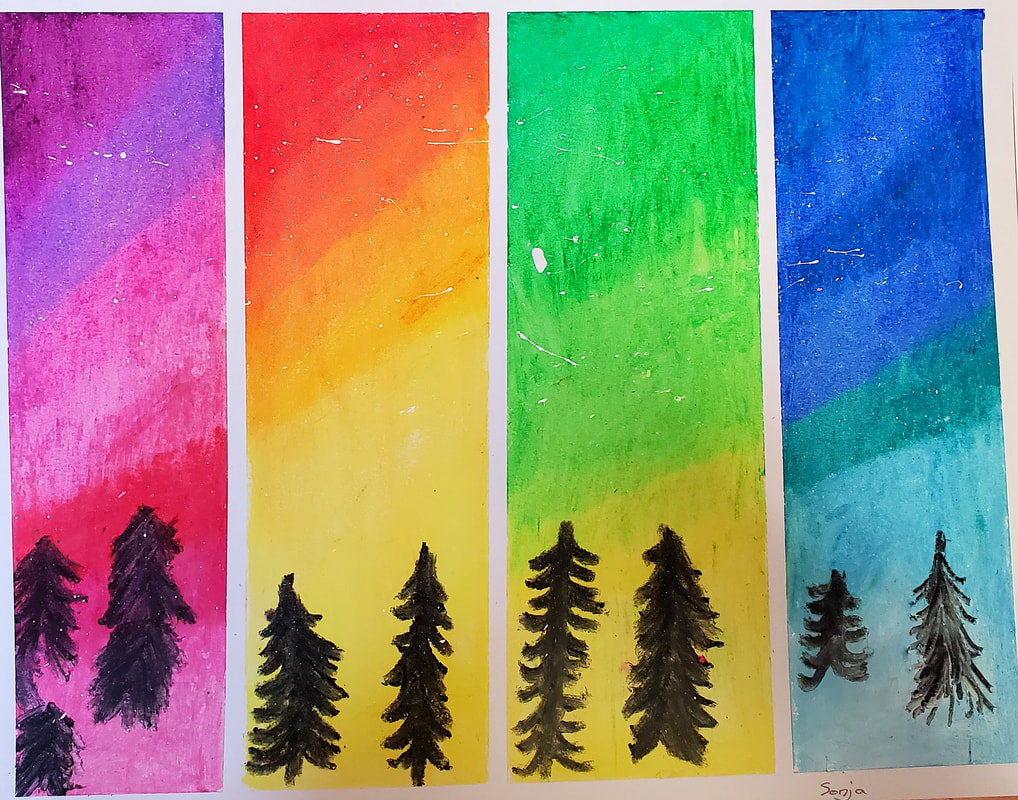
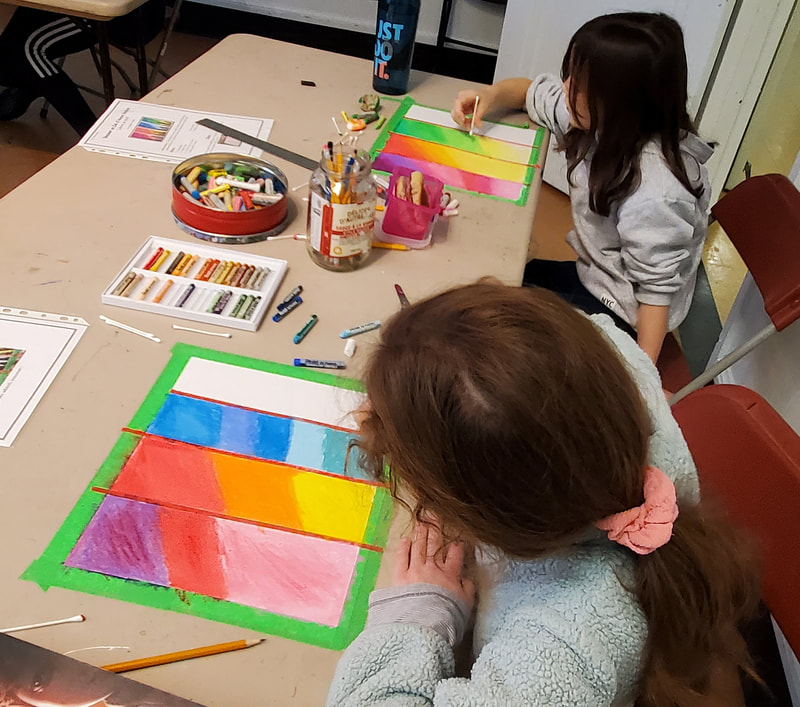
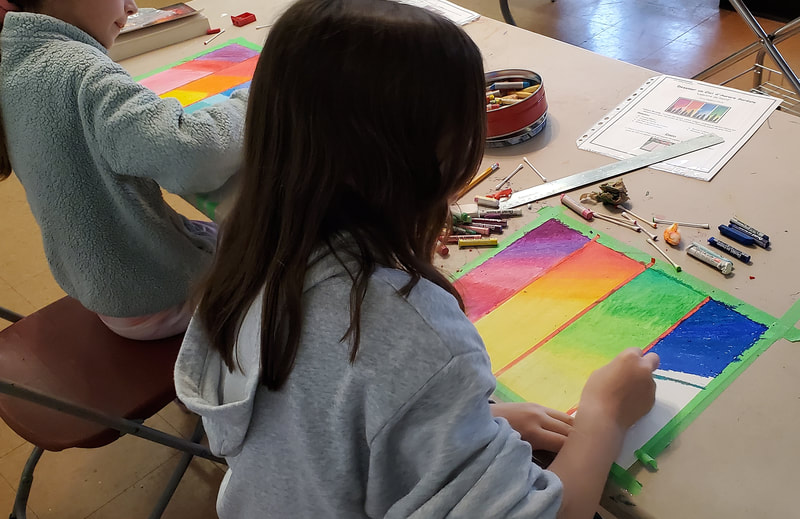
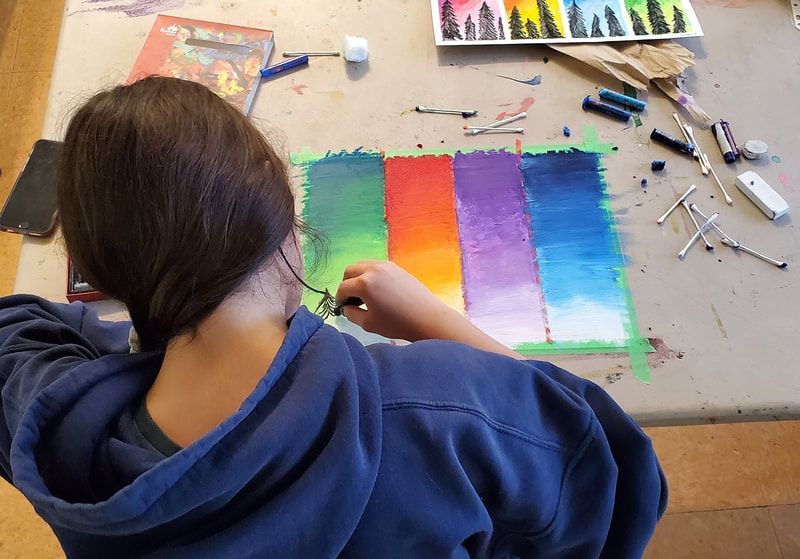
Student Artwork
Age 8 to 12
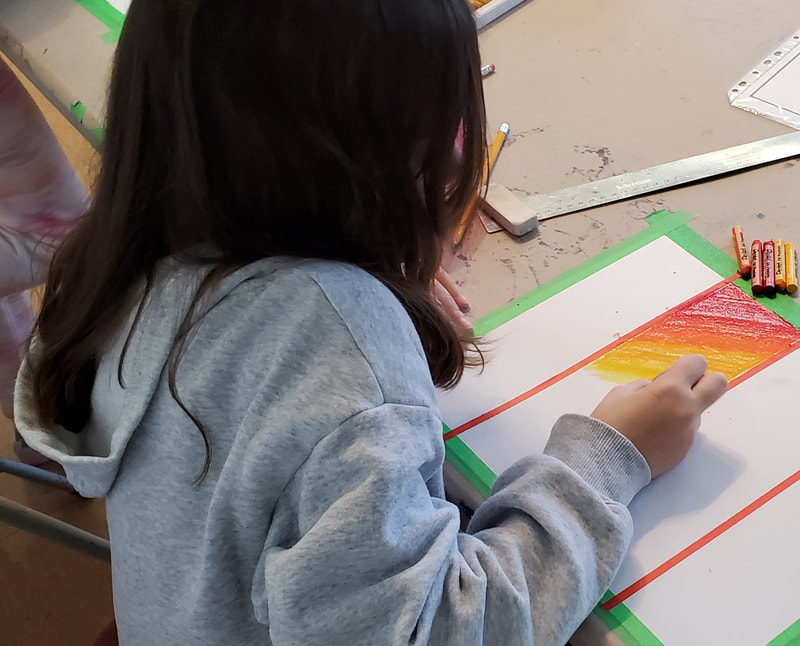
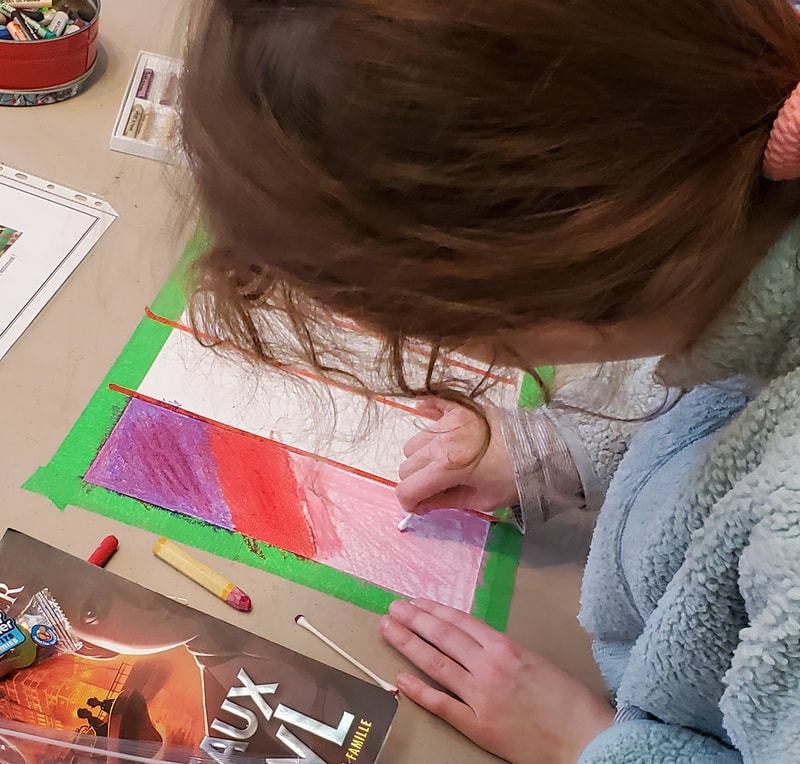
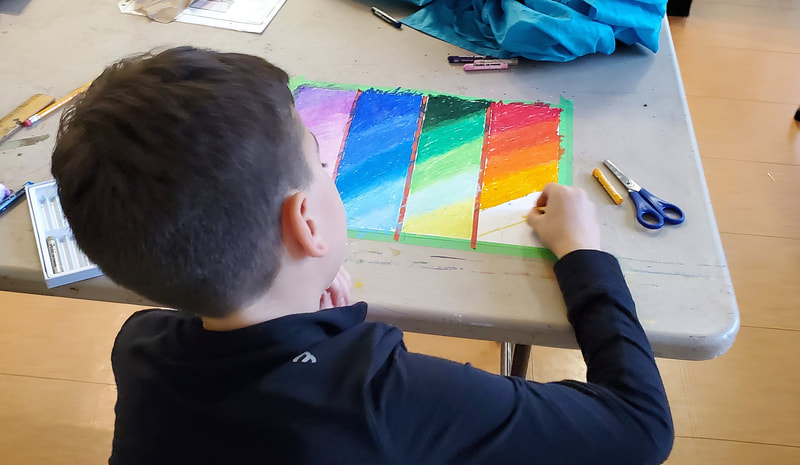
Students Working on their Projects
|
French Lesson for kids aged 8-12 years
|
| ||||||
Proudly powered by Weebly
- Sinthia Cousineau
- Ceramic Art
- Drawings
- Paintings
-
Photography
-
Art Education
-
Art & Adolescence
>
- Mural Project >
- Lesson: Eco Art
- Lesson: Decorating Fabric
- Lesson: Zentangles & Patterns
- Lesson: Social Media, consumerism & war
- Lesson: Bag Sculptures & Positive Body Image
- Lesson: Caricatures & political activism
- Lesson: Canadian Landscapes & Group of Seven
- Tattoo Art & Meaningful Images
- Lesson: Stenciling Street Art
- Lesson: Plaster Figures (grade 7-9)
- Photoshop Lesson
- Lesson: Value Scales
- Lesson Plan: Video Art
- Lesson Plan: Sound Art
- Lesson: GIF Project
- Lesson: Mashup Videos
- Art Education & Older Adults >
-
Art & Children
>
- Collage & other art Activities >
-
Drawing Activities with Kids
>
-
Pencil, Markers and Coloring
>
- Introductory Lesson
- Introduction Lesson: Egyptian Name Cartouche
- Reptile Zentangle Drawing >
- Illustrated Names
- Symmetrical Name Creatures
- Drawing from Autumn Still-lives
- Grid Drawing Technique
- Lesson: Alliteration Drawing
- Drawing: 3D Hands
- Leaf Drawing Collage
- Ancient Egypt Art
- Collaborative Doodle
- Drawing: Hidden Emotions Behind the Mask
- Scribble Drawing
- Drawing : Word Art
- Lesson Plan: Renaissance Invention Scroll
- Lesson: La Bande Dessinée
- Lesson: Optical Illusions
- Oil Pastels >
- Chalk & Soft Pastel >
- Charcoal >
-
Pencil, Markers and Coloring
>
-
Painting Activities with Kids
>
-
Acrylic Painting Lessons
>
- Acrylic Pouring
- Australian Dot Painting
- Blow Paint Technique
- Bubble Wrap Painting: Bee
- Pointillism Painting
- Funky Easter Rabbit
- Lesson: The Color Wheel
- Monochromatic Painting
- Painting: Birch Tree
- Leaf Painting
- Pumpkin Painting
- Painting: Rock Painting
- Squeegee Painting Technique
- Origami Inspired Painting
- Coffee Art
- Watercolor Activities >
-
Acrylic Painting Lessons
>
- Mixed Media Activities with Kids >
- Types of Art >
- History Lessons
-
Art & Adolescence
>
-
Art Therapy
- 3D Art & other mediums
- Videos
- Contact Me
