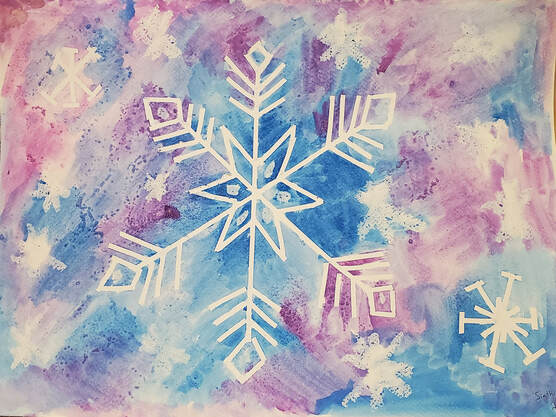
Watercolour Snowflakes
Age: 5-12 years old
Duration: 1-1.5 hours
Theme: Snowflakes, Winter, Cold Colours, Symmetry
Technique: Watercolour, tape resist, cold colours, salt andoil-pastel resist
Duration: 1-1.5 hours
Theme: Snowflakes, Winter, Cold Colours, Symmetry
Technique: Watercolour, tape resist, cold colours, salt andoil-pastel resist

|
|
Prototypes by Sinthia Cousineau
|
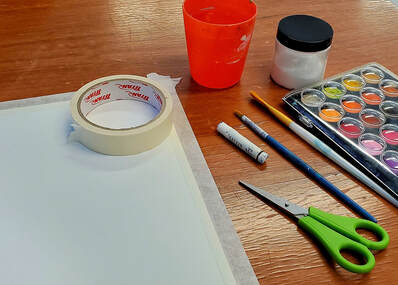
Materials
|
Project Steps
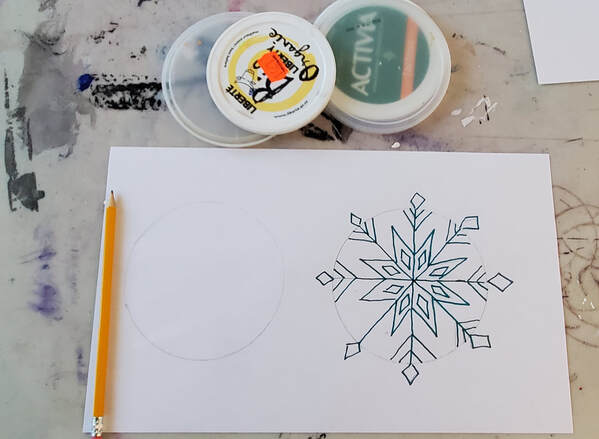
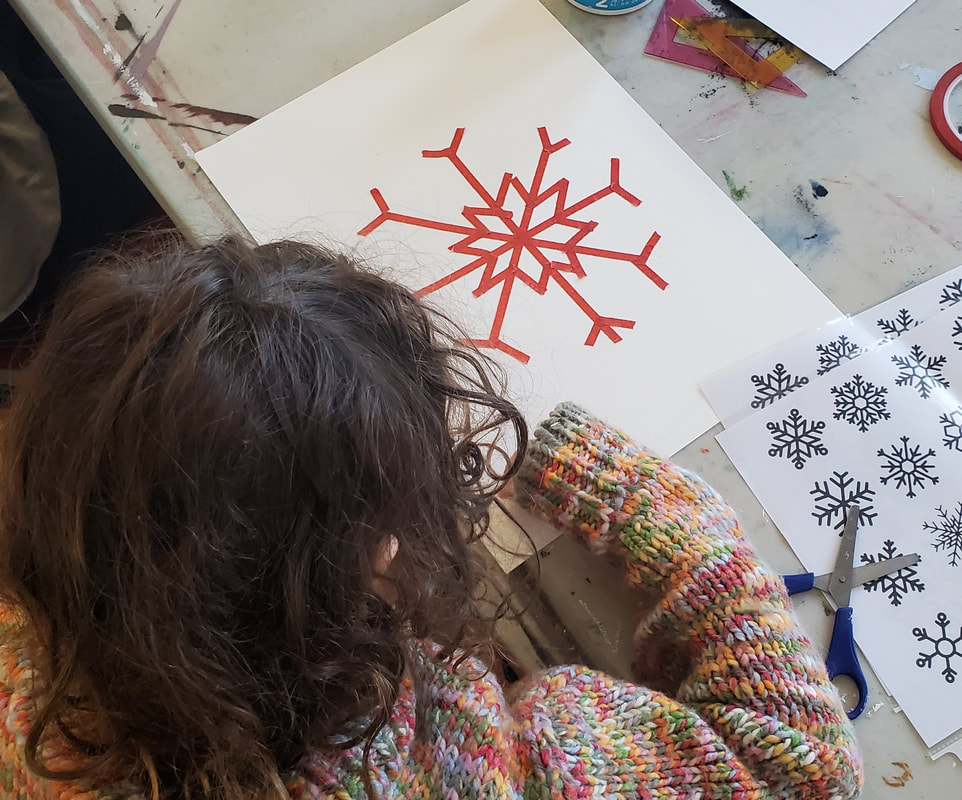
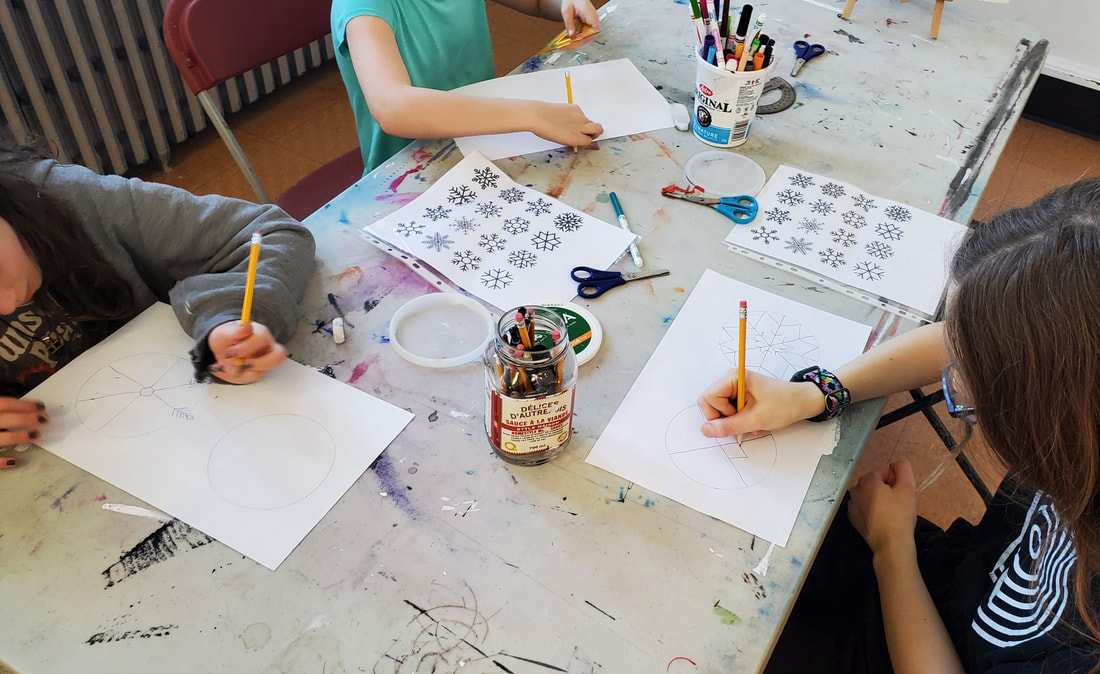
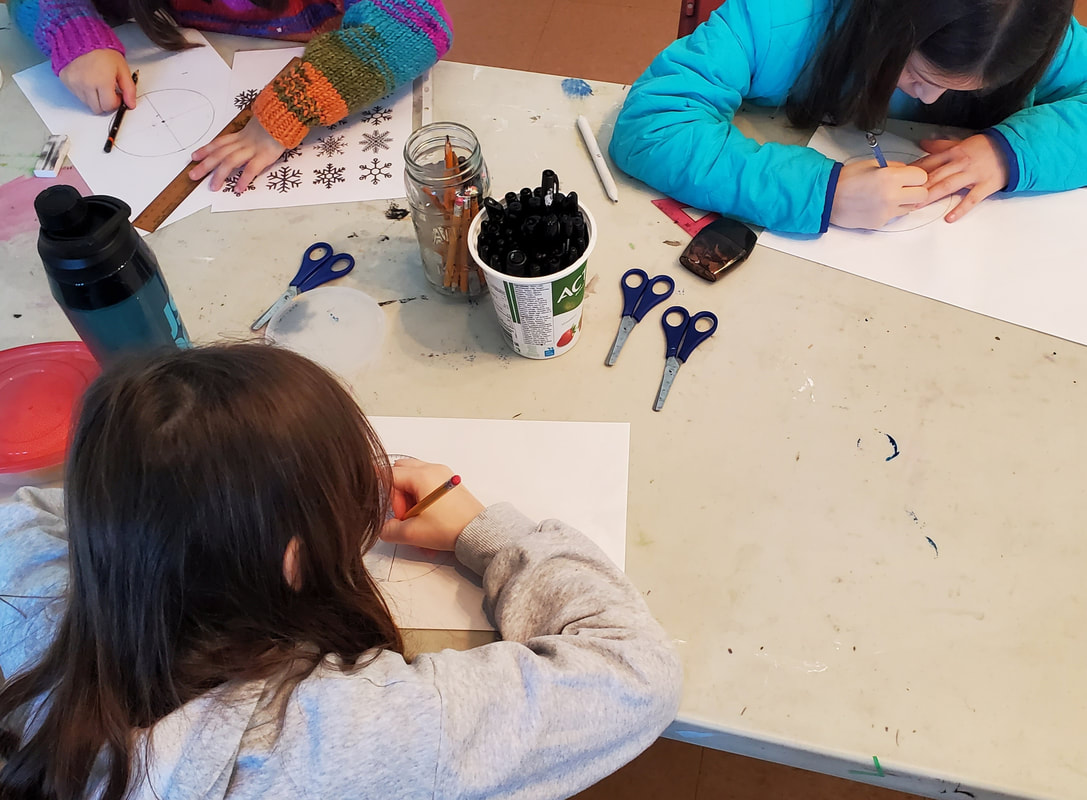
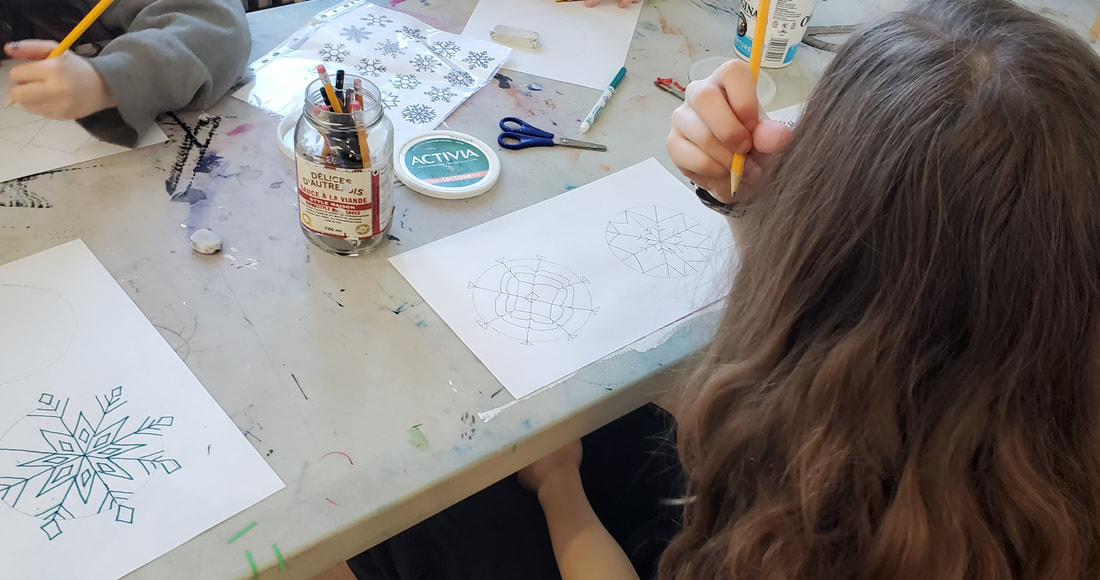
Step 1: Design a Snowflake (10-15 minutes)
- Use an old yogurt container top to trace 2 circles on a white sheet of paper.
- Put a dot in the center of the circles.
- Use a ruler to create a symmetrical snowflake design inside the circle.
- Create a different design for each circle.
- Then pick the design you like best.
|
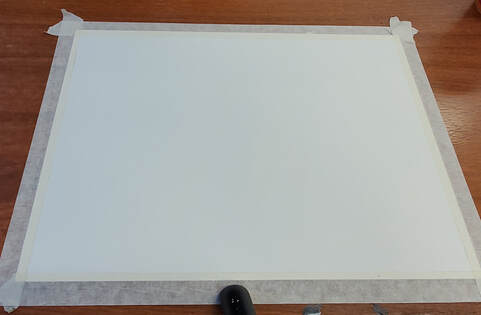
Step 2 (Optional): Tape the Boarders
|
|
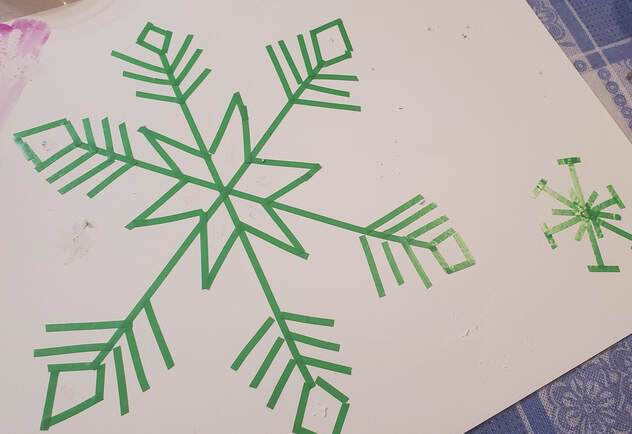
Step 3: Create Snowflake
|
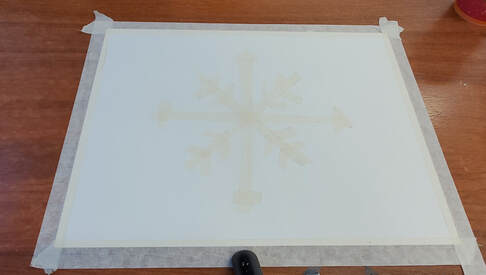
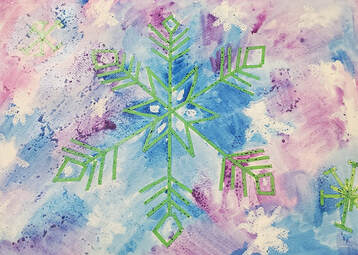
Step 4: Draw smaller snowflakes
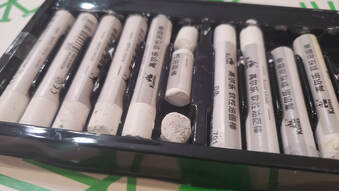
- Using white oil pastel, draw smaller snowflakes in the background.
|
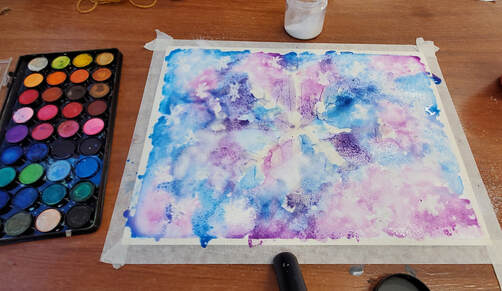
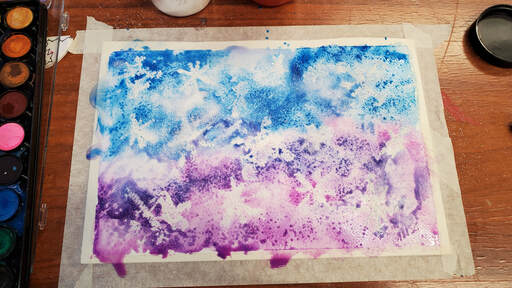
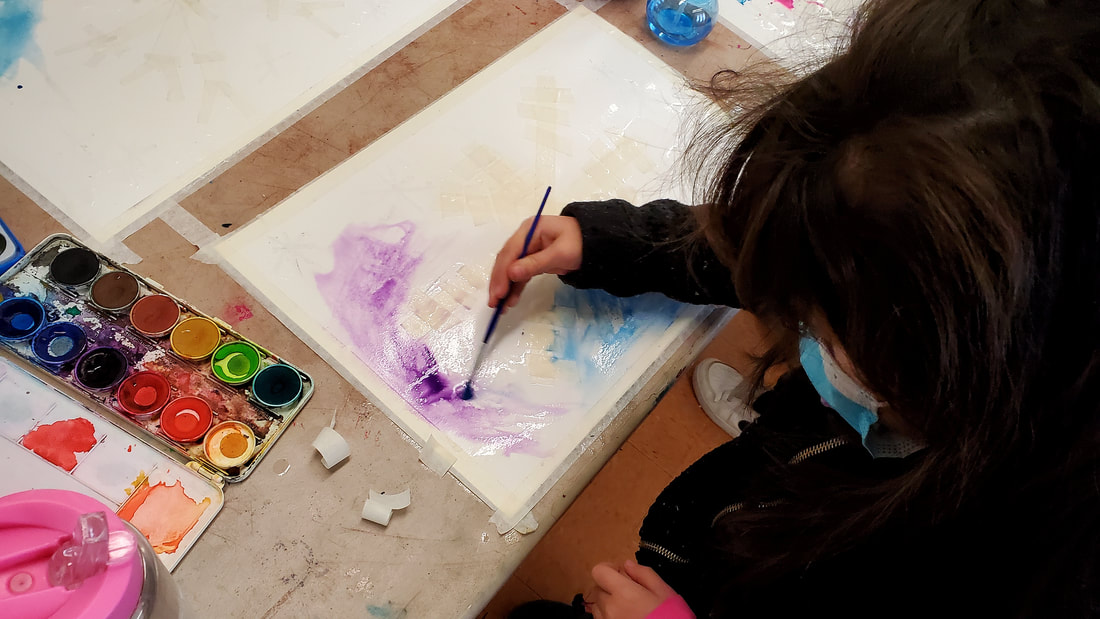
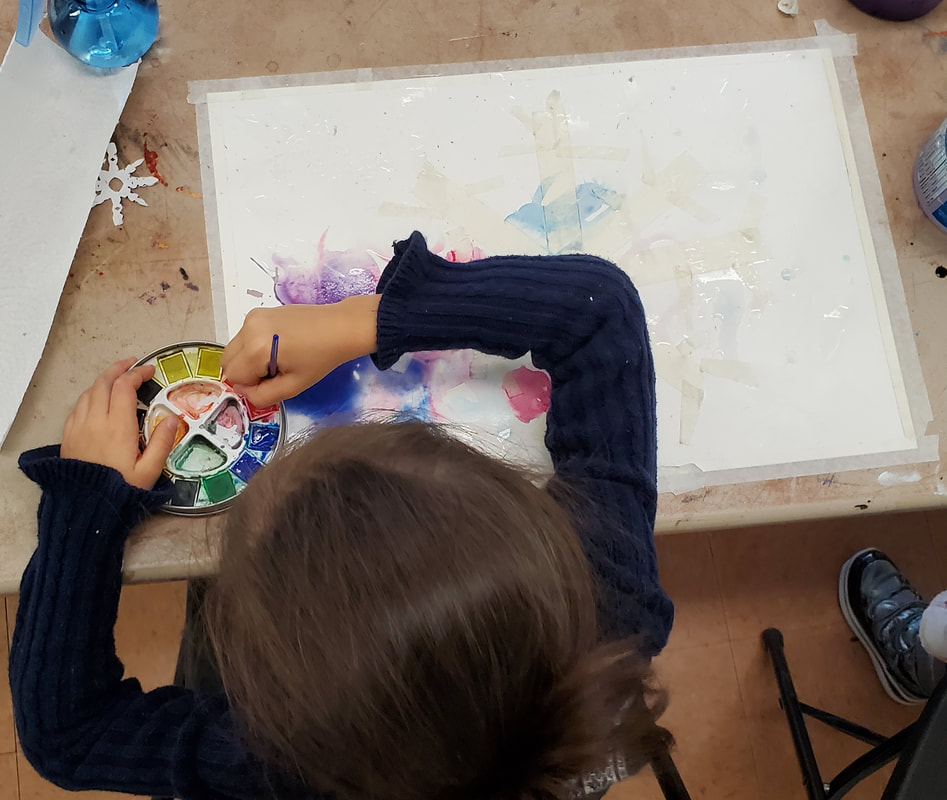
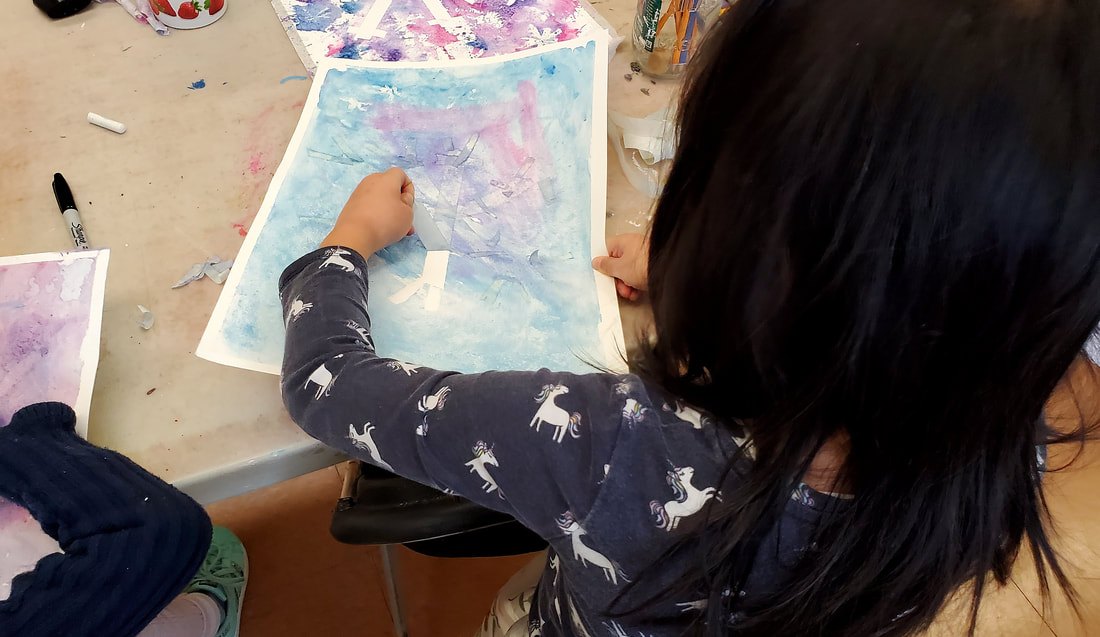
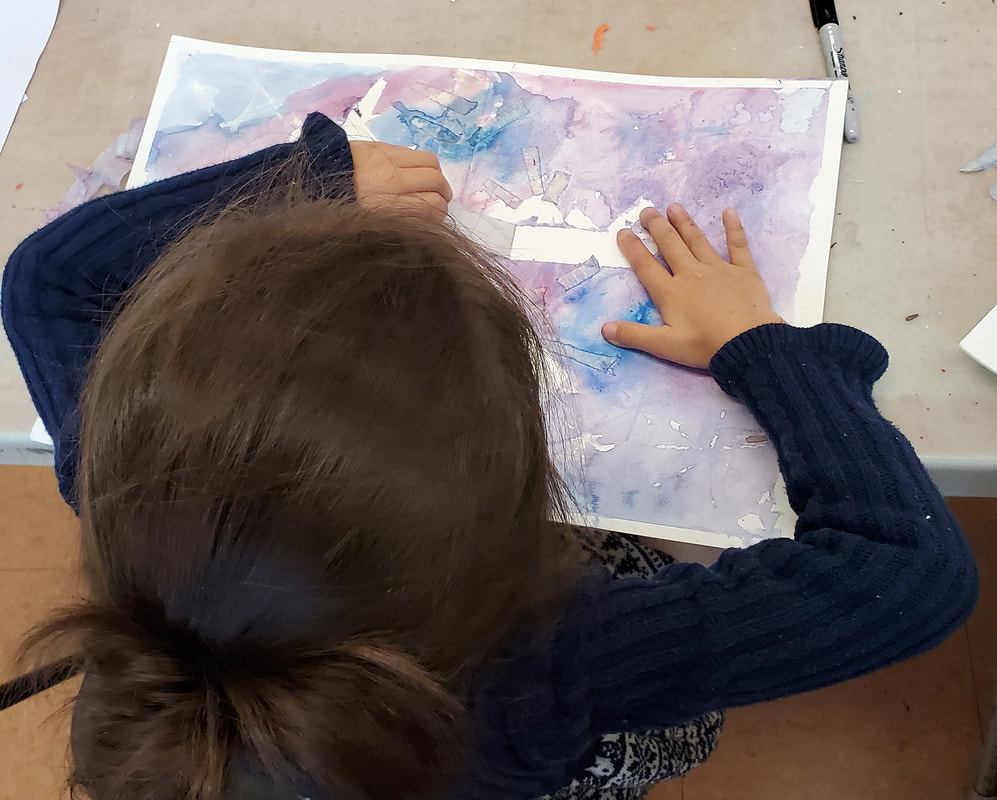
Step 5: Wet & Add Watercolor
|
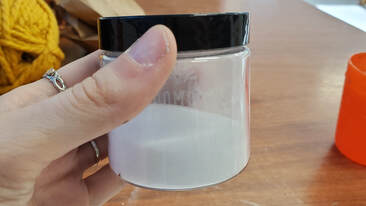
Step 6: Sprinkle Salt
- Before the watercolor dies, sprinkle salt all over the paper. Then let everything dry.
|
|
|
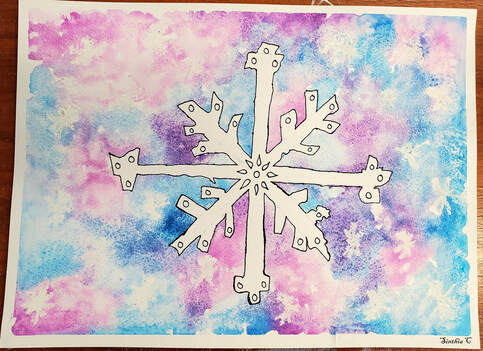
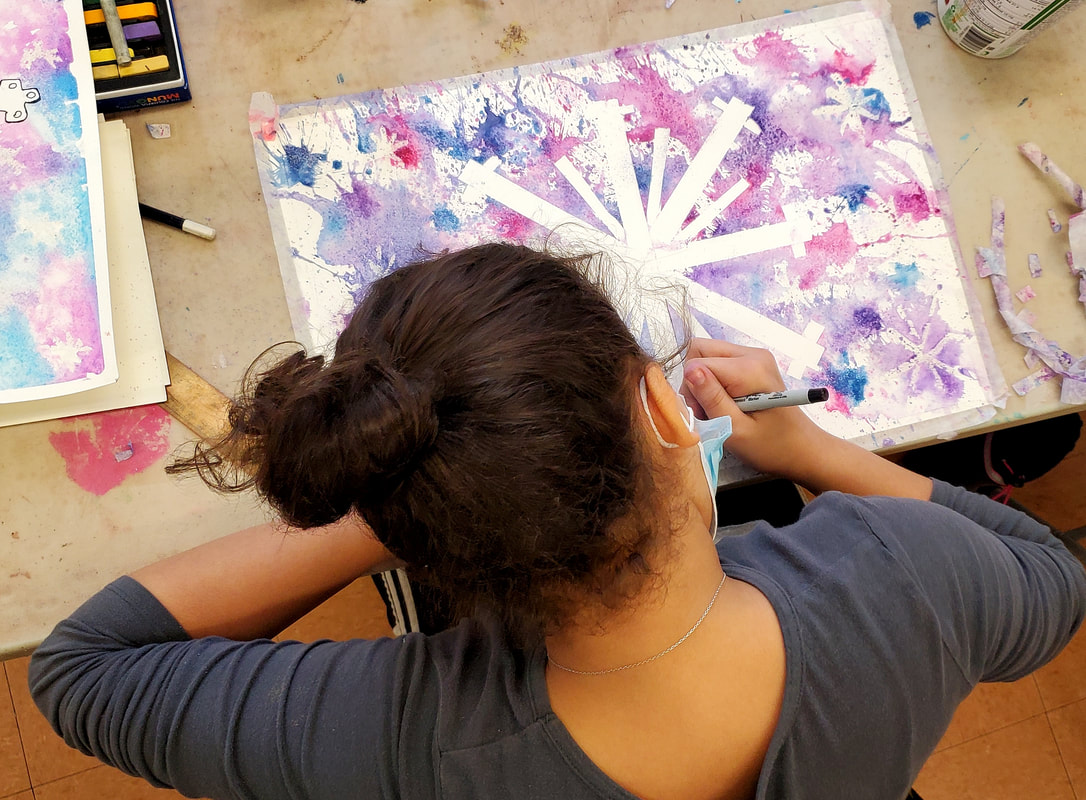
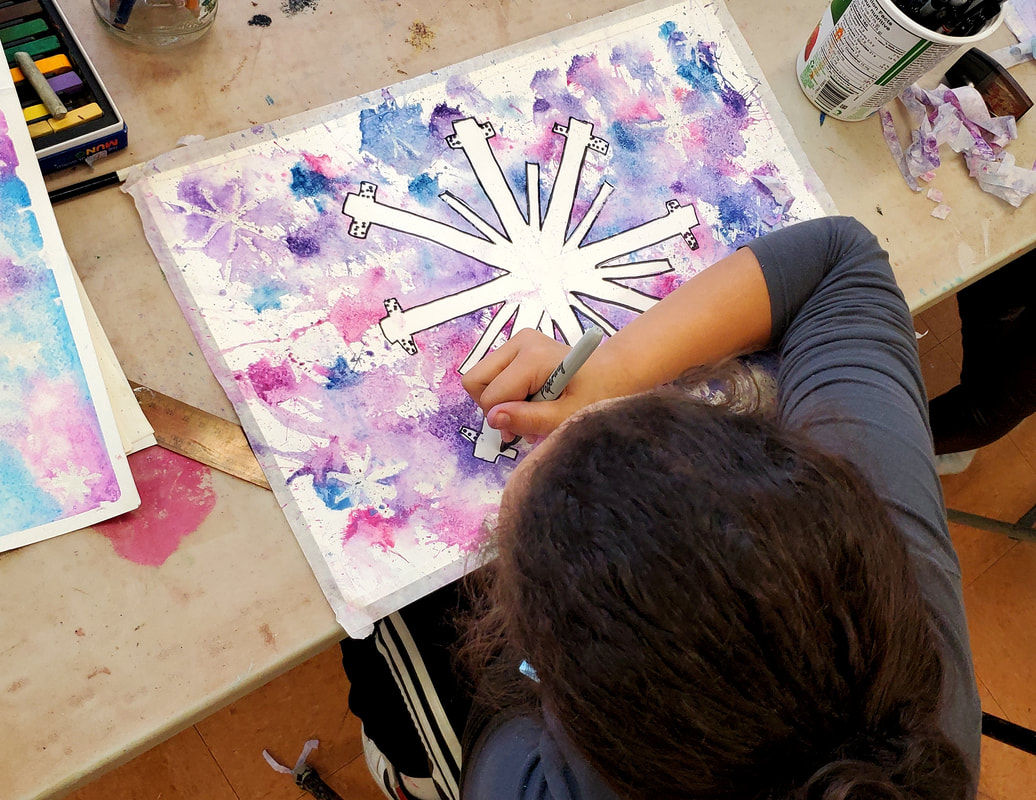
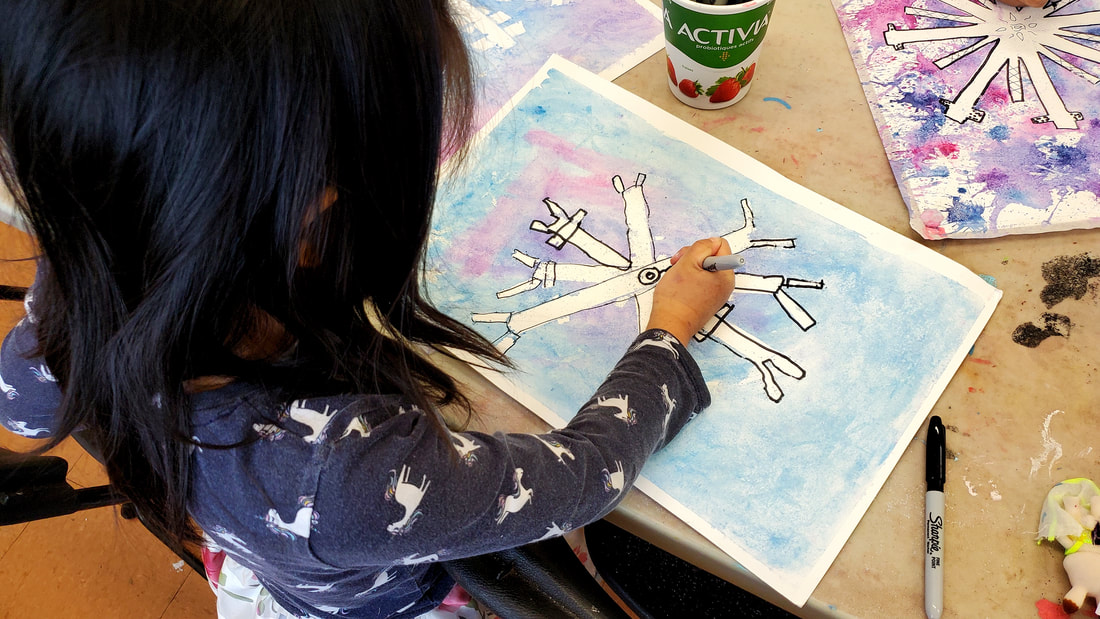
Step 7: Remove Tape & Outline the Snowflake
|

Prototype by Sinthia Cousineau
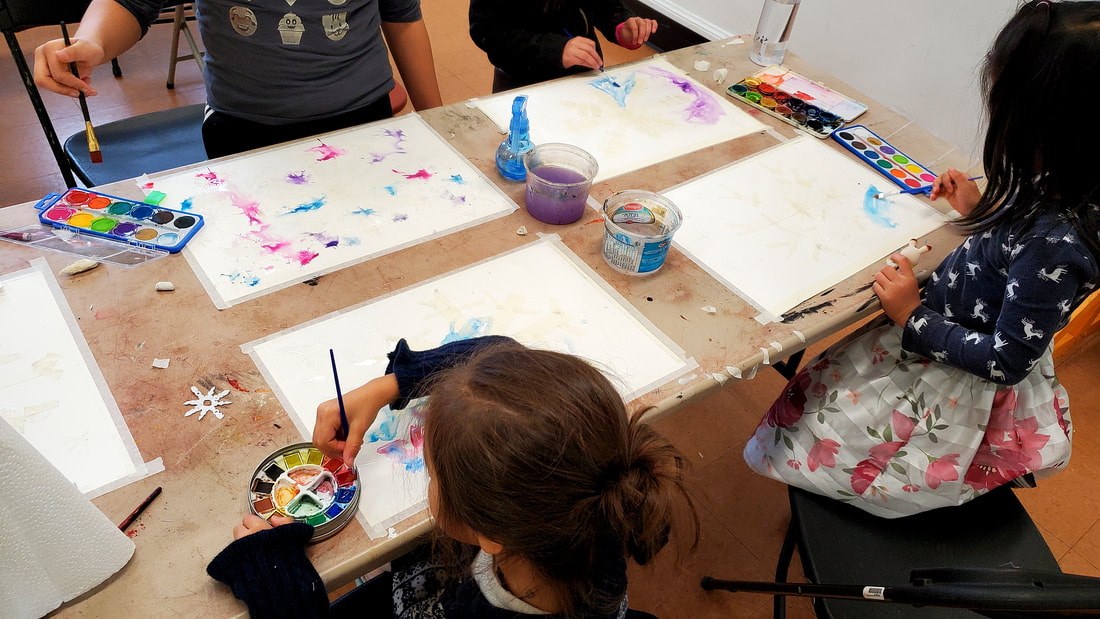
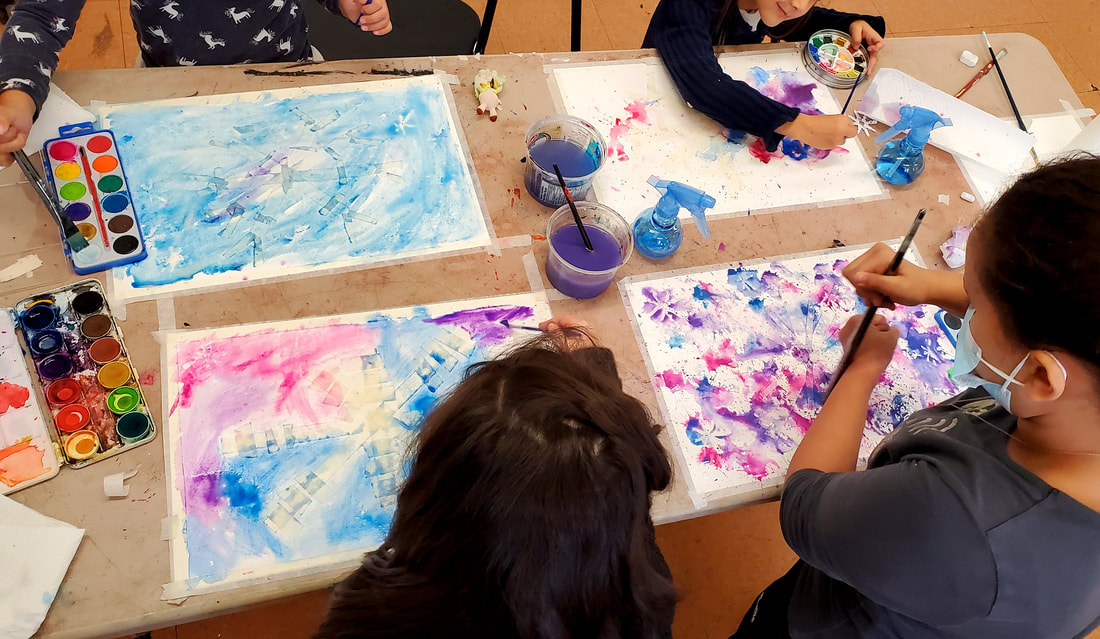
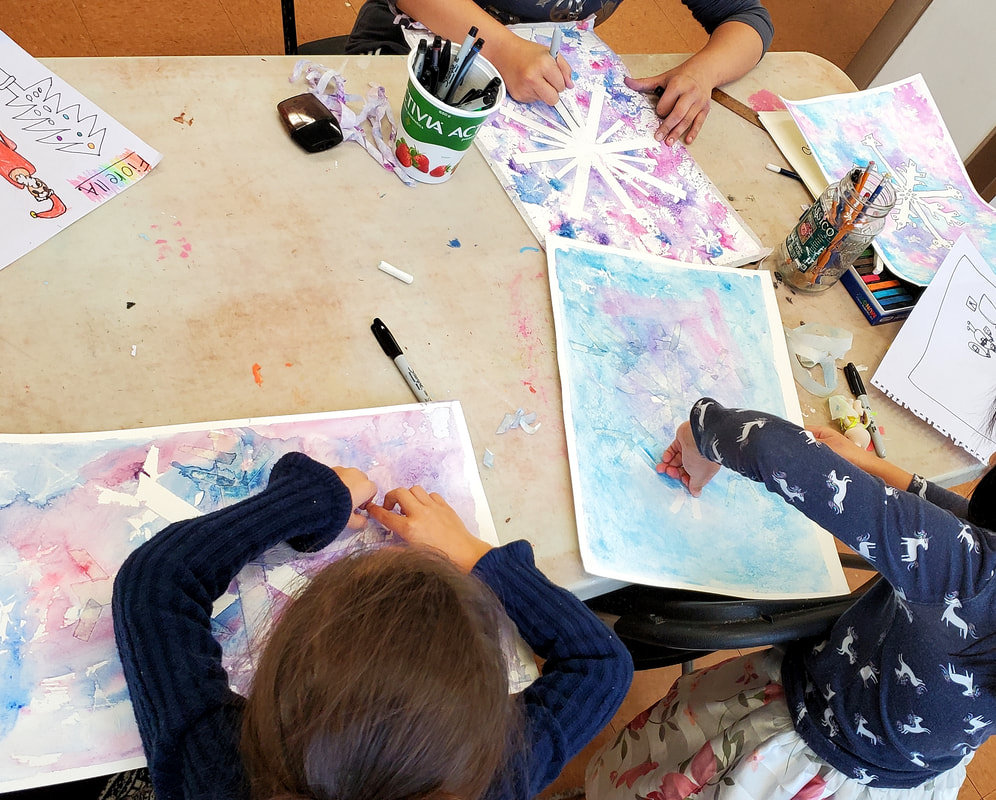
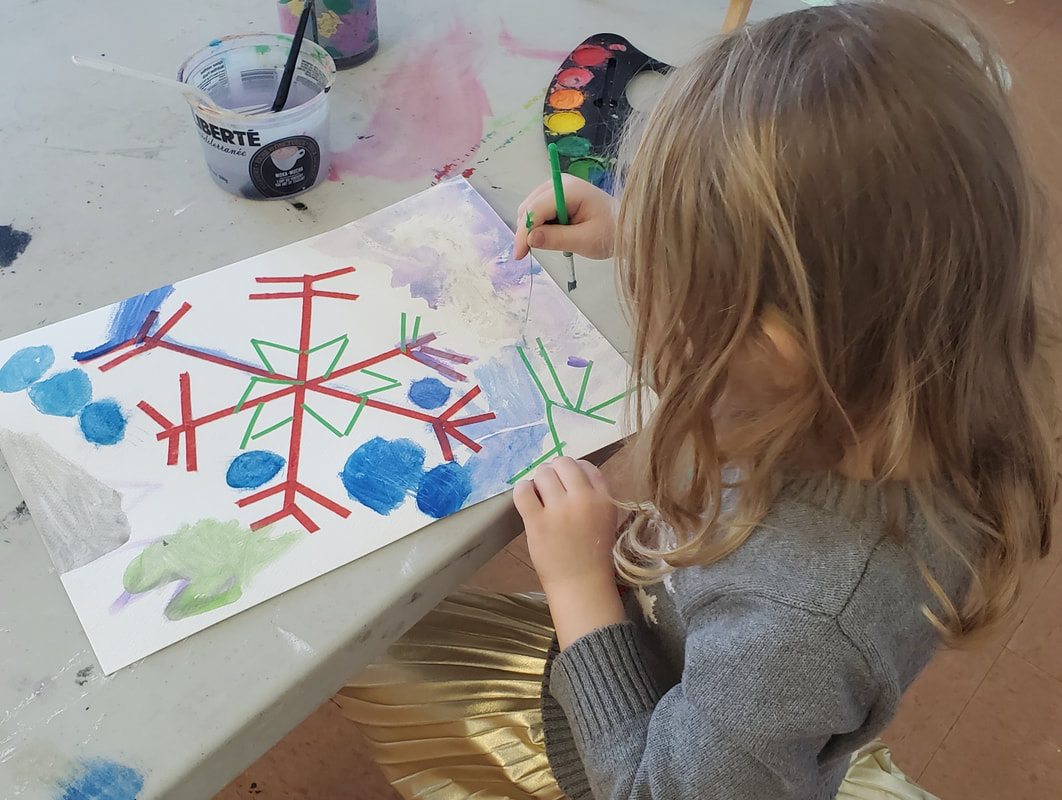
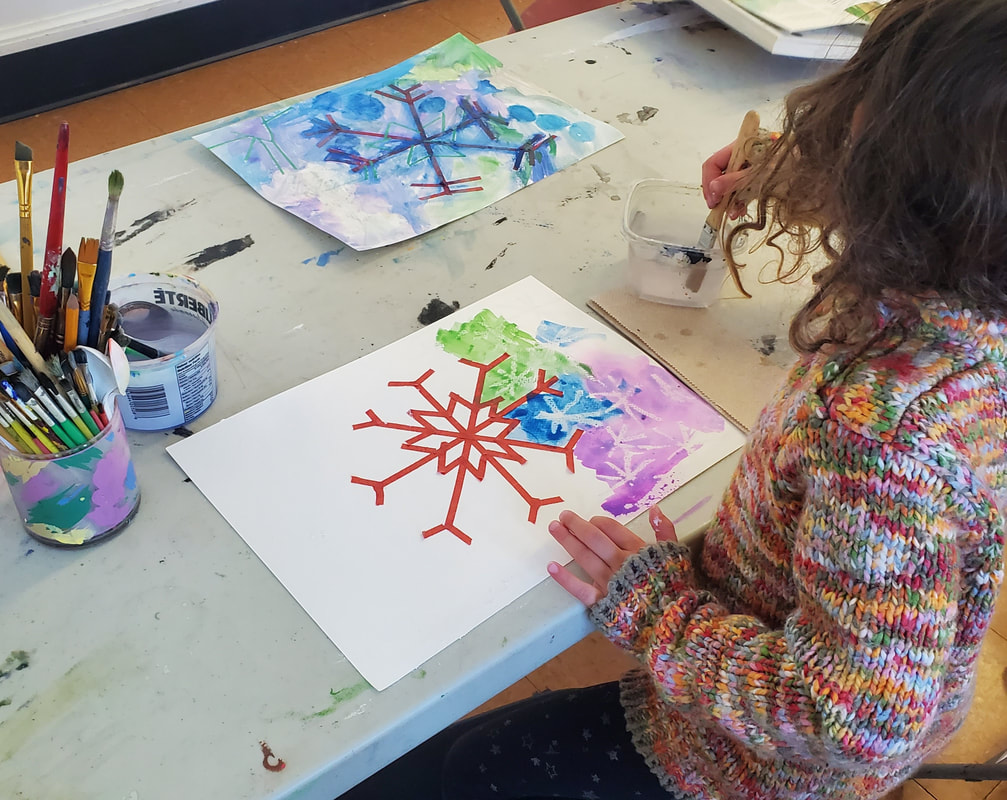
Students Painting their Snowflakes
Students at Art Neuf
2021-2013
2021-2013
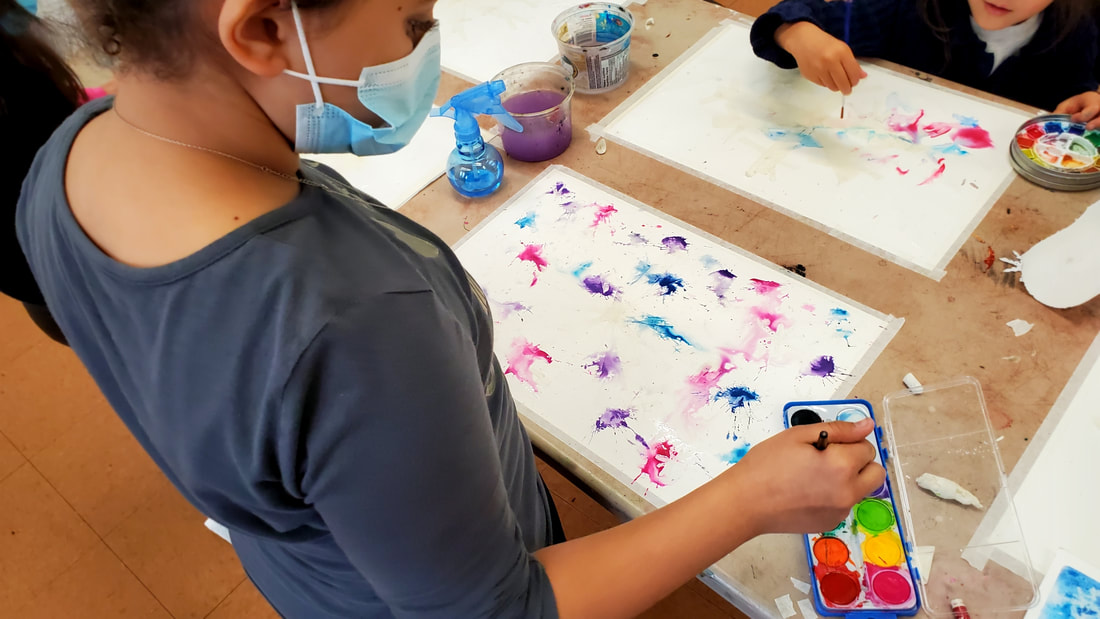


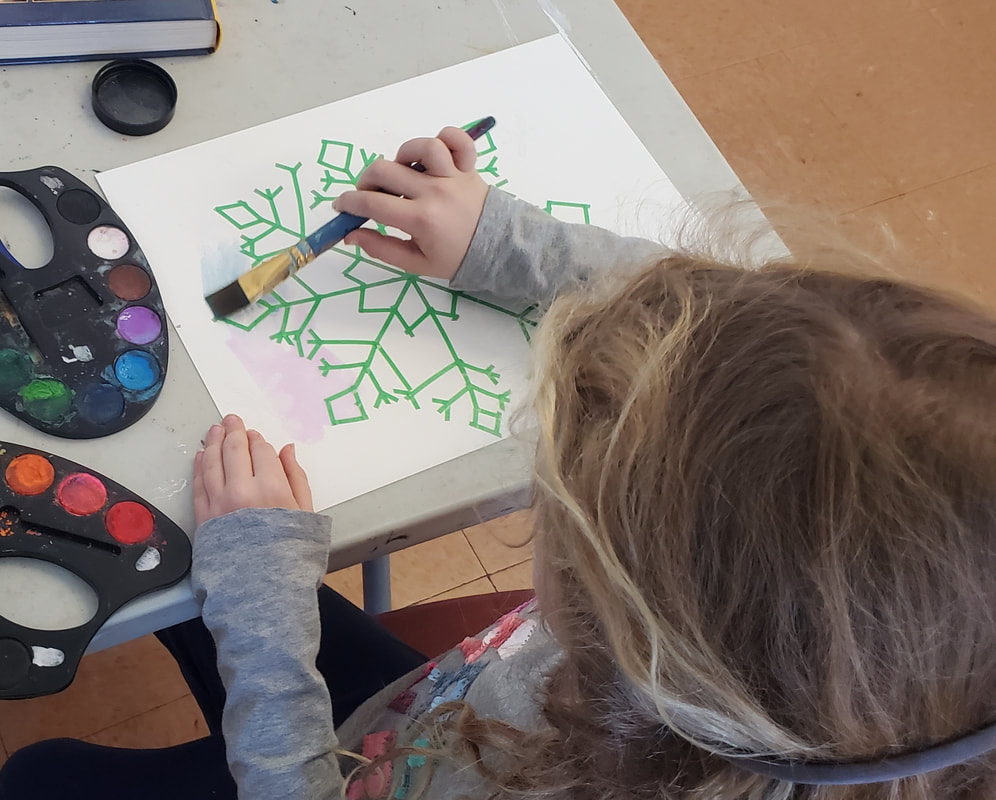


Students at Pointe-Saint-Charles Art School
2024
2024
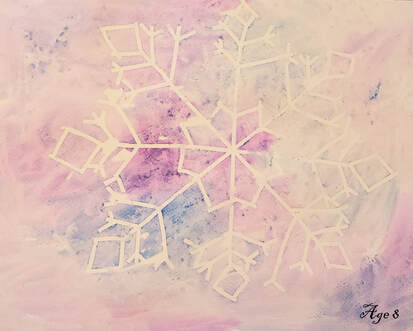
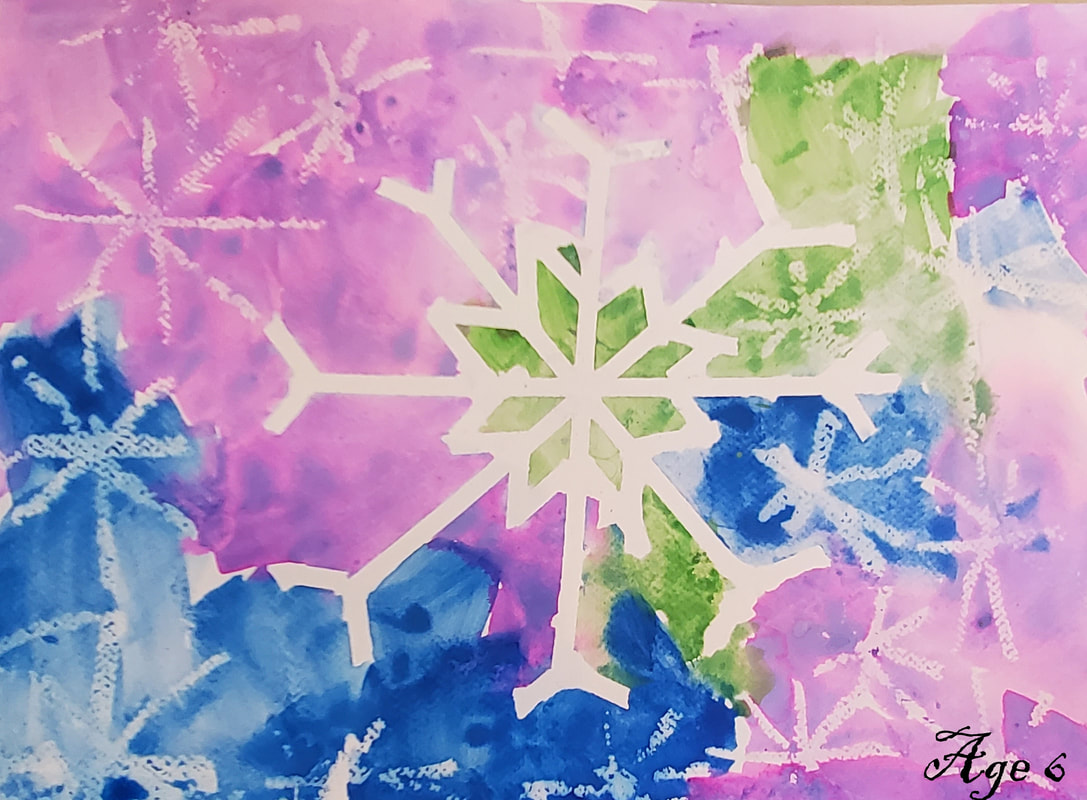
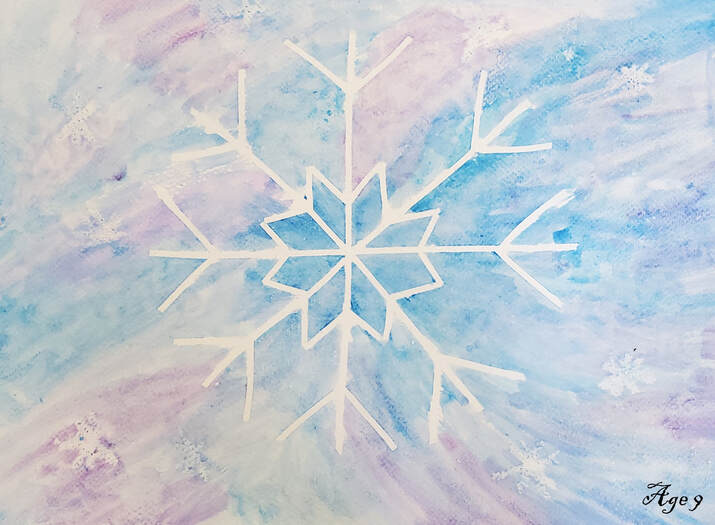
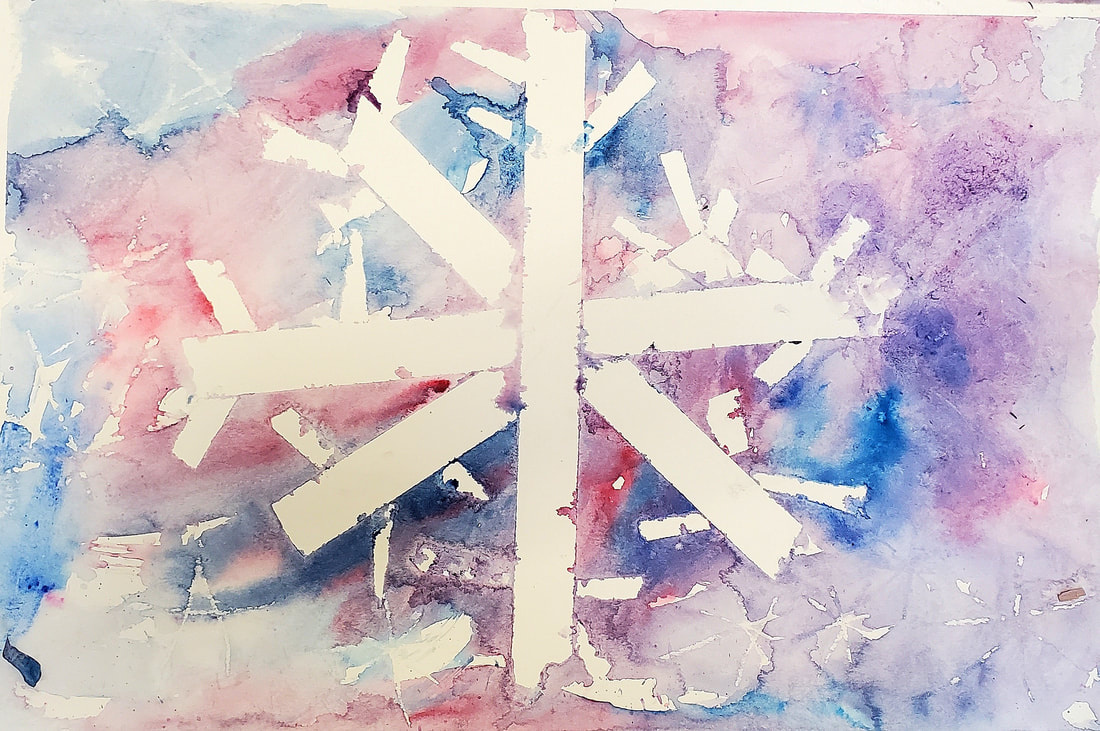
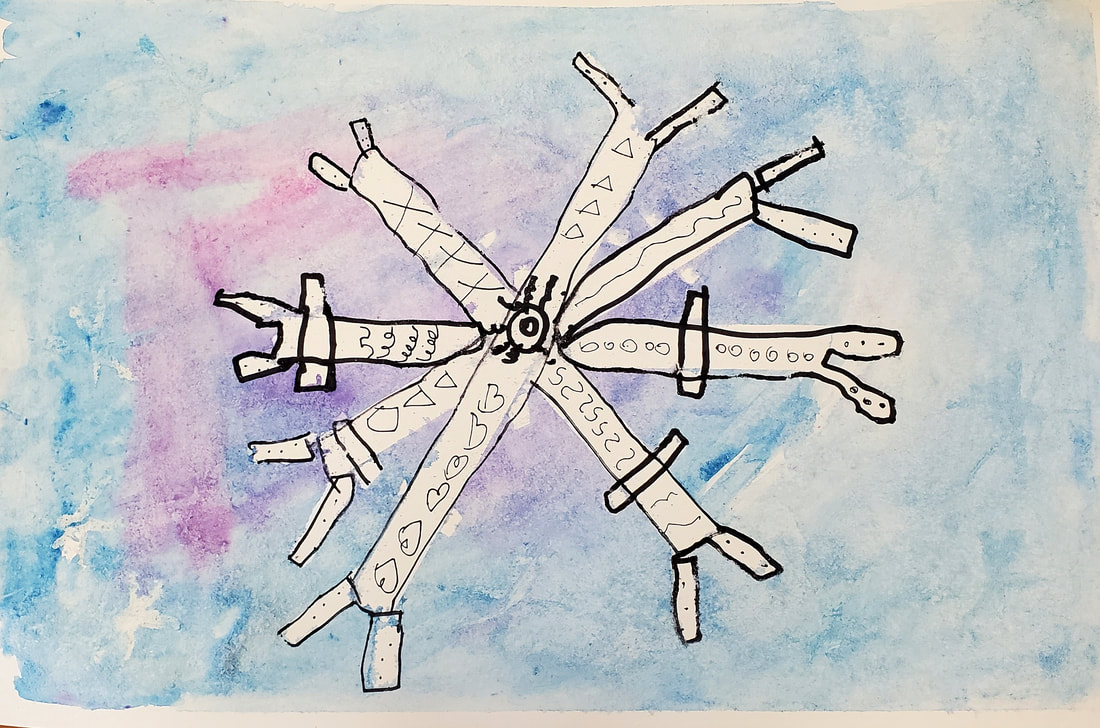
Students Finished Snowflake Artwork
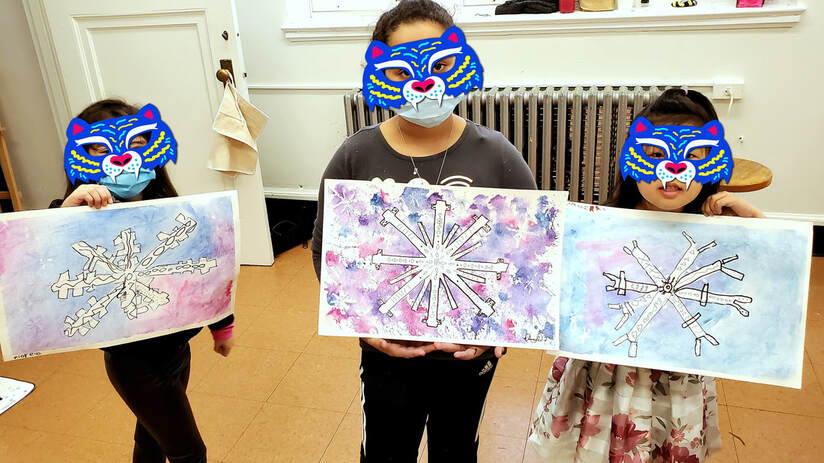
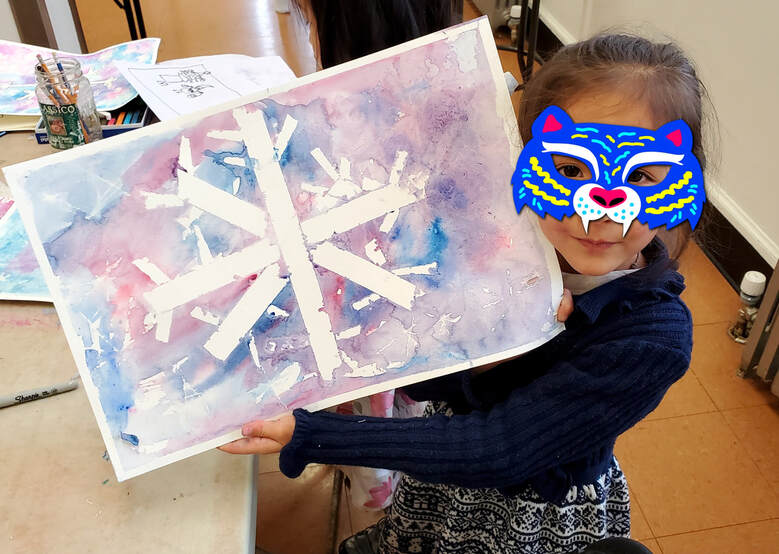
Age 5

|
|
Age 5
|
Age 5
|
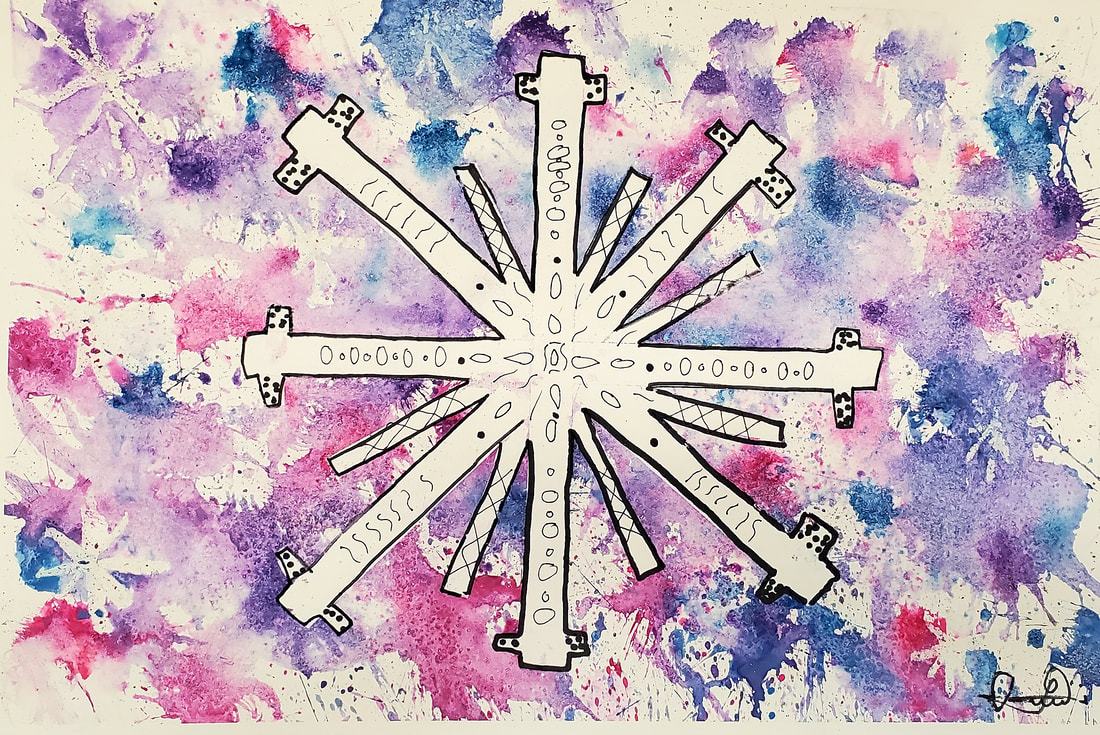
Age 11
Reference Images for Snowflakes
| snowflake_images.docx |
| snowflake_reference_images.docx |